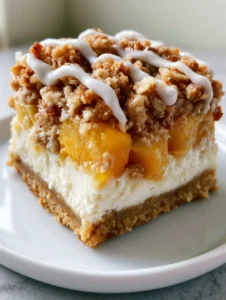
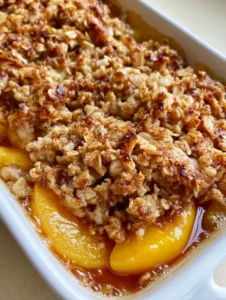
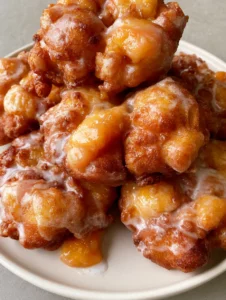
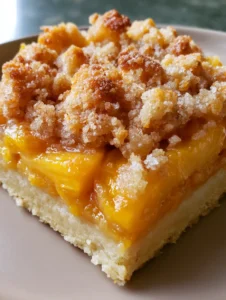
There is nothing quite like the first bite of these Peaches and Cream Cheesecake Bars, where the crunch of a golden-brown crust meets the velvety luxury of an ivory filling. This recipe captures the essence of summer, transforming the simple joy of a ripe peach into a sophisticated, handheld masterpiece that looks as stunning as it tastes.
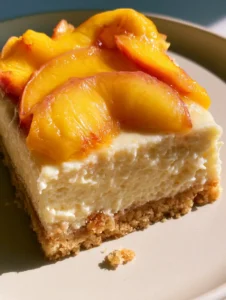
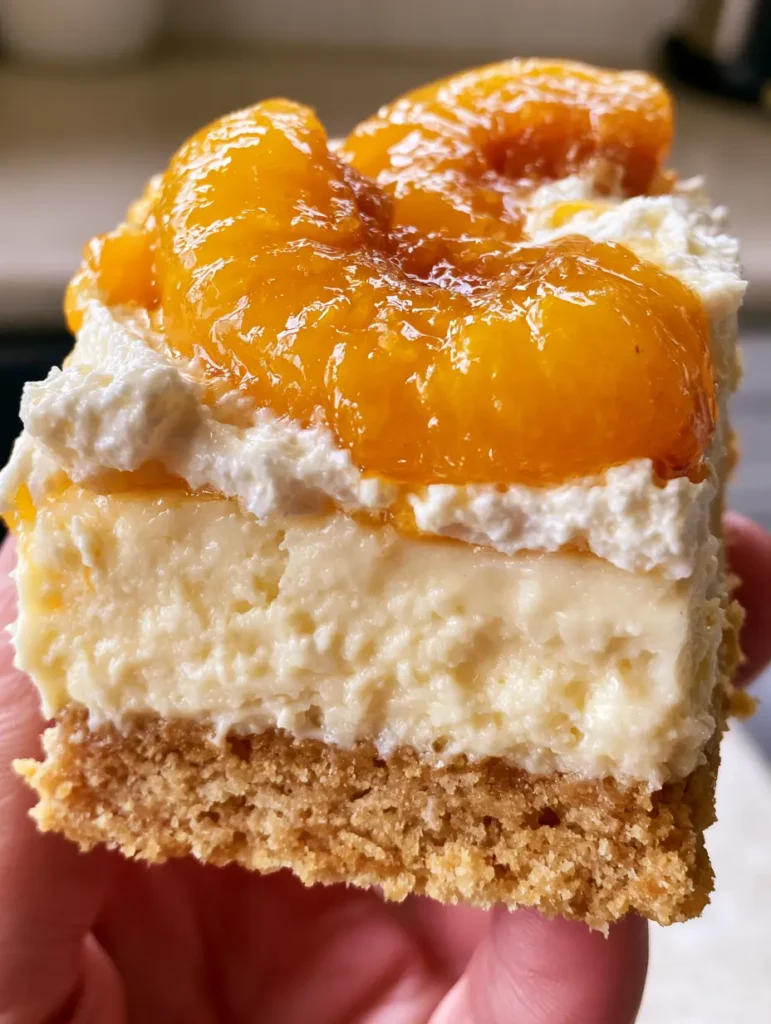
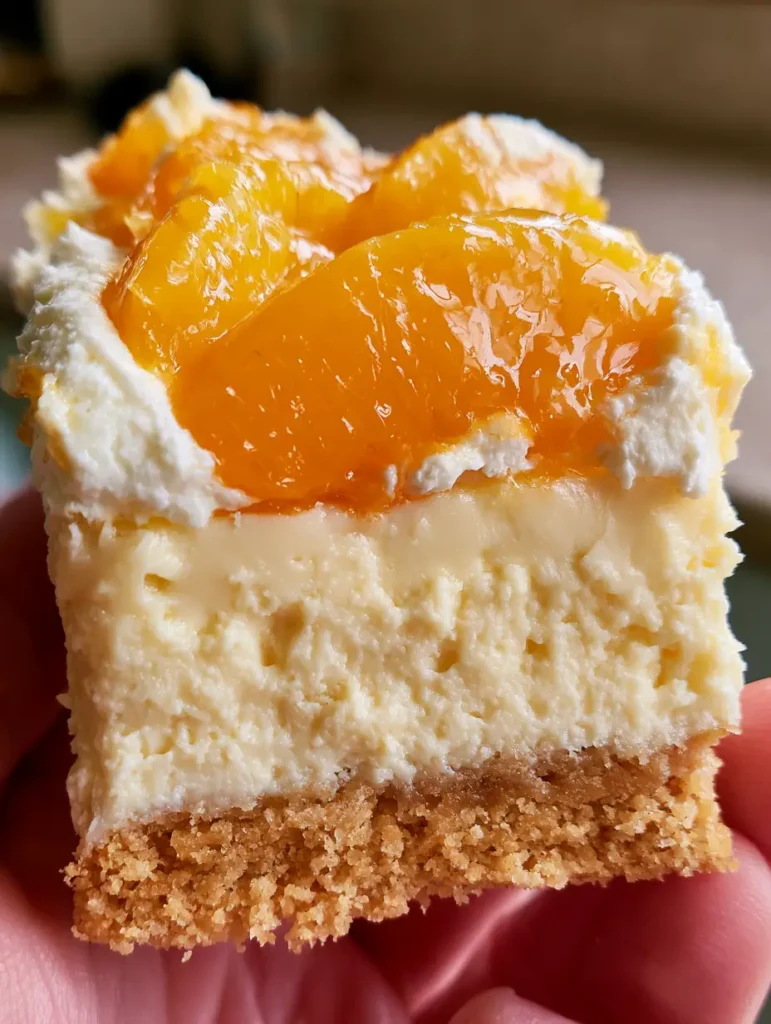
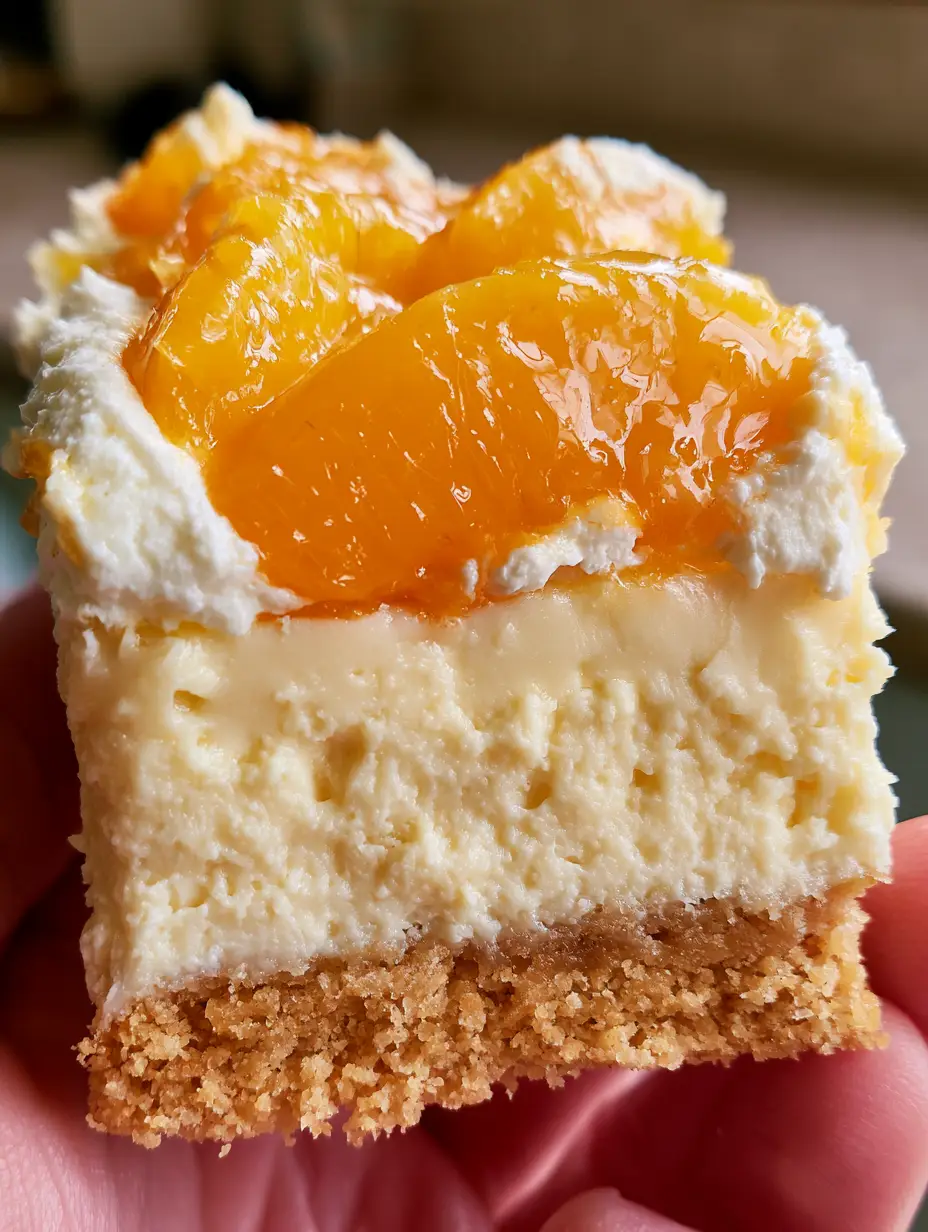
When you hold one of these thick, decadent bars in your hand, you immediately notice the contrast between the dense graham cracker base and the light, airy whipped cream topping. The vibrant orange, glistening glazed peach slices are the crown jewel of this dessert, offering a burst of natural sweetness that is perfectly balanced by the tangy cream cheese.
Whether you are hosting a backyard barbecue or looking for a show-stopping finish to a Sunday dinner, these bars deliver on every sensory level. We have meticulously engineered this recipe to ensure a structural integrity that allows for that perfect “smartphone photo” moment without sacrificing the melt-in-your-mouth texture home bakers crave.
Why These Peaches and Cream Cheesecake Bars Are the Ultimate Summer Treat
- Visual Masterpiece: The vibrant orange peaches nestled in white whipped cream create a stunning color contrast against the pale ivory cheesecake.
- Structural Perfection: A dense, buttery graham cracker crust provides a sturdy foundation for the thick, creamy layers above.
- Dual-Texture Topping: We combine a fresh peach juice glaze with a cloud-like whipped cream for a multi-dimensional mouthfeel.
- Handheld Convenience: Unlike a traditional cheesecake, these bars are designed to be sliced cleanly and enjoyed on the go.
Essential Components for the Perfect Peach Cheesecake Foundation
To achieve the visual and structural results seen in our professional photos, each ingredient serves a specific culinary purpose. We do not just choose ingredients for flavor; we choose them for their scientific contribution to the final bake.
Graham Cracker Crumbs (2 cups / 200g): These provide the sandy, golden-brown base that must be pressed firmly to support the weight of the cheesecake and fruit. Use a high-quality honey graham cracker for the best flavor profile.
Unsalted Butter (1/2 cup / 115g): When melted and combined with the crumbs, butter acts as the “glue” that hardens in the oven, ensuring your crust doesn’t crumble when the bars are held.
Full-Fat Cream Cheese (24 oz / 680g): It is imperative to use brick-style cream cheese at room temperature to achieve that smooth, pale ivory filling without any lumps. Lower fat versions will result in a watery consistency that won’t set properly.
Granulated Sugar (1 cup / 200g): This sweetens the filling while also contributing to the silky texture by breaking down the protein structures in the cheese.
Sour Cream (1/2 cup / 120ml): This is the secret to the “ivory” color and a slightly tangy finish that cuts through the richness of the heavy cream. If you are out of sour cream, you might consider traditional baked peaches and cream (coming soon) techniques for a different flavor profile.
Fresh Peaches (4 large): Select peaches that are fragrant and slightly soft to the touch; their vibrant orange hue is essential for the glistening glazed slices that top the bars.
Heavy Whipping Cream (1 cup / 240ml): This must be cold to whip into the light, airy topping described in our blueprint. It provides the “cream” element that balances the dense cheesecake.
The Pro-Level Tools You Will Need
Achieving a professional-grade Peaches and Cream Cheesecake Bars finish requires the right equipment. A 9×9 inch (23x23cm) square baking pan is standard, but ensure it has high sides (at least 2 inches) to accommodate the thick layers.
You will also need parchment paper for an easy “sling” release, which prevents the crust from sticking to the edges. A high-powered electric hand mixer or a stand mixer is non-negotiable for aerating the cream cheese and whipping the cream to stiff peaks.
The Secret to a Golden-Brown Graham Cracker Foundation
Step 1: Constructing the Buttery Base
Preheat your oven to 325°F (165°C). In a medium bowl, combine 2 cups (200g) of graham cracker crumbs with 1/2 cup (115g) of melted butter and 2 tablespoons (25g) of sugar. Press the mixture firmly into the bottom of your lined pan using the flat bottom of a measuring cup.
Bake the crust for 10 minutes until it is just starting to turn a deep golden-brown. This “blind bake” ensures the crust stays crisp even after the creamy filling is added. Let it cool completely while you prepare the next layer.
Engineering the Smooth Ivory Cream Cheese Filling
Step 2: Whipping the Cheesecake Layer
In a large bowl, beat the 24 oz (680g) of room-temperature cream cheese until it is completely smooth and free of lumps. Slowly add the sugar and 1 teaspoon (5ml) of vanilla extract, followed by 3 large eggs, adding them one at a time on low speed.
Fold in the sour cream by hand to maintain the “pale ivory” color. Pour the batter over the cooled crust, smoothing the top with a spatula. Bake for 45-50 minutes. You are looking for a visual cue where the edges are set but the center still has a slight, jiggling “wobble” like gelatin.
Crafting the Glistening Glazed Peach Topping
Step 3: Macerating and Glazing the Fruit
While the cheesecake chills, peel and slice your fresh peaches into uniform wedges. Toss them with 2 tablespoons (25g) of sugar and 1 tablespoon (15ml) of lemon juice. Let them sit for 20 minutes; this process, called maceration, draws out the fresh peach juice glaze.
Drain the juice into a small saucepan and simmer with a teaspoon of cornstarch until it thickens into a glistening syrup. Gently toss the peach slices back into this glaze. This ensures the peaches look “vibrant orange” and “glistening” as specified in our visual blueprint.
Step 4: The Airy Whipped Cream Finish
Beat the cold heavy cream with 2 tablespoons (15g) of powdered sugar until stiff peaks form. Once the cheesecake bars are fully chilled (at least 4 hours), spread a thick layer of the whipped cream over the top. Artfully arrange the glazed peaches into the cream, allowing some of the extra glaze to drizzle down the sides.
Expert Tips for Perfect Cheesecake Bar Success
- The Temperature Rule: Always ensure your cream cheese and eggs are at true room temperature (68°F / 20°C) to prevent a lumpy filling.
- The Clean Cut: To get those sharp, professional edges seen in the photos, dip your knife in hot water and wipe it clean between every single cut.
- Peach Selection: If fresh peaches aren’t in season, you can use home-canned peaches, but ensure they are thoroughly patted dry before glazing.
- Prevent Cracking: Avoid over-beating the eggs into the cheesecake batter, as excess air causes the bars to rise and then fall, creating cracks in the ivory surface.
Optimal Storage and Serving Suggestions
These Peaches and Cream Cheesecake Bars are best served cold, straight from the refrigerator. Because of the fresh fruit and whipped cream topping, they should be consumed within 2-3 days for peak freshness.
If you need to make these in advance, you can bake the cheesecake base a day early and add the fresh peach glaze and whipped cream just before serving. For a different twist on this flavor profile, you might enjoy a layered peaches and cream trifle (coming soon) for larger gatherings.
What to Serve With These Decadent Bars
While these bars are a complete dessert on their own, they pair beautifully with a light sparkling wine or a cold glass of iced tea. If you love the combination of fruit and cream, you should also try our peach cobbler cheesecake bars (coming soon) which offer a spiced cinnamon crumble topping.
For those who prefer a more traditional cake texture, our peaches and cream layer cake uses many of the same flavor components in a tall, celebratory format.
Frequently Asked Questions About Peach Cheesecake
Yes, you can use canned peaches if fresh ones aren’t available. Be sure to drain them thoroughly and pat them dry with a paper towel before tossing them in the glaze to prevent the topping from becoming too watery.
You can freeze the baked cheesecake base and crust for up to 3 months. However, it is best to add the fresh peach glaze and whipped cream topping just before serving, as these components do not freeze and thaw well.
The pale ivory color comes from using full-fat cream cheese and folding in sour cream. Avoid using brown sugar or dark vanilla extracts, as these will tint the batter. Baking at a lower temperature also prevents the top from browning.
Cracking is usually caused by over-beating the eggs or over-baking. Mix the eggs on low speed just until combined, and take the bars out of the oven when the center still has a slight jiggle.
A crumbly crust usually means it wasn’t pressed firmly enough into the pan or there wasn’t enough butter to bind the crumbs. Use the bottom of a flat glass or measuring cup to pack the crumbs tightly before blind baking.
The Ultimate Peaches and Cream Cheesecake Bars Recipe
Peaches and Cream Cheesecake Bars with a Glistening Peach Glaze
Ingredients
Equipment
Instructions
- Combine graham cracker crumbs, melted butter, and sugar. Press into a 9x9 inch pan and bake at 325°F (165°C) for 10 minutes until golden-brown.
- Beat cream cheese and sugar until smooth. Add eggs one at a time, then fold in sour cream. Pour over crust and bake for 45-50 minutes until edges are set but center jiggles slightly.
- Macerate peaches in sugar and lemon juice. Reduce juice to a glaze and toss with peaches. Whip heavy cream with powdered sugar to stiff peaks. Layer cream and glistening peaches over chilled bars.
Notes
Chill for at least 4 hours before slicing with a hot knife for clean edges.
Bring the Taste of Summer to Your Kitchen
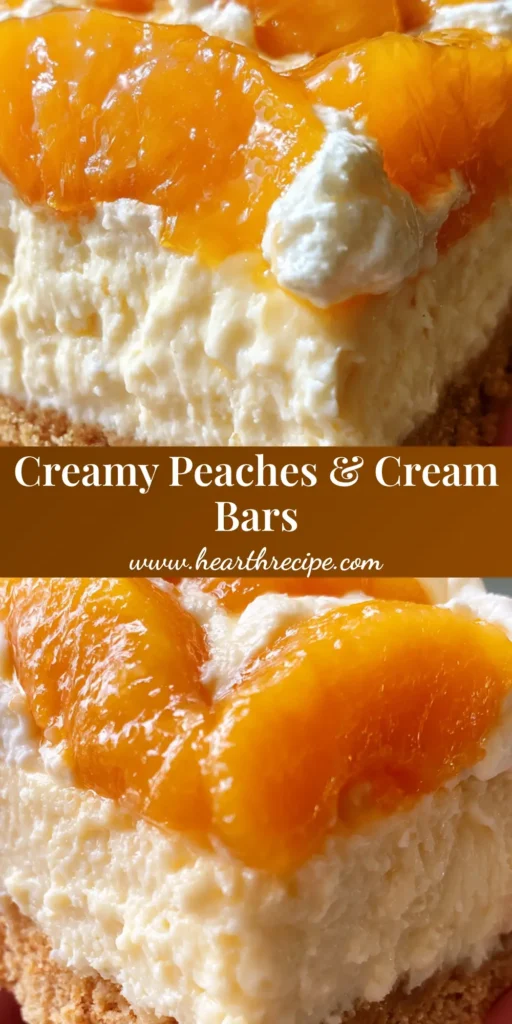
These Peaches and Cream Cheesecake Bars are more than just a dessert; they are a celebration of seasonal flavors and culinary technique. The combination of the glistening peaches and the ivory cheesecake creates a sophisticated profile that will impress any guest. We encourage you to share your results and tag us on social media!
If you enjoyed this recipe, please leave a comment below and share it with your friends on Pinterest. For more fruit-forward inspirations, check out our guide on making perfect stewed peaches (coming soon) for breakfast toppings!