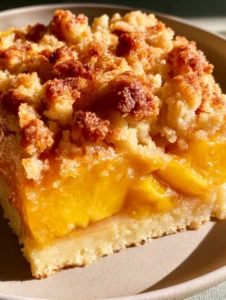
When the heat of mid-August settles in, there is nothing quite as satisfying as the marriage of sun-ripened fruit and cold, velvety dairy. These Peaches and Cream Pie Bars are the architectural realization of that summer dream, combining a thick, golden-brown crumbly shortbread crust with a dense, smooth layer of off-white creamy cheesecake filling.
The visual centerpiece of this dessert is undoubtedly the topping: thin, fan-shaped slices of vibrant orange and yellow peaches. Each slice is softened to perfection and glistening under a crystal-clear fruit glaze that catches the light beautifully, making them look as if they were plucked straight from a high-end patisserie window.
Whether you are serving these at a backyard barbecue or a formal brunch, the contrast between the sturdy, buttery base and the soft, glistening fruit creates a sensory experience that defines seasonal baking. Let’s dive into the forensic details of how to construct these masterpiece bars in your own kitchen.
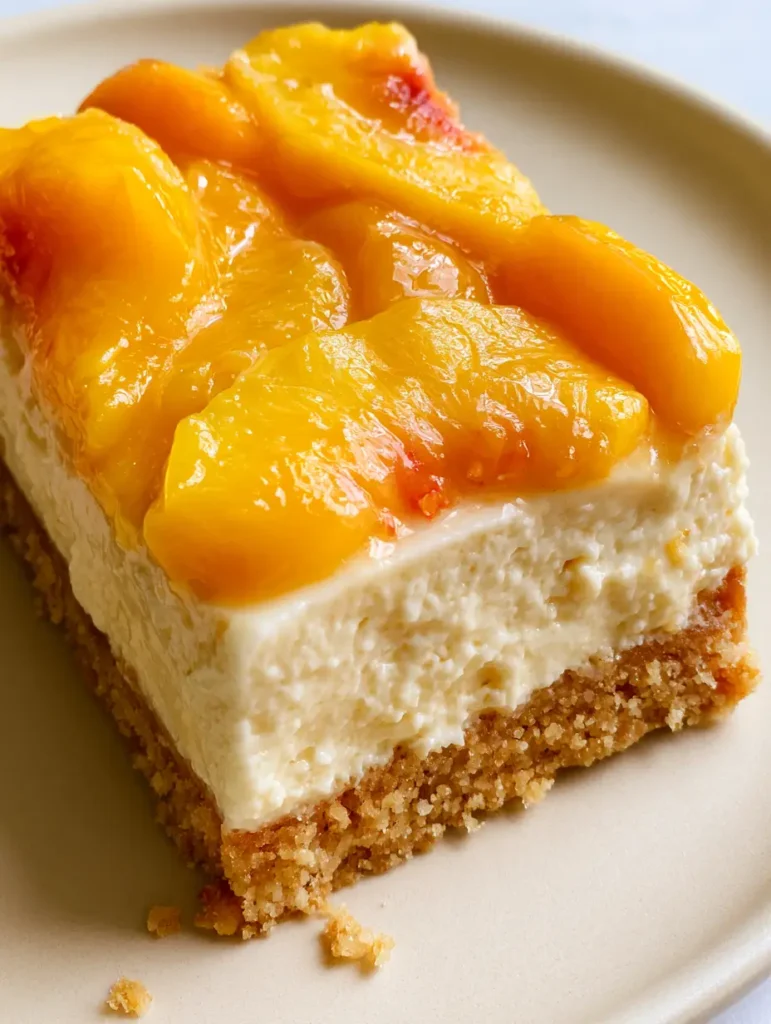
The Irresistible Appeal of These Peach and Cream Cheese Delights
- Structural Integrity: A thick, shortbread base that provides a satisfying crumbly texture without falling apart when held.
- Visual Brilliance: Vibrant orange and yellow peach fans that remain bright and glistening thanks to a professional clear glaze technique.
- Texture Contrast: The juxtaposition of a dense, smooth cheesecake layer against the soft, yielding texture of macerated peaches.
- Professional Aesthetic: A clean, rectangular cut that reveals the distinct, beautiful layers of crust, cream, and fruit.
Essential Elements for the Perfect Peach Pie Bars
To achieve the specific visual and textural results described in our blueprint, each ingredient serves a calculated culinary purpose. We are not just making a dessert; we are building a flavor profile that balances fat, acidity, and natural sweetness.
Unsalted Butter (1 cup / 226g): Cold, cubed butter is the engine of our shortbread. It creates that visible buttery texture and the essential “golden-brown” hue during the baking process.
All-Purpose Flour (2 cups / 250g): This provides the structural framework for the crumbly base. It must be measured precisely to ensure the crust isn’t too tough or too sandy.
Granulated Sugar (1/2 cup / 100g for crust; 1/2 cup / 100g for filling): Sugar provides sweetness while also aiding in the browning (Maillard reaction) of the shortbread edges.
Full-Fat Cream Cheese (16 oz / 452g): Two blocks of room-temperature cream cheese are required to achieve that “dense, smooth layer” of off-white filling that characterizes a true cheesecake bar.
Large Egg (1 unit): The egg acts as a binder for the cheesecake layer, ensuring it sets firmly enough to hold the heavy peach topping.
Fresh Peaches (3-4 large): Look for peaches that are fragrant but firm. We will be cutting them into thin, fan-shaped slices to mimic the professional aesthetic of our visual blueprint.
Apricot Preserves (1/4 cup / 60ml): This is the secret to the “clear fruit glaze.” When strained and warmed, it provides a glistening sheen without altering the vibrant color of the peaches.
Vanilla Extract (1 tsp / 5ml): High-quality vanilla rounds out the “cream” aspect of the peaches and cream profile, adding depth to the dense filling.
Professional Equipment for Precision Results
To ensure your bars look exactly like the “unedited, handheld smartphone photo” in our prompt, you need the right tools for clean lines and even baking. A 9×9 inch (23x23cm) square baking pan is the ideal vessel for achieving the correct height for the thick crust and the cheesecake layer.
Parchment paper is non-negotiable here. By creating a “sling,” you can lift the entire block of bars out of the pan once cooled, allowing you to cut them into perfect rectangles on a cutting board. A sharp mandoline or a very thin paring knife is also recommended for achieving those uniform, thin, fan-shaped peach slices.
The Architecture of the Perfect Shortbread Base
Constructing the Crumbly Foundation
Start by combining your flour, sugar, and a pinch of salt in a large bowl. Using a pastry cutter or your fingertips, work the cold, cubed butter into the dry ingredients until the mixture resembles coarse crumbs with some pea-sized pieces remaining.
Press this mixture firmly into the bottom of your prepared pan. To get that “thick, golden-brown crumbly shortbread crust,” you must press hard enough to unify the base but leave the top surface slightly textured. Blind bake at 350°F (175°C) for 18-20 minutes until the edges are visibly bronzed.
Crafting the Dense Creamy Filling
While the crust cools slightly, beat your room-temperature cream cheese and sugar until completely smooth. It is vital to avoid over-incorporating air; we want a “dense, smooth layer,” not a fluffy mousse.
Add the egg and vanilla, mixing only until just combined. Pour this off-white mixture over the par-baked crust, smoothing it to the edges with an offset spatula to create a level platform for your fruit.
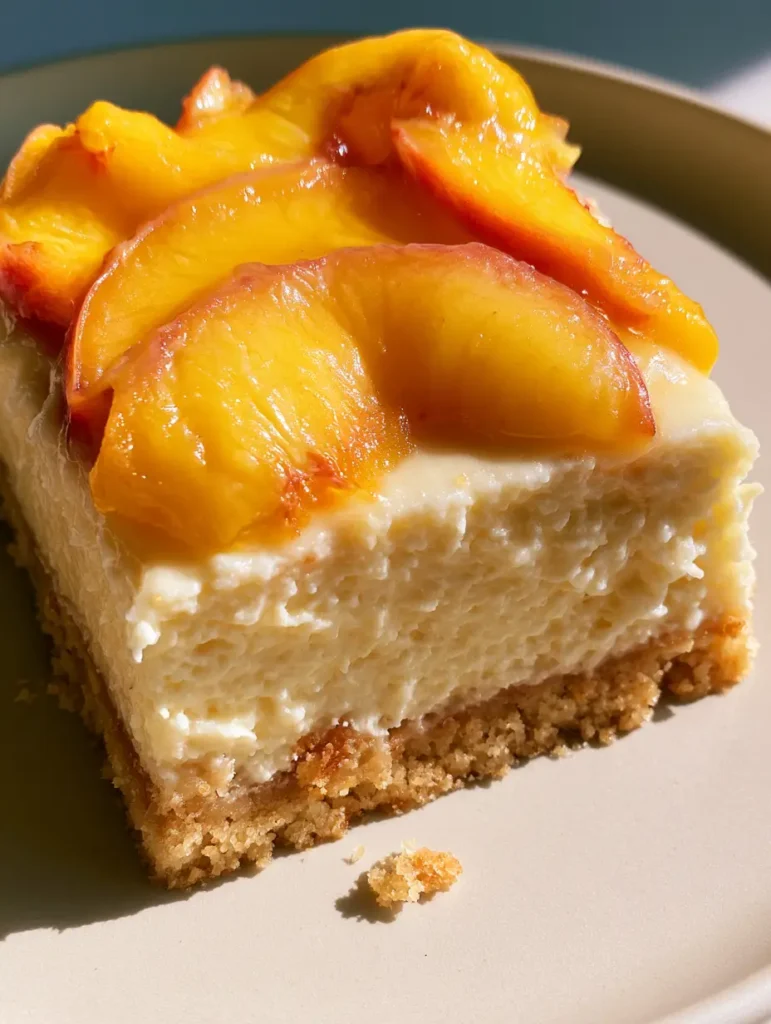
The Art of the Peach Fan
To achieve the “vibrant orange and yellow” look, peel your peaches only if the skins are particularly fuzzy; otherwise, the red-blushed skin adds a beautiful contrast. Slice the peaches into 1/8-inch (3mm) thick wedges.
Arrange the slices in overlapping fan shapes across the top of the cream cheese layer. This isn’t just for aesthetics; fanning the fruit allows for more surface area to be covered by the glaze, ensuring every bite has that “soft and slightly glistening” quality.
Baking to Perfection
Return the bars to the oven for 25-30 minutes. You are looking for the cheesecake layer to be set around the edges with a slight, stable jiggle in the center. The peaches should appear softened but still hold their distinct fan shape.
The Finishing Touch: Achieving the Glistening Clear Glaze
The “clear fruit glaze” mentioned in the blueprint is what separates an amateur bake from a professional one. In a small saucepan, heat the apricot preserves with a teaspoon of water until liquid. Strain through a fine-mesh sieve to remove any fruit chunks.
While the bars are still warm, use a pastry brush to gently dab the clear liquid over the peaches. This seals the fruit, prevents browning, and creates that stunning glistening effect. Let the bars cool completely at room temperature before refrigerating for at least 4 hours to ensure the “thick” crust and “dense” filling are fully set.
Expert Tips for Success
- Temperature Control: Ensure your cream cheese is truly room temperature. If it’s too cold, you will end up with lumps in your “dense, smooth” filling, ruining the visual uniformity.
- The Clean Cut: For those perfect rectangular bars, wipe your knife with a warm, damp cloth between every single cut. This prevents the cheesecake layer from smearing onto the golden crust.
- Peach Selection: If your peaches are too ripe, they will release too much juice and make the crust soggy. Aim for “just-ripe” fruit that gives slightly under thumb pressure.
- Crust Browning: Don’t be afraid of a deep golden color on the crust. That color equals flavor and ensures the base remains “crumbly” rather than doughy.
Storage, Reheating & Freezing
These Peaches and Cream Pie Bars are best served chilled. They can be stored in an airtight container in the refrigerator for up to 4 days. Because of the fresh fruit and glaze, the crust will slowly soften over time, but the flavors will remain vibrant.
We do not recommend freezing these bars once the fresh peach topping is applied, as the cellular structure of the peaches will break down upon thawing, leading to a watery glaze. If you must freeze them, freeze the crust and cheesecake layer, then add fresh peaches and glaze before serving.
What to Serve With Summer Fruit Bars
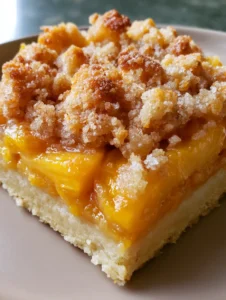
To lean into the summer theme, pair these bars with a dollop of lightly sweetened whipped cream or a scoop of high-quality vanilla bean ice cream. If you are looking for more inspiration for your stone fruit harvest, consider trying our peach pie crumble bars for a different texture profile.
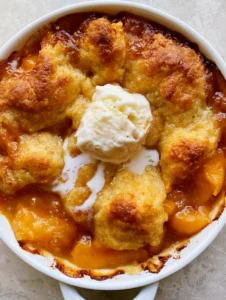
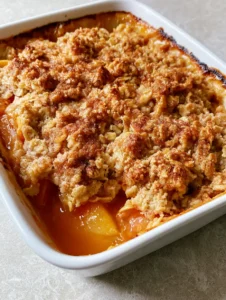
For those who love the combination of warm fruit and cold cream, our baked peaches and cream (coming soon) recipe is a simpler alternative. If you find yourself with an abundance of fruit, learning the art of canning peaches will ensure you can make this recipe even in the dead of winter. For a more traditional approach, you can never go wrong with a classic peach pie recipe (coming soon) or a rustic peach crumble pie.
Frequently Asked Questions
While fresh peaches provide the best texture and ‘vibrant orange’ color, you can use canned peaches if they are well-drained and patted dry. However, the texture will be softer than fresh fruit.
Peeling is optional. Leaving the skins on can add a beautiful red contrast to the yellow flesh, but if the skins are fuzzy or tough, a quick blanching and peeling is recommended.
The secret is using apricot preserves that have been heated and strained through a fine-mesh sieve. This removes solids, leaving a transparent, glistening liquid that seals the fruit.
For the best ‘dense and smooth’ texture, these bars need to chill in the refrigerator for at least 4 hours, or ideally overnight, to allow the cheesecake layer to fully firm up.
A soggy crust usually results from under-baking the base during the par-bake stage or using fruit that is over-ripe and excessively juicy. Ensure the crust is golden-brown before adding the filling.
The Ultimate Peaches and Cream Pie Bars Recipe
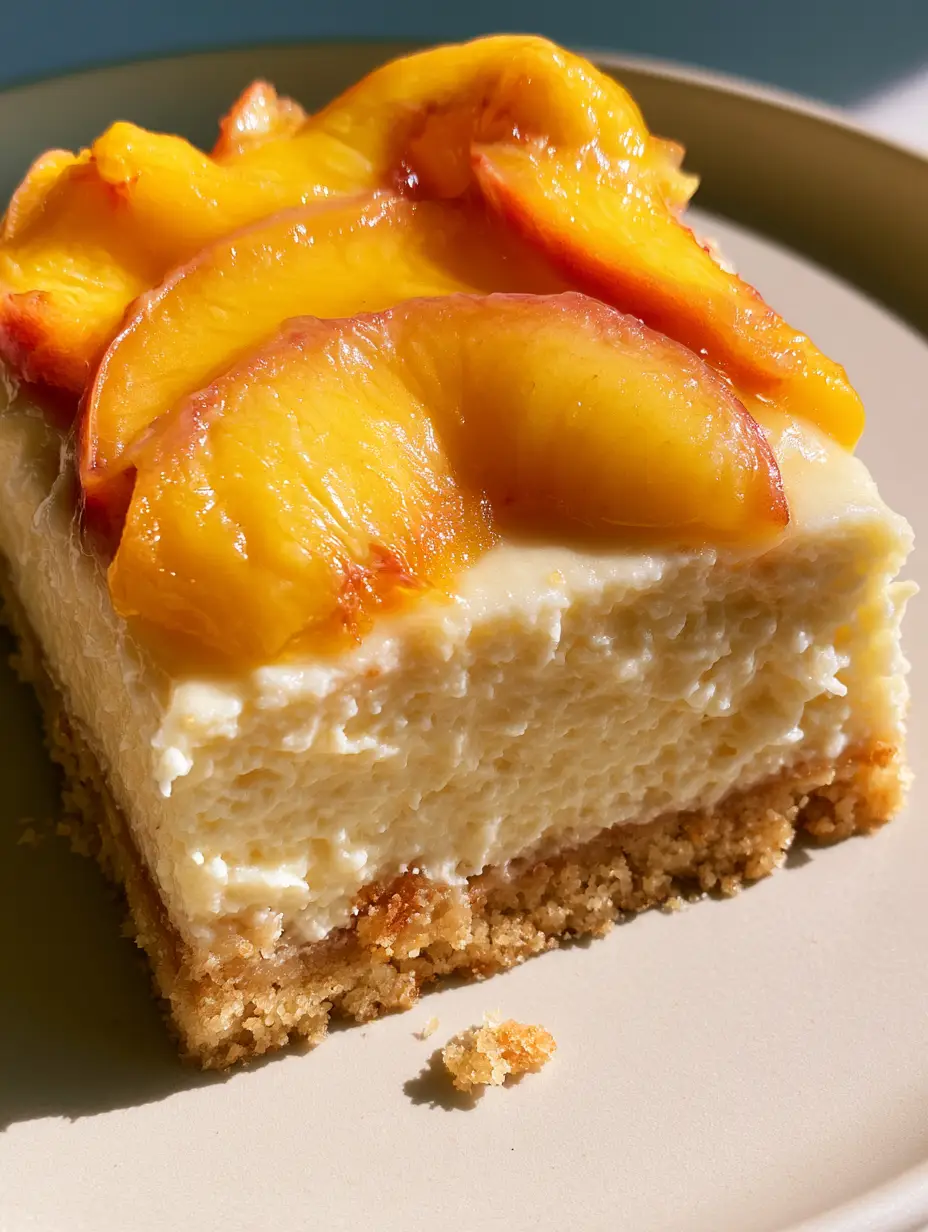
Peaches and Cream Pie Bars: The Ultimate Buttery Summer Dessert
Ingredients
Equipment
Instructions
- Combine flour, sugar, and cold butter using a pastry cutter until crumbly. Press firmly into a parchment-lined 9x9 pan.
- Bake at 350°F (175°C) for 18-20 minutes until the edges are golden-brown and the base is set.
- Beat cream cheese and sugar until smooth. Add egg and vanilla, mixing on low to maintain a dense texture.
- Spread filling over the crust. Arrange thin peach slices in overlapping fan shapes on top.
- Bake for 25-30 minutes until the cheesecake is set but slightly jiggling in the center.
- Brush warmed, strained apricot preserves over the peaches while still warm for a glistening finish.
Notes
Chill for at least 4 hours before slicing for clean rectangular bars.
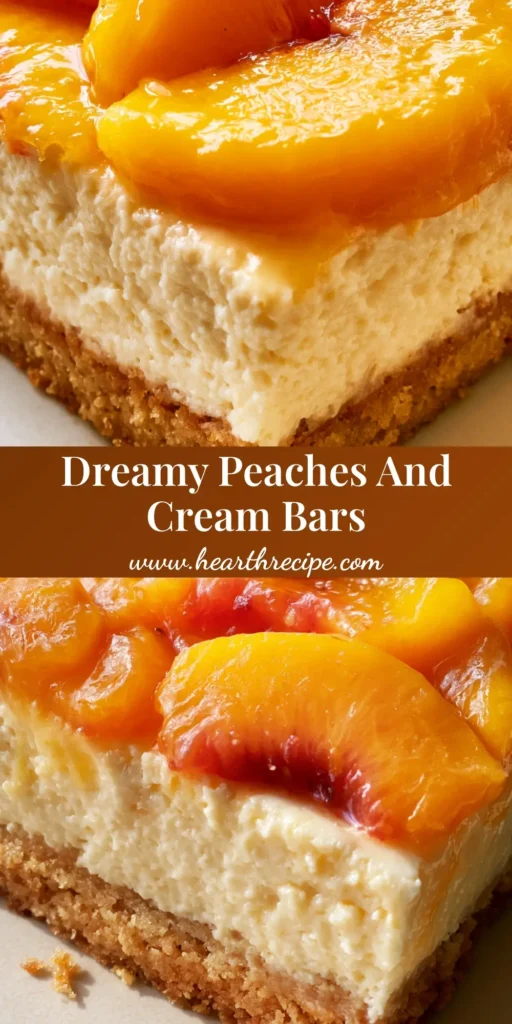
Final Thoughts on This Seasonal Classic
These Peaches and Cream Pie Bars are more than just a dessert; they are a celebration of summer’s bounty. The combination of the buttery, golden-brown crust and the vibrant, glistening peaches creates a dish that is as beautiful to look at as it is delicious to eat. We hope this recipe becomes a staple in your summer baking repertoire.
If you enjoyed this recipe, please leave a comment below and let us know how your peach fans turned out! Don’t forget to sign up for our newsletter for more elite recipes and share your creations on Pinterest to inspire other home cooks.