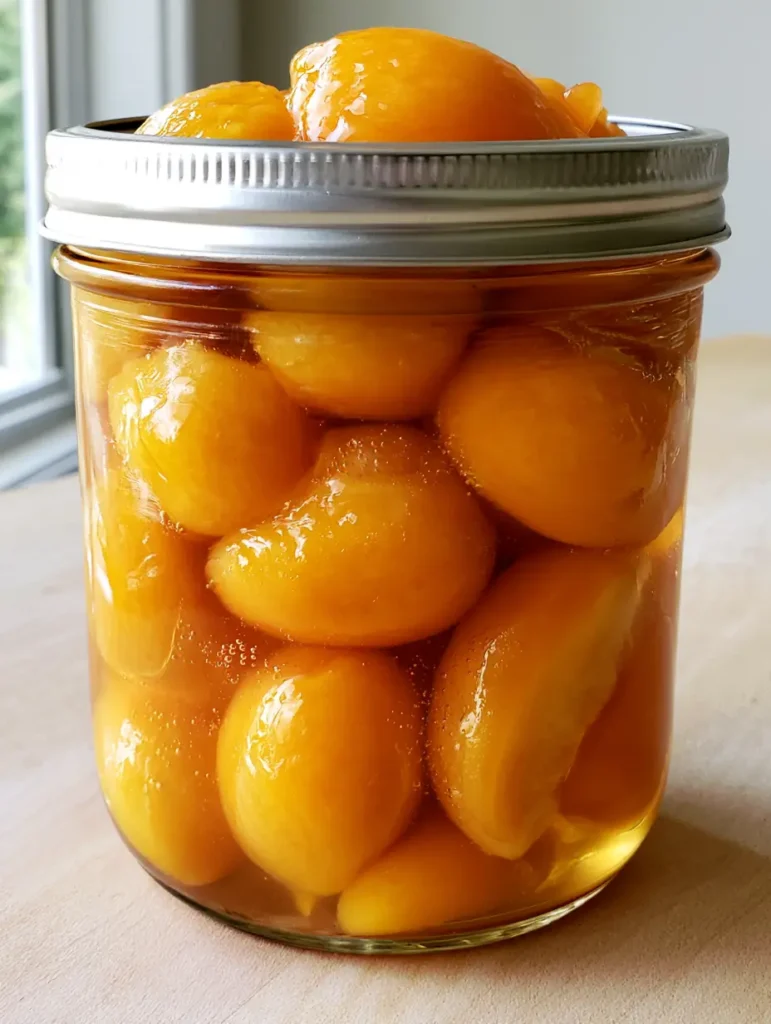
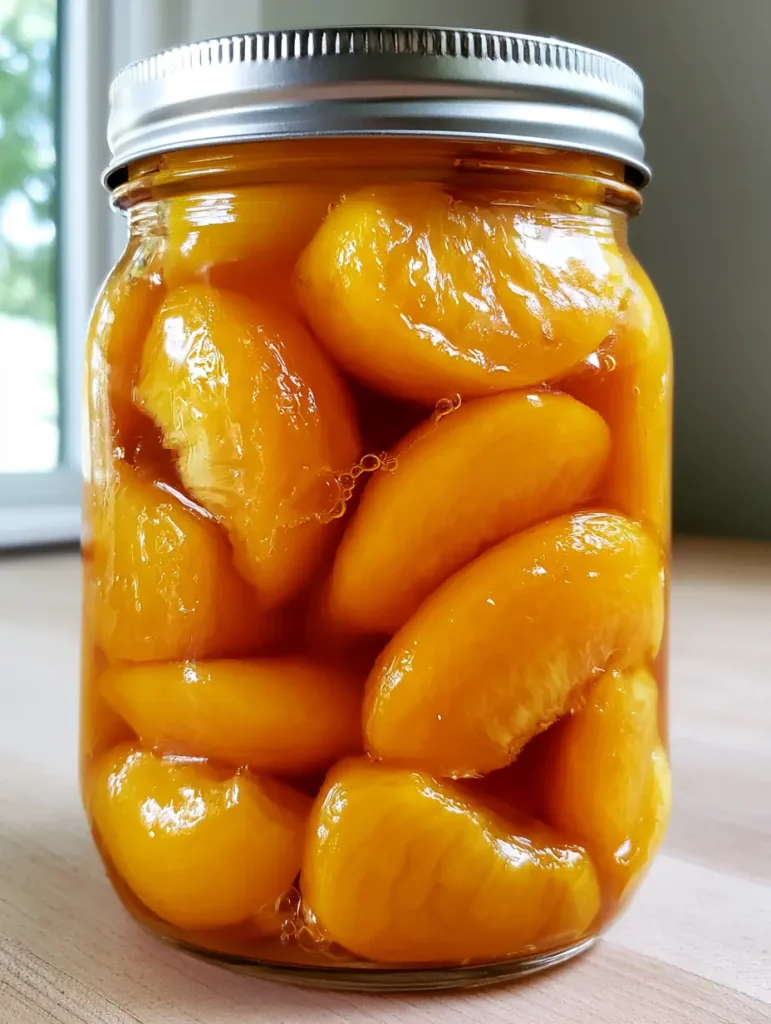
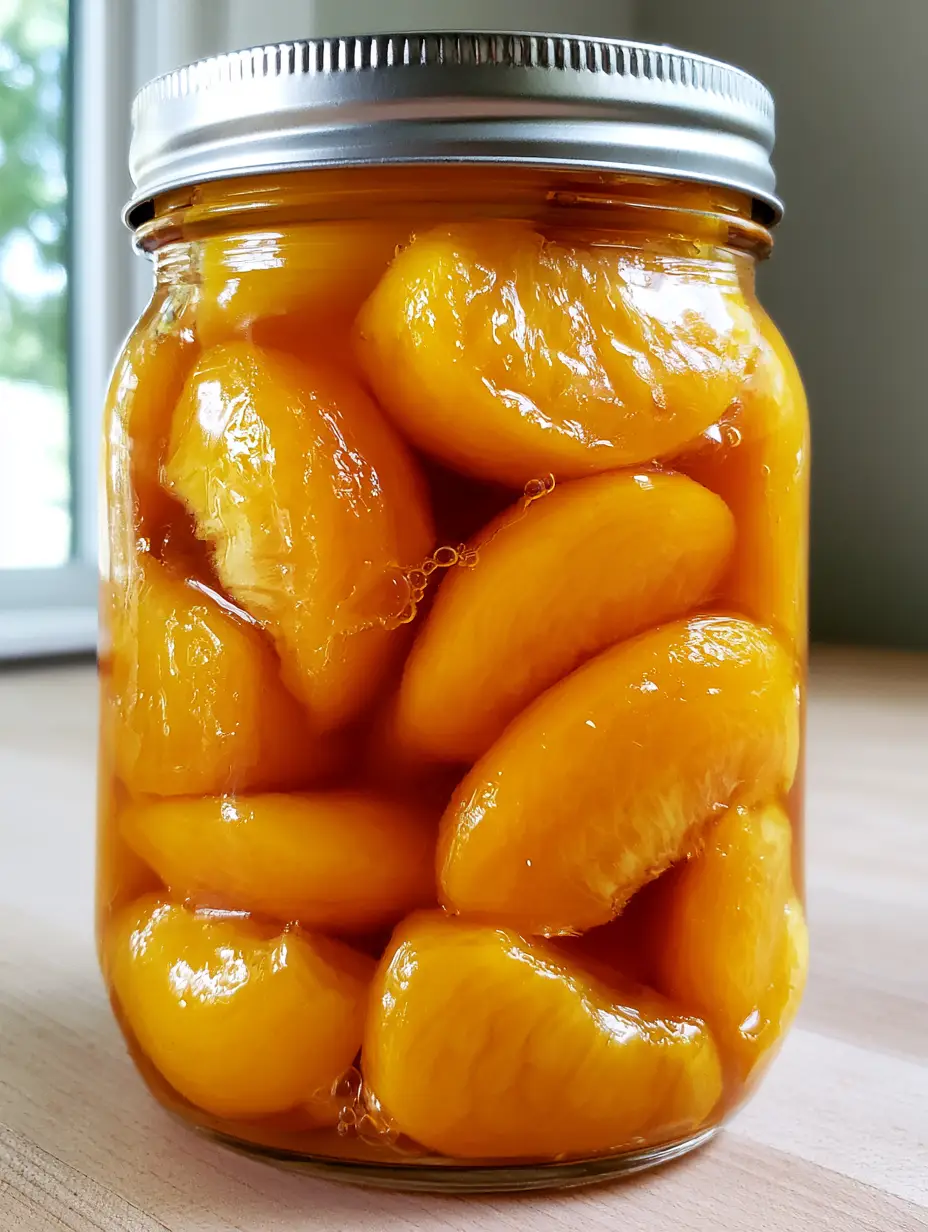
There is nothing quite like the sight of a clear glass quart-sized mason jar tightly packed with peeled and halved golden-orange peaches. When the winter chill sets in, opening a jar of fruit that looks soft, smooth, and glistening—exactly as it did the day it was picked—is a culinary triumph. These peaches are not just preserved; they are elevated by a translucent, light-amber honey syrup that remains thin and fluid, allowing the natural sweetness of the fruit to shine through.
Canning Peaches at home ensures you control the quality of the fruit and the sugar content of the liquid. By using honey instead of refined white sugar, you impart a delicate floral note that complements the stone fruit’s acidity. As you look through the glass, you will notice small, naturally occurring air bubbles visible between the layers of fruit, a hallmark of a perfectly packed home-canned jar. This guide will walk you through the precise steps to achieve that professional, farmhouse-style result right in your own kitchen.
Why This Method for Canning Peaches Surpasses Store-Bought Options
- Unrivaled Texture: By following our specific blanching and packing times, your peaches will remain tender yet structurally sound, never turning into mush.
- Natural Sweetness: The use of a thin honey syrup provides a clean, bright finish that enhances the fruit rather than masking it in heavy corn syrup.
- Visual Brilliance: Our technique prevents oxidation, ensuring your peaches stay vibrant golden-orange rather than turning a dull brown.
- Pantry Versatility: These peaches are ready to be used in a fresh peach cake or eaten straight from the jar for a quick snack.
The Essential Elements for Golden Honey-Preserved Peaches
To achieve the visual and textural perfection seen in high-end preserves, you must start with the right components. Every ingredient serves a structural or chemical purpose in the canning process.
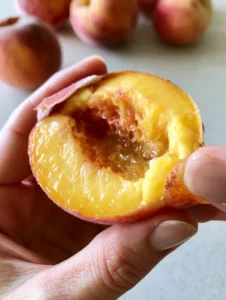
Fresh Yellow Peaches: Choose freestone varieties if possible, as the pit pulls away easily, leaving a smooth, unblemished cavity in the center of the halved fruit. You want peaches that are firm-ripe; they should yield slightly to pressure but not be soft enough to bruise during the peeling process.
Honey (Mild Variety): A light-colored honey like Clover or Orange Blossom works best for this recipe. A darker honey will cloud the syrup, whereas a light-amber honey creates that desired translucent, glistening effect around the peaches.
Filtered Water: High-quality water is the base of your thin syrup. Using filtered water prevents minerals from reacting with the fruit’s natural acids, keeping the liquid clear and fluid.
Lemon Juice or Ascorbic Acid: This is a non-negotiable “invisible” ingredient. It prevents the peaches from browning during the prep phase and helps maintain the vibrant golden-orange hue after the heat processing is complete.
Canning Salt (Optional): A tiny pinch can actually brighten the flavors of the honey and peach, though it is not strictly required for safety in this high-acid preserve.
The Professional Toolkit for Water Bath Canning
Canning Peaches requires specific equipment to ensure a safe, vacuum-sealed finish that lasts on your shelf for up to a year. Having these tools ready prevents the fruit from sitting out too long and losing its luster.
- Quart-Sized Mason Jars: Clear glass is essential so you can admire the tightly packed fruit and check for proper syrup coverage.
- Two-Piece Metal Canning Lids: Use new silver metal lids and rings to ensure the vacuum seal is strong and reliable.
- Large Water Bath Canner: This must be deep enough to cover the jars by at least 1-2 inches (2.5-5cm) of boiling water.
- Blanching Basket and Large Pot: Essential for the “shock” method of peeling peaches without damaging the delicate flesh.
- Jar Lifter and Bubble Remover: These tools allow you to handle hot jars safely and remove the air bubbles trapped between the peach halves.
Mastering the Prep: Peeling and Halving for a Glistening Result
The Secret to Effortless Peeling
To get that smooth, glistening surface on your peaches, you must use the blanching method. Bring a large pot of water to a rolling boil and prepare a separate “ice bath” of cold water and ice cubes. Submerge the whole peaches in the boiling water for exactly 30-60 seconds; you will see the skins start to crack or loosen.
Immediately move the peaches to the ice bath. Once cooled, the skins will slip off under your fingers with almost no effort. This leaves the exterior of the peach perfectly intact and smooth, avoiding the jagged edges that come from using a vegetable peeler. Once peeled, halve the peaches and remove the pits, placing the halves immediately into a bowl of water mixed with 1 tbsp (15ml) of lemon juice to prevent oxidation.
Crafting the Translucent Honey Syrup
For Canning Peaches, we utilize a “light” syrup ratio to keep the liquid thin and fluid. In a medium saucepan, combine 1.5 cups (350ml) of honey with 4 cups (950ml) of water. Heat the mixture over medium heat, stirring constantly, until the honey is fully dissolved and the liquid is simmering. Do not let it reach a hard boil, as this can create foam that will cloud your final product. Keep the syrup warm on the lowest setting until you are ready to pack the jars.
The Art of the “Raw Pack”: Filling Your Mason Jars
Tightly Packing the Peach Halves
Take your sterilized quart jars and begin layering the peach halves with the cavity (pit side) facing down. This allows the fruit to “nest” together, ensuring they are tightly packed without being crushed. As you work, you will notice small air bubbles forming; this is normal and will be addressed in the next step. Fill the jar until the peaches reach the “shoulder” of the glass.
Applying the Liquid Gold
Carefully pour the warm honey syrup over the peaches. You must leave exactly 1/2 inch (1.25cm) of headspace at the top of the jar. This space is critical for the vacuum seal to form correctly during the cooling process. Use a non-metallic spatula or bubble remover tool to gently shift the fruit, allowing the syrup to fill every crevice and forcing large air bubbles to the surface.
The Final Seal
Wipe the rim of the jar with a clean, damp cloth to remove any sticky syrup residue. Place the silver metal canning lid on top and screw the ring on until it is “finger-tight.” This means you turn it until you feel resistance, but do not force it shut with your entire hand’s strength. This allows air to escape during the boiling process, which is what creates the vacuum seal.
Processing and Safety: The Water Bath Method
Lower your filled jars into the boiling water bath canner. Ensure the water covers the silver lids by at least one inch. For Canning Peaches in quart jars, process in boiling water for 25 minutes (adjusting for altitude if you are above 1,000 feet). Once the time is up, turn off the heat and let the jars sit in the water for 5 minutes before removing them.
Lift the jars straight up—do not tilt them—and place them on a towel-lined surface. As they cool, you will hear the satisfying “ping” of the metal lids being sucked downward. This sound confirms the vacuum seal has been achieved. Let the jars sit undisturbed for 12 to 24 hours. The resulting jars will feature peaches that look soft and smooth, submerged in that beautiful light-amber syrup.
Expert Tips for Success
- Check Your Lids: Always use brand-new flat lids. Reusing lids from previous years is the leading cause of seal failure in home canning.
- Manage the Bubbles: Don’t obsess over every tiny bubble. The Midjourney visual shows that small, naturally occurring bubbles are expected and provide an artisanal, handheld look.
- Altitude Matters: If you live in the mountains, you must increase your processing time. Check a local extension office guide for the exact minutes needed for your elevation.
- Avoid Over-Processing: If you boil the jars for too long, the peaches will lose their shape and the syrup may turn cloudy from broken fruit fibers.
Storage, Shelf Life, and Serving
Store your sealed jars in a cool, dark, and dry place. For the best flavor and texture, consume your peaches within 12 months. Once a jar is opened, it must be refrigerated and used within 5-7 days. The thin syrup is just as delicious as the fruit; don’t pour it away! Use it as a base for a refreshing wine spritzer or drizzle it over a dense pound cake.
What to Serve With Your Home-Canned Peaches
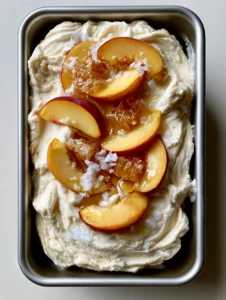
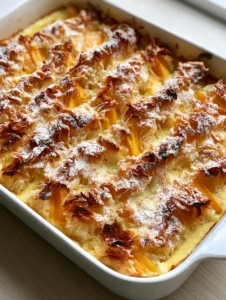
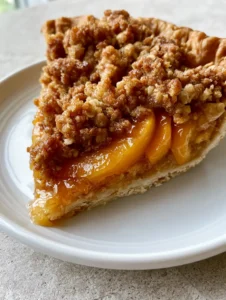
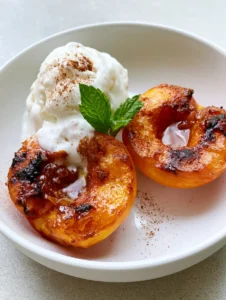
These honey-preserved peaches are incredibly versatile. They pair beautifully with creamy textures and baked goods. For a sophisticated breakfast, serve them over Greek yogurt with a side of toasted peach pecan bread. If you are hosting a summer gathering, use a jar of these to create a quick blueberry and peach crumble or a simple cobbler for two.
For dessert enthusiasts, these peaches are the perfect topping for a no-bake peach cheesecake (coming soon) or can be blended into a chilled peach bellini for a summer cocktail hour. The possibilities are truly endless when you have a pantry stocked with liquid gold.
Frequently Asked Questions
Yes, you can substitute the honey with granulated white sugar. For a light syrup, use a ratio of 2 cups sugar to 4 cups water. The flavor will be more neutral, but the peaches will still maintain their beautiful golden color.
Once the jars have cooled for 12-24 hours, press the center of the silver lid. If it is firm and does not pop up or down, the seal is successful. You can also remove the ring and lift the jar by the edges of the flat lid to test the strength of the vacuum.
For optimal quality, texture, and color, consume your canned peaches within one year. While they remain safe to eat as long as the seal is intact, the fruit may soften and the syrup may darken slightly after 12 months.
Raw pack involves putting cold, raw fruit into jars and covering it with hot syrup, while hot pack involves briefly simmering the fruit in syrup before canning. Raw pack, used here, helps the peaches maintain a firmer, smoother appearance in the jar.
Small bubbles are naturally occurring when packing fruit tightly. While you should try to remove large air pockets using a bubble remover tool, tiny bubbles between the layers of fruit are normal and do not affect the safety or quality of the preserve.
Canning Peaches: The Definitive Honey Syrup Recipe
Canning Peaches in Honey Syrup: The Ultimate Guide to Preserving Summer Gold
Ingredients
Equipment
Instructions
- Wash quart mason jars and silver metal lids in hot, soapy water. Keep jars warm in the canner water to prevent breakage when filling.
- In a medium pot, combine 1.5 cups (350ml) honey and 4 cups (950ml) water. Heat until simmering and honey is fully dissolved into a thin, light-amber liquid.
- Dip whole peaches in boiling water for 30-60 seconds until skins crack, then immediately shock in an ice bath. Slip the skins off.
- Cut peeled peaches in half and remove the pits. Place halves in water treated with lemon juice to keep them golden-orange.
- Tightly pack peach halves into warm jars, cavity side down. Pour hot honey syrup over the fruit, leaving 1/2 inch (1.25cm) headspace.
- Run a non-metallic tool inside the jar to release air bubbles. Wipe the rim, apply the silver lid, and tighten the ring to finger-tight.
- Process jars in a boiling water bath for 25 minutes. Remove and let cool undisturbed for 12-24 hours until vacuum seal is confirmed.
Notes
Adjust processing time for altitude if living above 1,000 feet.
Canning Peaches is a rewarding tradition that captures the essence of summer in a jar. By using a translucent honey syrup and following precise packing techniques, you create a product that is visually stunning and culinarially superior to any commercial alternative. Whether you are building your emergency food storage or looking for the perfect handmade gift, these glistening jars of fruit are a testament to the beauty of home preservation.
We invite you to share your canning journey with us! Did you hear that first “ping” of the lid sealing? Leave a comment below or share your photos on Pinterest. For more seasonal inspiration, sign up for our newsletter and never miss a harvest update.