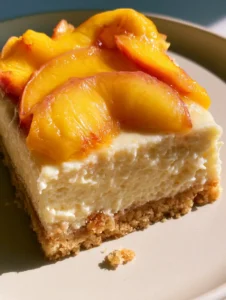
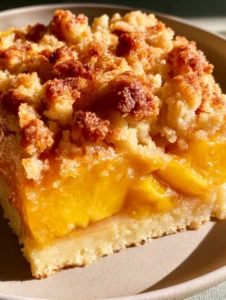
There is nothing quite like the sight of vibrant, sun-ripened fruit resting atop a cloud of velvety cheesecake. These Peach and Cream Cheese Bars are the ultimate tribute to summer, combining a dense, smooth cream cheese layer with the juicy brightness of fresh yellow peaches. When you pull these out of the oven, the glistening fruit slices against the golden-brown crust look exactly like a professional pastry shop creation.
Imagine holding a square where the crust is perfectly crumbly and buttery, supporting a filling that is rich yet light. The natural daylight catching the light fruit glaze makes these bars look as good as they taste. Whether you are hosting a backyard barbecue or just looking for a way to use up a basket of farmer’s market finds, this recipe delivers a bakery-quality result with the rustic charm of home baking.
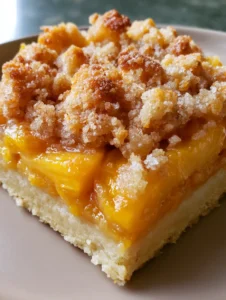
The visual appeal of these bars is undeniable, featuring a thick, golden-brown shortbread base and a creamy white cheesecake center. The top surface is adorned with thin slices of fresh orange and yellow peaches that have been softened just enough in the heat to release their juices. Arranged neatly on crinkled white parchment paper, they represent the perfect balance of texture and flavor.
Why You Will Love These Glistening Fruit Cheesecake Squares
- The Perfect Texture Contrast: You get a crunch from the golden-brown shortbread crust, a silky smooth baked cream cheese filling, and the soft, juicy bite of fresh peaches.
- Visually Stunning Presentation: The thin peach slices create a beautiful mosaic pattern that naturally glistens thanks to a simple, light fruit glaze.
- Make-Ahead Convenience: These bars actually taste better after chilling, making them the perfect stress-free dessert for entertaining.
- Scientifically Balanced Sweetness: We use a touch of lemon juice and zest to balance the richness of the cream cheese and the natural sugars of the yellow peaches.
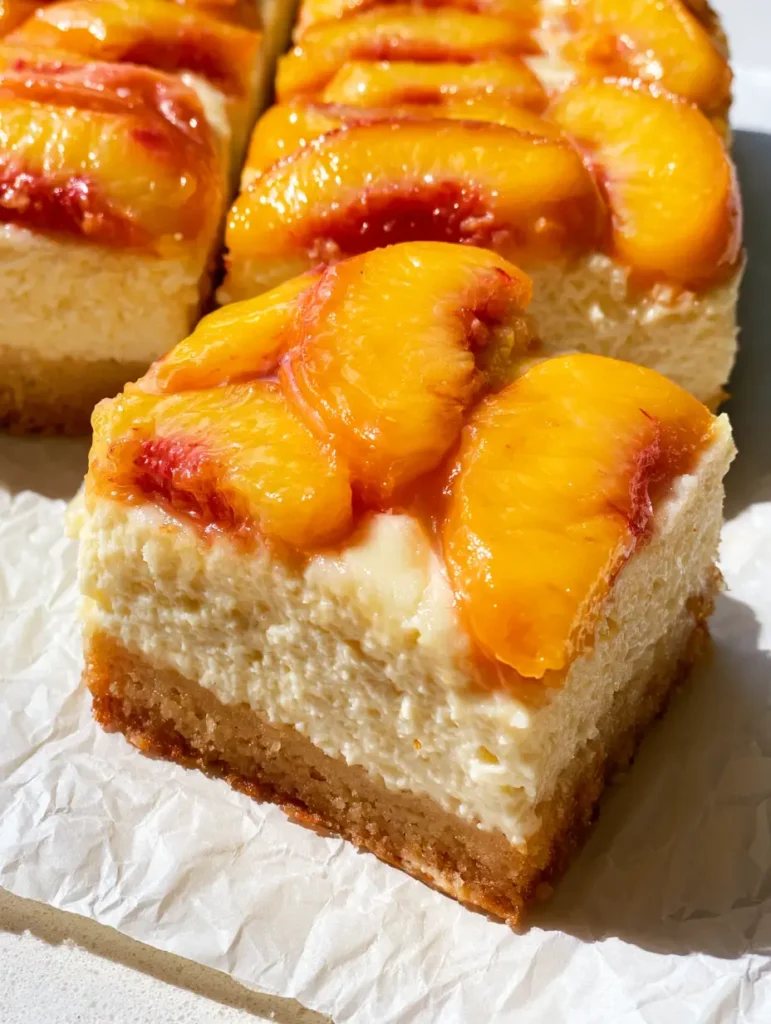
The Secret to a Perfect Golden Shortbread Crust
The foundation of any great dessert bar is a sturdy, flavorful base. For these Peach and Cream Cheese Bars, we use a traditional shortbread method that relies on cold, high-quality butter to achieve that sought-after golden-brown hue.
All-Purpose Flour: 2 cups (250g). This provides the structural integrity needed to hold the heavy cream cheese and fruit layers without becoming soggy. Use the spoon-and-level method for accuracy.
Unsalted Butter: 1 cup (225g), cold and cubed. The cold butter creates tiny pockets of steam during baking, which results in a tender, crumbly texture rather than a hard, cookie-like base.
Granulated Sugar: 1/2 cup (100g). Just enough to sweeten the crust and help with the browning process through caramelization. It creates that beautiful contrast against the white parchment paper.
Salt: 1/2 tsp (3g). A critical “invisible” ingredient that sharpens the buttery flavors and prevents the crust from tasting flat. Never skip the salt in a shortbread base.
Crafting the Silky Smooth Baked Cream Cheese Filling
To achieve the “dense, smooth, creamy white cheesecake layer” described in our visual blueprint, the temperature of your ingredients is paramount. Cold cream cheese will result in lumps that are impossible to whisk out once the eggs are added.
Full-Fat Cream Cheese: 16 oz (450g), softened to room temperature. This is the heart of the recipe, providing the rich, tangy flavor and dense texture that distinguishes these from creamy peach cheesecake bars (coming soon).
Granulated Sugar: 1/2 cup (100g). This dissolves into the cream cheese to provide sweetness without making the filling overly runny or syrupy.
Large Eggs: 2 units, room temperature. Eggs act as the binding agent that sets the cheesecake layer, giving it a stable structure that can be sliced into neat, clean bars.
Vanilla Extract: 1 tsp (5ml). Use pure vanilla for the best aromatic profile, which complements the floral notes of the fresh yellow peaches perfectly.
Lemon Juice: 1 tbsp (15ml). The acidity cuts through the fat of the cream cheese, brightening the entire flavor profile and helping the fruit flavors pop.
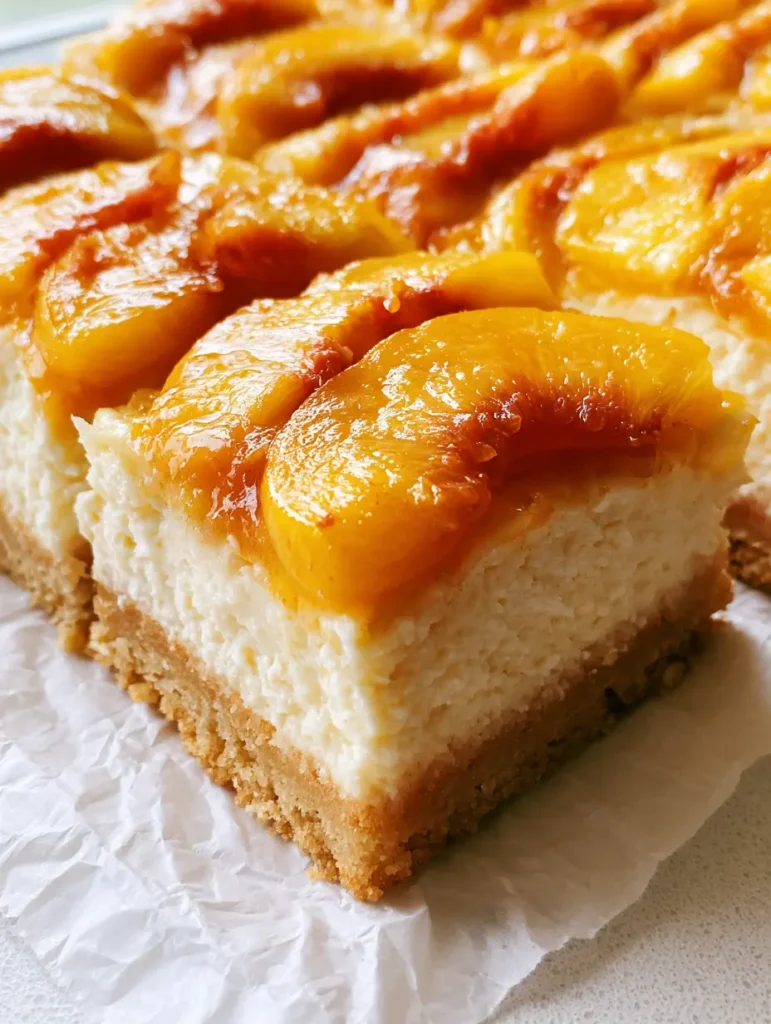
Selecting and Preparing the Vibrant Yellow Peaches
For the top layer, you want peaches that are ripe but still firm enough to slice thinly. If they are too soft, they will turn into mush in the oven; if they are too hard, they won’t have that “glistening, softened” look we want.
Fresh Yellow Peaches: 3-4 large peaches. Yellow peaches provide a more classic, tart-sweet balance compared to white peaches, and their vibrant orange hue looks spectacular against the creamy white filling. If you are looking for more variety, you might also enjoy these sweet and savory peach recipes (coming soon) during the peak of the season.
Apricot Preserves: 2 tbsp (30g). This is the secret to the “light fruit glaze.” When melted and brushed over the warm peaches, it provides a professional shine and prevents the fruit from drying out.
Essential Equipment for Bakery-Style Results
To ensure your Peach and Cream Cheese Bars look exactly like the handheld smartphone photo in the prompt, you need the right tools for the job. A 9×9 inch (23×23 cm) square baking pan is the ideal size for achieving that thick, golden-brown crust ratio.
Lining the pan with white parchment paper is non-negotiable. Not only does it prevent sticking, but it allows you to lift the entire block of bars out of the pan for neat slicing. The “crinkled” look of the paper in the photo adds a rustic, approachable aesthetic to the final presentation.
A sharp chef’s knife is also essential. To get the clean edges seen in the visual prompt, you should wipe the knife clean with a warm, damp cloth between every single cut. This prevents the creamy filling from smearing onto the vibrant peach slices.
Step-by-Step Guide to Perfect Peach Bars
Preparing the Buttery Shortbread Base
Start by preheating your oven to 350°F (175°C). Line your square pan with parchment paper, leaving an overhang on the sides. In a large bowl, combine the flour, sugar, and salt.
Work the cold, cubed butter into the flour mixture using a pastry cutter or your fingertips. You are looking for a sandy texture with some pea-sized crumbs. Press this firmly into the bottom of your prepared pan.
Bake the crust for 18-20 minutes. You are looking for a specific visual cue: the edges should be a light golden-brown, and the center should look set and matte. This par-baking step ensures the crust stays crisp under the moist filling.
Mixing the Creamy Cheesecake Layer
While the crust bakes, beat the softened cream cheese and sugar together until completely smooth and aerated. Add the eggs one at a time, beating on low speed just until combined to avoid incorporating too much air, which can cause cracking.
Stir in the vanilla and lemon juice. The mixture should be thick, pale, and pourable. Once the crust comes out of the oven, pour the filling directly over the hot base, smoothing it to the edges with a spatula.
Designing the Vibrant Peach Topping
Slice your yellow peaches into thin, even wedges (about 1/8 inch or 3mm thick). Arrange them in overlapping rows across the top of the cream cheese filling. As they bake, they will nestle into the cream, much like the layout of traditional peach pie bars.
Place the pan back in the oven for 30-35 minutes. The sensory cue to look for is a slight jiggle in the very center of the bars, while the edges of the cream cheese are set. The peaches should look softened and their colors should be deepened to a rich orange.
The Final Glaze and Cooling Process
Immediately after removing the pan from the oven, heat the apricot preserves in the microwave for 15 seconds. Use a pastry brush to gently dab the glaze over the warm peach slices. This creates that “glistening” effect seen in the visual prompt.
Allow the bars to cool to room temperature in the pan, then refrigerate for at least 4 hours (preferably overnight). This cooling period is critical for the “dense, smooth” texture and ensures the bars hold their shape when sliced.
Expert Tips for Success
- Room Temp is Key: Ensure your cream cheese and eggs are truly at room temperature. This prevents a lumpy filling and ensures the “smooth creamy white” look.
- Don’t Peel the Peaches: Keeping the skins on the peaches adds a beautiful rim of red and deep orange to each slice, enhancing the visual contrast.
- Clean Slices: For the neat arrangement seen on the crinkled parchment paper, chill the bars thoroughly before cutting. Use a hot knife for the cleanest edges.
- Avoid Over-Mixing: Once you add the eggs, stop mixing as soon as they disappear. Over-mixing introduces air bubbles that will rise and pop, ruining the smooth surface.
Storage, Reheating, and Freezing Advice
These Peach and Cream Cheese Bars should always be stored in the refrigerator due to the dairy content. Place them in an airtight container with pieces of parchment paper between layers to prevent the glistening glaze from sticking. They will stay fresh and delicious for up to 5 days.
If you wish to freeze them, wrap individual bars tightly in plastic wrap and then place them in a freezer-safe bag. They can be frozen for up to 3 months. To serve, thaw them in the refrigerator overnight. Note that the peaches may lose some of their “glistening” sheen after freezing, but the flavor will remain excellent.
We do not recommend reheating these bars, as the cream cheese layer is designed to be enjoyed cold or at room temperature. Heating them will cause the filling to soften too much and lose its dense structure.
What to Serve With These Summer Bars
These bars are quite rich, so they pair beautifully with light, refreshing beverages. A glass of chilled homemade peach lemonade provides a double dose of fruit flavor that is incredibly satisfying on a hot day.
If you are serving these as part of a larger dessert spread, consider contrasting them with something airy. They look wonderful alongside a classic peaches and cream trifle (coming soon) or a selection of smaller fruit-based appetizers.
For a truly indulgent experience, serve a square of these bars with a small scoop of no-churn peach ice cream. The temperature difference between the chilled bar and the melting ice cream is pure culinary bliss.
Frequently Asked Questions
While fresh yellow peaches provide the best texture and ‘glistening’ visual, you can use canned peaches. Ensure they are well-drained and patted dry with paper towels to prevent the filling from becoming watery.
It is not necessary to peel the peaches. The skin adds beautiful color and helps the thin slices hold their shape. However, if you prefer a softer texture, you can blanch and peel them.
Par-baking the shortbread crust until it is light golden-brown creates a moisture barrier. This ensures the base stays crisp even after the creamy filling and juicy peaches are added.
For the cleanest slices and best texture, chill the bars for at least 4 hours. Chilling allows the fats in the cream cheese and butter to firm up, resulting in a dense, professional finish.
Cracking is usually caused by over-beating the eggs, which incorporates air that expands and then collapses. Mix on low speed and only until the eggs are just combined.
The Ultimate Peach and Cream Cheese Bars Recipe
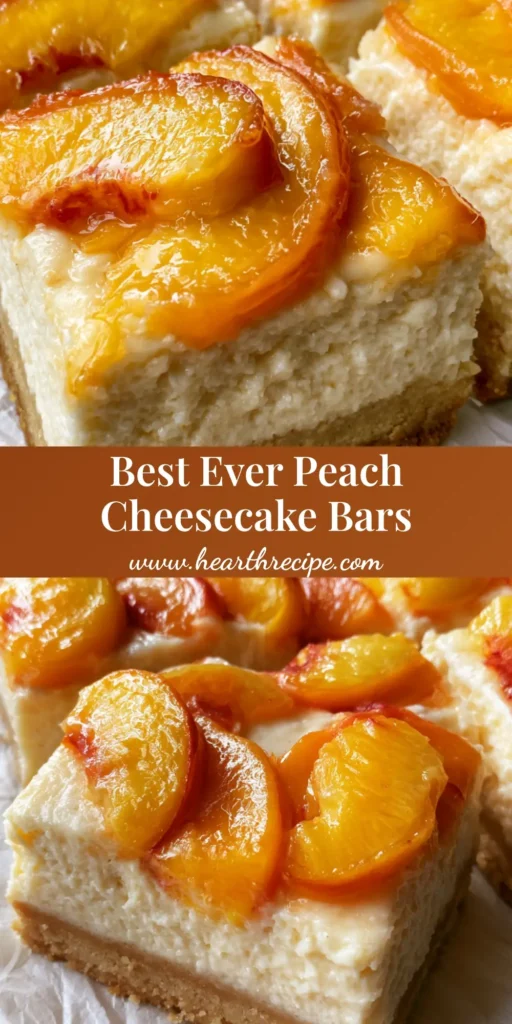
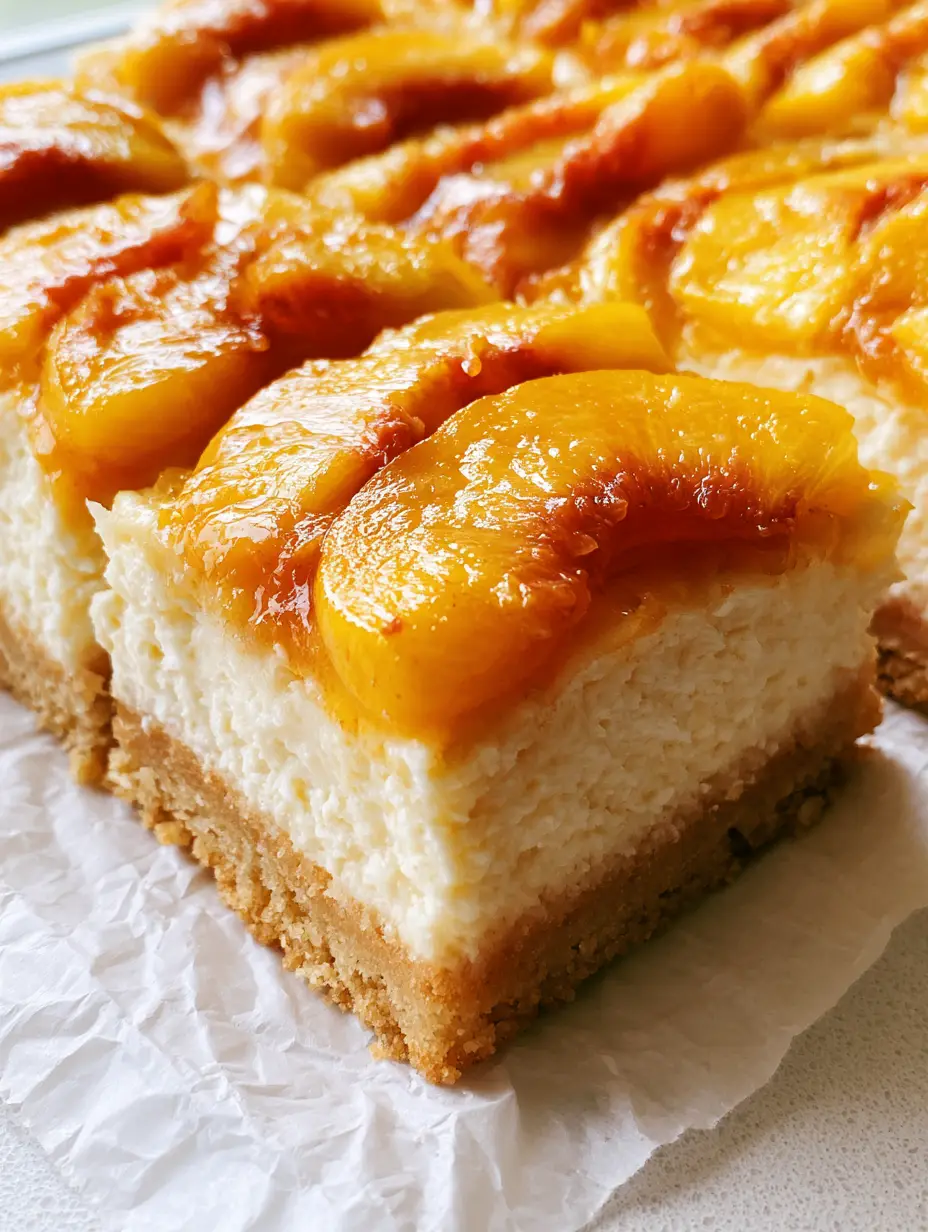
Peach and Cream Cheese Bars with a Buttery Shortbread Crust
Ingredients
Equipment
Instructions
- Preheat oven to 350°F (175°C). Combine flour, 1/2 cup sugar, and salt. Cut in cold butter until crumbly.
- Press into a parchment-lined 9x9 inch pan. Bake for 18-20 minutes until edges are light golden-brown.
- Beat softened cream cheese and 1/2 cup sugar until smooth. Add eggs, vanilla, and lemon juice; mix on low until just combined.
- Pour filling over hot crust. Arrange thin peach slices in overlapping rows on top.
- Bake for 30-35 minutes until the center slightly jiggles and edges are set.
- Brush melted apricot preserves over the hot peaches for a glistening finish. Cool completely and chill for 4 hours before slicing.
Notes
Wipe your knife clean between cuts for perfectly neat squares.
Closing & Call to Action
These Peach and Cream Cheese Bars are a celebration of summer’s best flavors, wrapped in a buttery, shortbread hug. With their glistening fruit topping and smooth, creamy filling, they are guaranteed to be the star of your next gathering. The combination of textures—from the crumbly crust to the juicy yellow peaches—makes every bite a memorable one.
If you enjoyed this recipe, please leave a comment below and let us know how yours turned out! Don’t forget to snap a photo and share it with us. For more seasonal inspiration and beautiful recipe visuals, be sure to follow us on Pinterest and save this recipe to your favorite dessert boards.