There is a specific, fleeting magic that happens when a ripe summer peach meets the intense, dry heat of a searing-hot skillet. These Caramelized Peaches aren’t just a simple fruit dish; they are a study in textural contrasts—the fruit remains structurally sound yet tender, while the exterior develops a sophisticated, dark golden-brown crust that tastes of toasted sugar and sunshine.
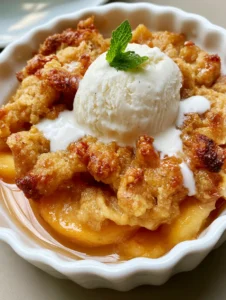
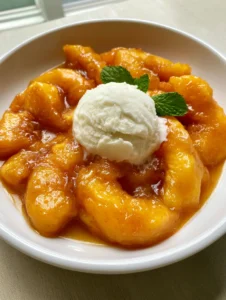
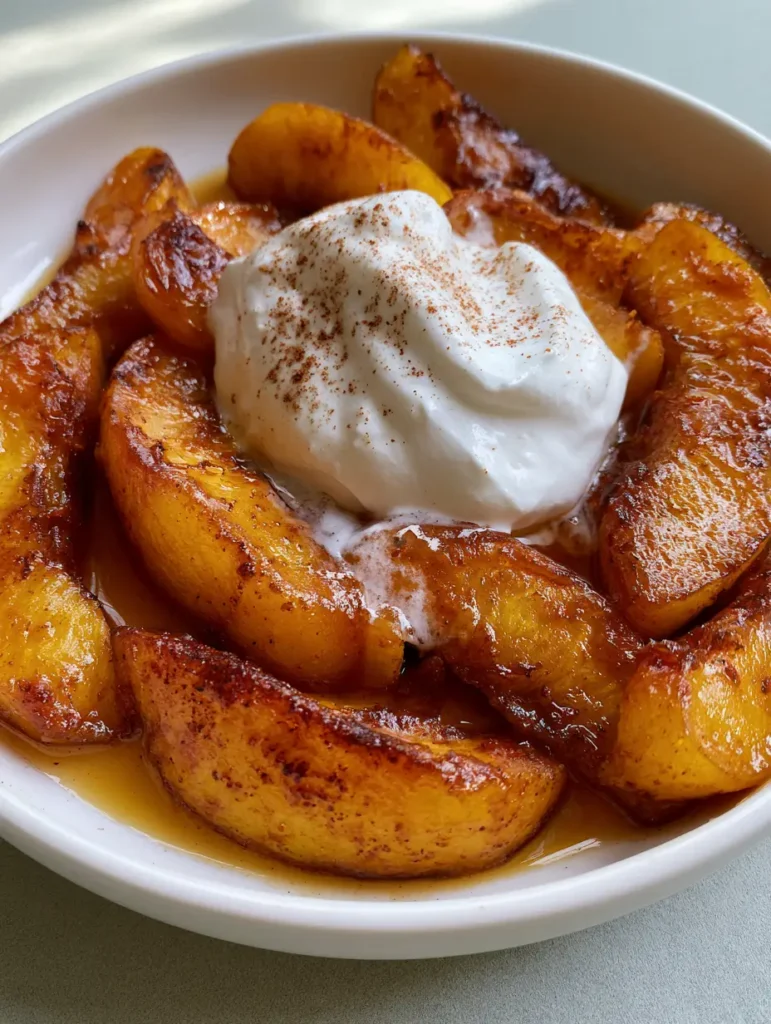
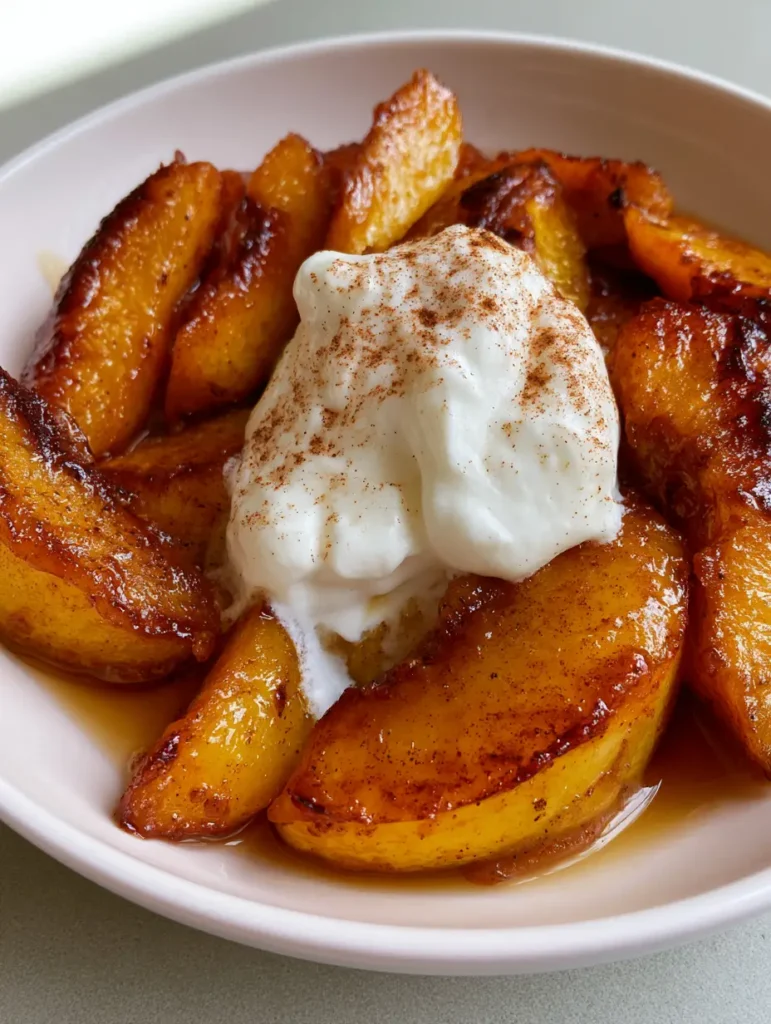
Imagine a shallow white ceramic bowl filled with thick wedges of peaches, their edges blistered to a perfect mahogany. They swim in a thin, glistening amber-colored syrup that coats every curve of the fruit. In the center sits a large, soft dollop of white whipped cream, just beginning to yield and melt from the residual heat, finished with a precise dusting of fine ground cinnamon.
Whether you are looking for a sophisticated topper for your morning yogurt or a standalone dessert that looks like it came from a professional pastry kitchen, mastering the art of the pan-sear is essential. This guide will walk you through the culinary science of fruit caramelization to ensure your peaches never turn to mush.
Why This Pan-Seared Method Outshines the Rest
- Textural Integrity: Unlike a stewed peaches (coming soon) recipe, pan-searing uses high heat to create a crust while keeping the interior of the peach wedge firm.
- Amber Glaze Perfection: We utilize the natural sugars of the fruit combined with a touch of brown sugar to create a glistening, translucent syrup that is never grainy.
- The Temperature Play: The contrast between the hot, seared fruit and the cold, melting dollop of soft whipped cream creates a professional sensory experience.
- Visual Sophistication: By focusing on the dark golden brown edges, we achieve a rustic yet elegant look perfect for social media or dinner parties.
Essential Elements for the Perfect Amber Glaze
To achieve the result shown in our visual blueprint, you need a combination of the right fruit and foundational “invisible” ingredients that facilitate the Maillard reaction and caramelization.
Fresh Freestone Peaches: You need 4 large, firm-ripe peaches. Look for fruit that gives slightly to pressure but isn’t soft; if they are too ripe, they will collapse in the pan before the edges can brown.
Unsalted Butter: You will use 2 tbsp (30g) of butter to provide the fat necessary for searing. Butter contains milk solids which brown beautifully, adding a nutty depth to the caramelized edges.
Brown Sugar: Use 3 tbsp (38g) of light brown sugar. The molasses content helps create that specific glistening amber-colored syrup that characterizes this dish.
Neutral Oil (The Pro Secret): 1 tsp (5ml) of grapeseed or avocado oil. Mixing a tiny bit of oil with the butter raises the smoke point, allowing you to get those dark edges without burning the butter solids.
Ground Cinnamon: A light dusting of fine ground cinnamon (approx. 1/4 tsp) provides the final aromatic touch across the cream and peaches.
Heavy Whipping Cream: 1/2 cup (120ml) of cold heavy cream. This will be whipped into a soft, billowing dollop that sits in the center of the bowl.
Fine Sea Salt: A tiny pinch (less than 1/8 tsp). Salt is the chemical bridge that heightens the sweetness of the peaches and the warmth of the cinnamon.
Professional Tools for Culinary Success
To achieve the “unedited, handheld smartphone photo” look of professional quality, your equipment matters as much as your ingredients. A heavy-bottomed skillet is non-negotiable for even heat distribution.
We recommend a 12-inch cast iron skillet or a heavy stainless steel pan. These materials hold heat exceptionally well, which is vital when you drop cold fruit wedges into the pan. If you use a thin non-stick pan, the temperature will drop too quickly, and the peaches will release juice and boil rather than sear.
You will also need a sharp chef’s knife to create those “thick wedges” mentioned in the visual prompt. Aim for 6 to 8 wedges per peach, depending on the size. Uniformity is key for even cooking.
Mastering the Sear: A Step-by-Step Guide to Peach Perfection
Preparing the Fruit for the Pan
Begin by washing and drying your peaches thoroughly. If you are unsure how to handle the skins, you can learn how to peel peaches here, though for this recipe, leaving the skin on helps the wedges maintain their shape during the high-heat sear.
Slice the peaches into thick, uniform wedges. If the peach is a “clingstone” variety, slice around the pit carefully. If it is a “freestone,” simply halve it and pull the pit out before slicing.
The High-Heat Searing Technique
Place your skillet over medium-high heat. Add the 1 tsp (5ml) of oil and 2 tbsp (30g) of butter. Wait for the butter to foam and then subside. This is your sensory cue that the water has evaporated and the fat is hot enough to sear.
Place the peach wedges in the pan in a single layer. Do not crowd the pan; if necessary, work in batches. Leave them undisturbed for 2-3 minutes. You are looking for the “visual cue” of dark golden brown edges forming where the fruit meets the metal.
Developing the Glistening Amber Glaze
Once the first side is caramelized, flip the wedges carefully using tongs. Sprinkle the 3 tbsp (38g) of brown sugar and the pinch of salt over the fruit. The sugar will begin to melt and combine with the peach juices and butter.
Gently swirl the pan. As the sugar bubbles, it will transform into a thin, glistening amber-colored syrup. This should only take another 2 minutes. The fruit should be tender but still hold the shape of a wedge.
Whipping the “Soft Dollop” Cream
While the peaches are slightly cooling, pour the 1/2 cup (120ml) of cold heavy cream into a chilled bowl. Whisk by hand or with an electric mixer only until soft peaks form. You want a “soft dollop” that looks pillowy, not stiff or curdled.
Expert Tips for Success
- Dry the Fruit: Use a paper towel to pat the sliced peach wedges dry before they hit the pan. Moisture is the enemy of caramelization; any surface water will create steam.
- The Sugar Timing: Never add the sugar at the start. If you add it too early, it will burn before the interior of the peach has softened. Always sear first, glaze second.
- Heat Management: If the syrup looks like it is getting too thick or “tacky,” add a teaspoon of water or lemon juice to loosen it back into a glistening liquid.
- Avoid Over-ripeness: If your peaches are very soft, consider a baked peaches recipe instead, as they won’t survive the mechanical action of pan-searing.
How to Store and Reheat Your Peaches
Caramelized Peaches are best served immediately to maintain the contrast between the hot fruit and cold cream. However, if you have leftovers, store them in an airtight container in the refrigerator for up to 2 days.
To reheat, place the peaches and their syrup back into a small skillet over low heat. Add a splash of water to reconstitute the glaze. Do not use a microwave if possible, as it can make the fruit rubbery. Note that the whipped cream cannot be stored once it starts to melt on the warm fruit.
Creative Pairings and Serving Suggestions
While these peaches are a triumph on their own, they also serve as a foundational component for larger desserts. You might use them as the star layer in a peaches and cream trifle (coming soon) or serve them alongside a fresh peach cake.
For a crunchier texture, these peaches pair beautifully with a baked oat crumble (coming soon). If you are hosting a summer brunch, serve these over sourdough French toast or thick Greek yogurt for a restaurant-quality presentation.
Common Questions About Pan-Seared Peaches
It is not recommended. Canned peaches are already soft and sit in liquid, making it impossible to achieve the dark golden-brown caramelized edges. Fresh, firm peaches are essential for the pan-searing technique.
No. Keeping the skin on helps the peach wedges maintain their shape during the high-heat sear. The skin becomes tender and delicious once caramelized in the amber syrup.
Wait until the fruit is seared before adding the sugar. Swirl the pan constantly once the sugar melts to emulsify it with the butter and peach juices, creating a smooth, glistening amber glaze.
Freestone peaches are easiest to work with as the pit pops out easily, allowing for perfect, thick wedges. Choose fruit that is ‘firm-ripe’—it should have a slight give but still feel sturdy.
This usually happens if the pan isn’t hot enough or if the peaches are over-ripe. Ensure you use a heavy-bottomed skillet and wait for the butter to stop foaming before adding the fruit wedges.
The Perfect Pan-Seared Caramelized Peaches Recipe
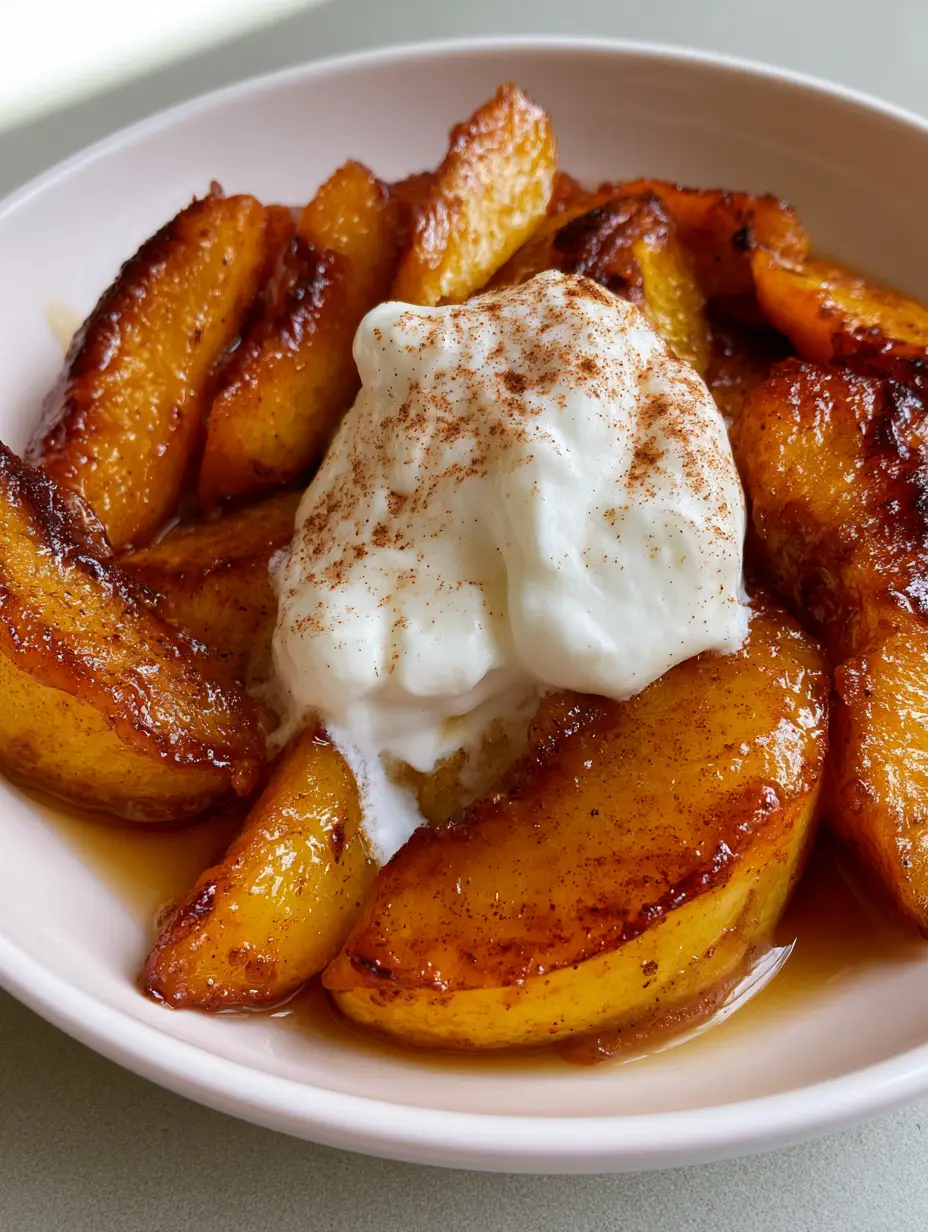
Caramelized Peaches: The Ultimate Pan-Seared Recipe for Golden Perfection
Ingredients
Equipment
Instructions
- Wash and dry peaches. Slice into 6-8 thick wedges per fruit, leaving the skin on for structural integrity.
- Heat the skillet over medium-high heat. Add butter and oil. Once the butter stops foaming, add peach wedges in a single layer.
- Sear undisturbed for 2-3 minutes until the edges are dark golden brown. Flip carefully.
- Sprinkle brown sugar and salt over the peaches. Cook for 2 more minutes, swirling the pan until a glistening amber syrup forms.
- Whisk heavy cream to soft peaks. Place a large dollop in the center of the warm peaches.
- Dust the cream and peaches with ground cinnamon and serve immediately in a shallow bowl.
Notes
Always sear the fruit before adding sugar to avoid burning.
Closing & Call to Action
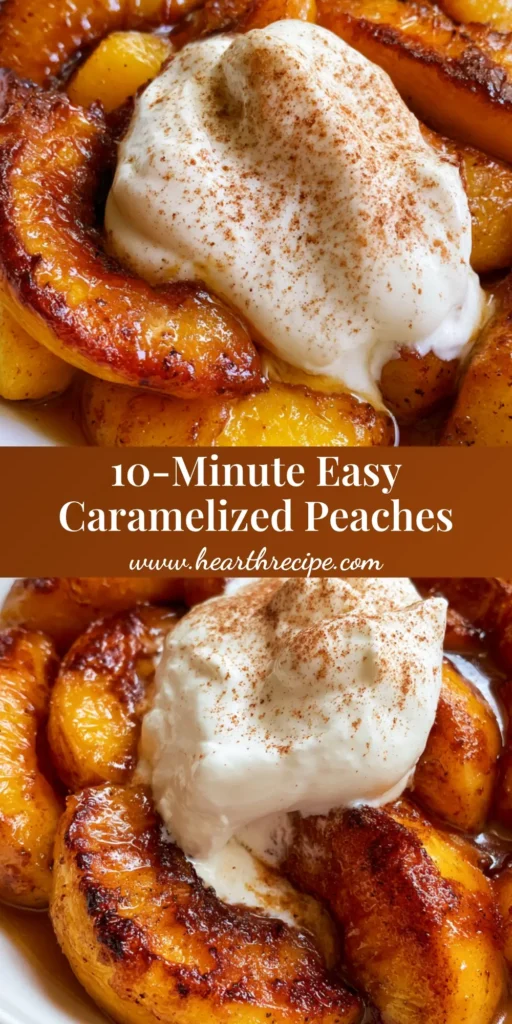
Mastering Caramelized Peaches is a gateway to elevated summer cooking. By understanding the balance of high heat and sugar, you can transform simple stone fruit into a dessert that captures the essence of the season. The combination of the dark golden edges and the melting cream is a visual and culinary delight that never fails to impress.
If you enjoyed this recipe, please leave a comment below and let us know how your sear turned out! Don’t forget to share your creations and follow us on Pinterest for more seasonal inspiration.