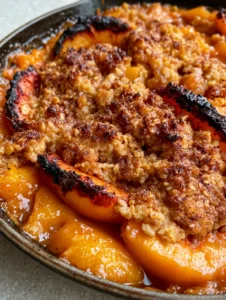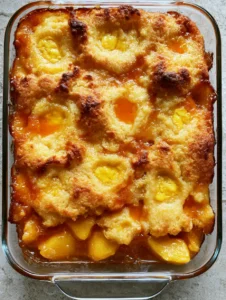
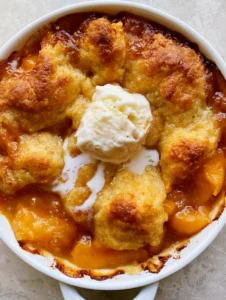
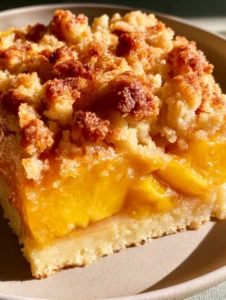
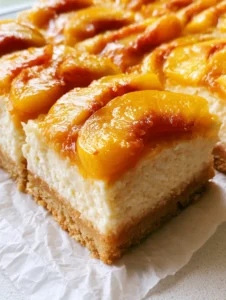
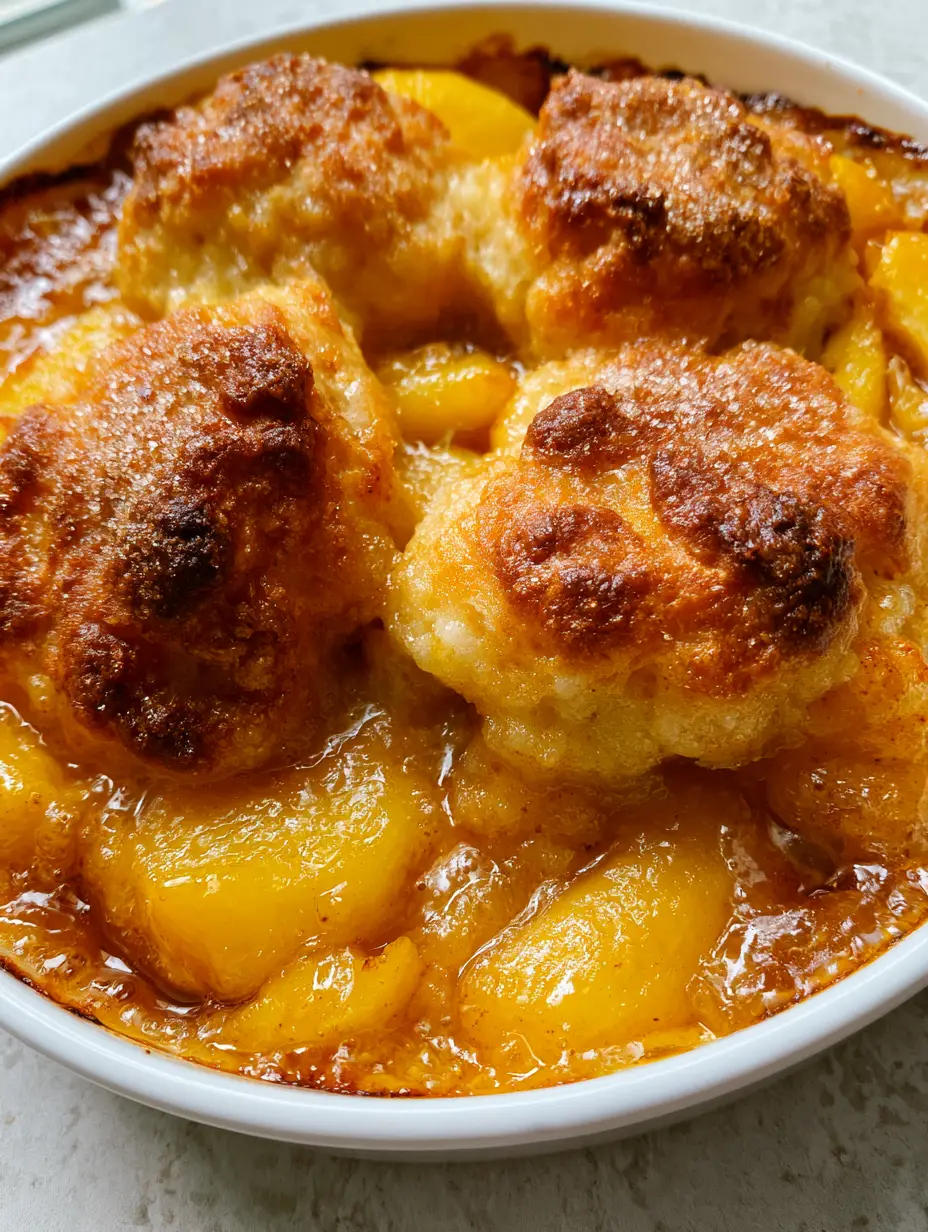
There is nothing quite as evocative of summer as a Homemade Peach Cobbler fresh from the oven. Imagine a white ceramic dish filled to the brim with thick, chunky slices of yellow peaches, swimming in a glossy, bubbling amber syrup that has caramelized perfectly at the edges. The topping isn’t just a crust; it consists of rustic drop biscuits with a deeply golden-brown, craggy exterior and a soft, buttery interior, finished with a generous dusting of sparkling granulated sugar.
When you pull this dish from the oven, the sensory experience is immediate. The scent of warm cinnamon and sweet fruit fills the kitchen, while the sound of the thick peach juices bubbling against the sides of the dish promises a rich, jammy texture. This recipe is designed to bridge the gap between traditional techniques and modern visual perfection, ensuring every bite is as structurally sound as it is delicious.
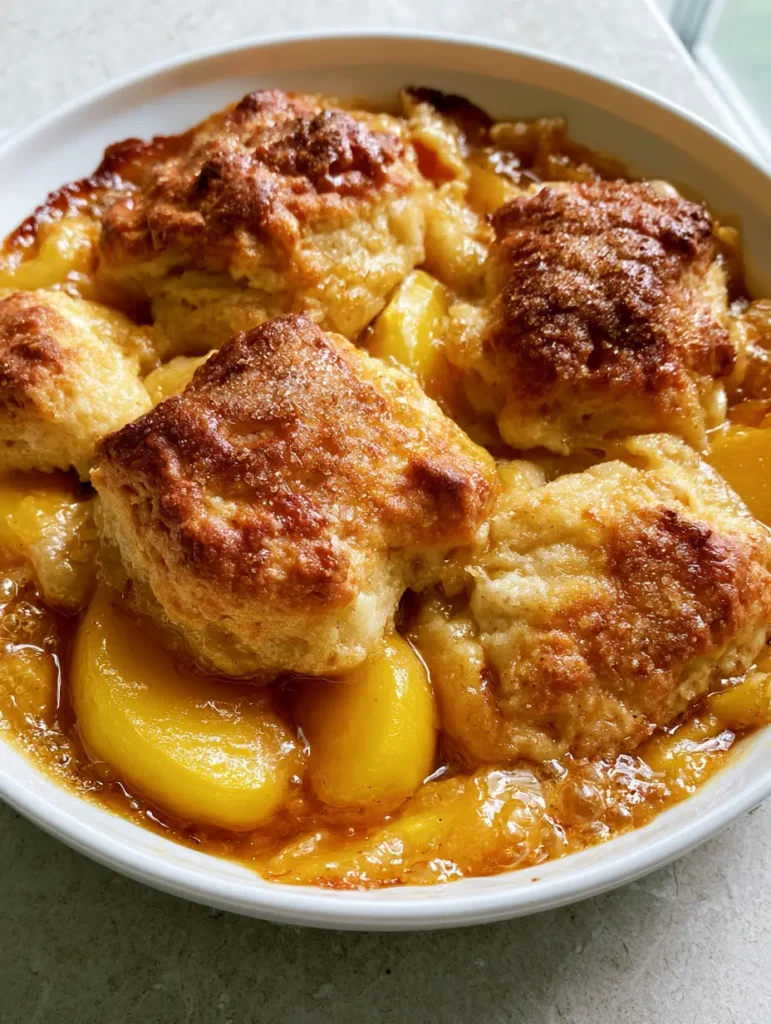
The Visual Allure of This Peach Masterpiece
- Glossy Amber Foundation: The peaches are macerated to create a thick, naturally flavored syrup that coats every slice without becoming watery.
- Rustic Textural Contrast: The drop biscuits provide a craggy, “mountainous” peak that catches the light and creates a satisfying crunch against the tender fruit.
- Caramelized Edges: We utilize high-moisture yellow peaches and controlled heat to ensure the fruit juices reach a deep, caramelized amber state around the perimeter of the dish.
- Sparkling Finish: A final dusting of granulated sugar before baking creates visible sparkling peaks that mimic professional bakery-style desserts.
Essential Elements for the Perfect Cobbler
To achieve the visual and structural results seen in our photography, we must select ingredients that provide both flavor and stability. This Homemade Peach Cobbler relies on the interaction between acid, sugar, and heat.
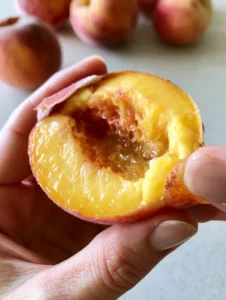
Fresh Yellow Peaches: You will need 2 lbs (907g) of ripe, sliced yellow peaches. These provide the necessary structural integrity to withstand baking while releasing enough juice to form a thick syrup.
Granulated and Brown Sugar: A combination of 1/2 cup (100g) granulated sugar and 1/2 cup (100g) light brown sugar creates depth of flavor. The molasses in the brown sugar is the secret to that bubbling amber color.
Cornstarch: 2 tbsp (16g) of cornstarch acts as our invisible stabilizer. It binds the peach juices into a thick syrup rather than a thin soup, ensuring the biscuits don’t sink.
Lemon Juice and Zest: The juice of half a lemon (approx. 15ml) provides the necessary acidity to brighten the fruit flavors and balance the sugar. It also prevents the peaches from oxidizing too quickly.
All-Purpose Flour: For the biscuits, 2 cups (250g) of flour provides the gluten structure needed for those rustic, craggy peaks. It absorbs the steam from the peaches to stay soft on the bottom.
Cold Unsalted Butter: 1/2 cup (113g) of very cold butter is essential. When these cold fats hit the hot oven, they create steam, resulting in the “buttery interior” described in our visual blueprint.
Buttermilk: 3/4 cup (180ml) of cold buttermilk provides the tang and moisture needed for a tender crumb. It reacts with the baking powder for a superior rise.
Foundational Seasonings: Don’t forget 1 tsp (5g) of cinnamon, 1/4 tsp (1g) of nutmeg, and a pinch of salt. These enhance the natural sweetness of the peaches without overpowering them.
The Toolkit for Bakery-Style Results
To replicate the authentic food photography style, the right equipment is non-negotiable. You will need a 9×13 inch (23×33 cm) white ceramic baking dish. The ceramic material provides even heat distribution, which is critical for achieving those caramelized fruit juices at the edges.
Additionally, a pastry cutter or two knives will be needed to work the cold butter into the flour for the biscuits. A large mixing bowl for the fruit and a separate bowl for the dough will keep the colors clean and distinct. Finally, a kitchen scale is recommended for the most accurate dual-unit measurements.
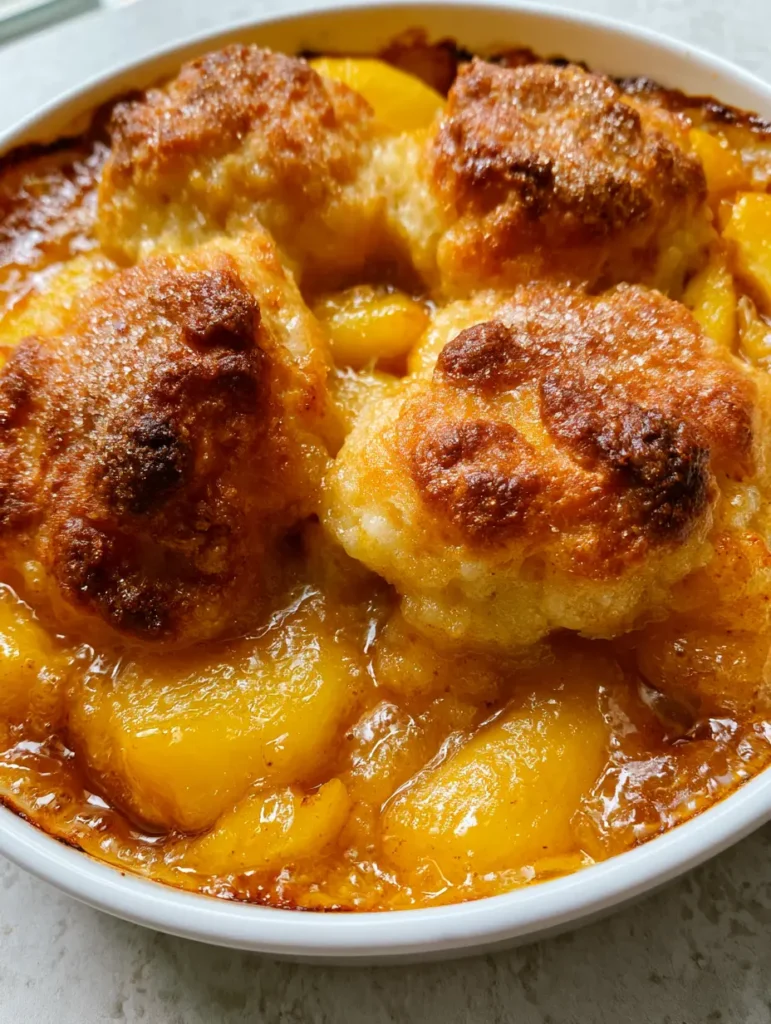
Preparing the Glossy Amber Peach Filling
The first step in our Homemade Peach Cobbler is preparing the fruit base. Start by peeling and slicing your peaches into thick, 1/2-inch (1.25cm) wedges. Thick slices are vital; they need to remain visible and “chunky” even after the heat has broken down their fibers.
Place the peaches in your ceramic dish and toss them with the sugars, cornstarch, lemon juice, cinnamon, and nutmeg. Let this mixture sit for at least 15 minutes. This process, known as maceration, draws out the moisture to form the foundation of our thick syrup before it ever enters the oven.
While the peaches rest, preheat your oven to 400°F (200°C). High heat is necessary to jumpstart the bubbling process and to ensure the biscuits begin to brown immediately, preventing them from becoming sodden by the fruit juices below.
Mastering the Golden-Brown Craggy Biscuit Topping
The hallmark of a great Southern Peach Cobbler recipe is the biscuit topping. In a large bowl, whisk together the flour, a tablespoon of sugar, baking powder, and salt. Add your cubed, cold butter.
Work the butter into the flour until the mixture resembles coarse crumbs with some pea-sized pieces remaining. Pour in the buttermilk and stir until just combined. The dough should be shaggy and thick, not smooth. This texture is what creates the “rustic drop biscuits” mentioned in our prompt.
Using a large spoon or a cookie scoop, drop mounds of the dough onto the prepared peach mixture. Leave small gaps between the biscuits; this allows steam to escape, which thickens the syrup and prevents the biscuits from becoming gummy on the bottom. If you prefer a more refined look, you might enjoy a peach-cobbler pound cake, but for this rustic version, craggy is better.
The Bake: Achieving Caramelized Edges and Sparkling Peaks
Before sliding the dish into the oven, sprinkle the tops of the dough mounds with the remaining granulated sugar. This is a critical step for visual accuracy. The sugar will caramelize into fine, sparkling granules on the peaks of the biscuits.
Bake for 35 to 45 minutes. Watch for the specific visual cues: the fruit juices should be vigorously bubbling and changing from a bright yellow to a deep, glossy amber. The biscuits should be a rich golden-brown. If the biscuits are browning too quickly, loosely tent the dish with foil, but only after the first 25 minutes to ensure the crust has set.
Once removed from the oven, let the cobbler rest for at least 20 minutes. This is perhaps the most difficult step, but it is scientifically necessary. The syrup needs time to “set” as it cools, transforming from a thin liquid into the thick, glazed coating that makes this the best fresh peach cobbler you will ever taste.
Pro Secrets for a Perfect Texture
- Keep it Cold: Always use chilled butter and buttermilk. If the fat melts before the dough hits the oven, you will lose the flaky, buttery interior.
- Don’t Overmix: Stir the biscuit dough until the flour just disappears. Overworking the dough leads to tough, bread-like biscuits instead of tender ones.
- Peach Selection: Use freestone peaches if possible, as the pit is easier to remove, keeping your slices clean and chunky.
- Check for Bubbles: The cobbler is not done until the juices in the center are bubbling. This ensures the cornstarch has reached its thickening temperature.
Protecting Your Leftovers
If you find yourself with leftovers of this Homemade Peach Cobbler, they can be stored in the refrigerator, covered tightly, for up to 3 days. To maintain the biscuit texture, reheat individual portions in the oven or air fryer at 350°F (175°C) for 5-10 minutes rather than using a microwave.
For longer storage, this cobbler can be frozen for up to 2 months. However, be aware that the biscuit topping may lose some of its craggy crispness upon thawing. For a similar flavor profile that stores exceptionally well, consider trying homemade peach crisp (coming soon).
Elevated Pairings for Your Cobbler
While this dish is a star on its own, it pairs beautifully with a scoop of high-quality vanilla bean ice cream. The cold cream melting into the warm, caramelized peach juices creates a secondary sauce that is irresistible. For a festive gathering, you could even serve this alongside a peach cobbler cocktail.
If you enjoy the combination of fruit and biscuit but want something smaller, our peach cobbler cookies (coming soon) offer a handheld version of these exact flavors. No matter how you serve it, ensure the cobbler is slightly warm to maximize the aromatic qualities of the cinnamon and peaches.
Peach Cobbler Curiosities
Yes. If using frozen, thaw and drain them first. If using canned, choose peaches in juice rather than heavy syrup and reduce the added sugar in the recipe accordingly.
Ensure you use a thickening agent like cornstarch and allow the peaches to macerate before baking. Most importantly, let the cobbler rest for 20 minutes after baking to let the syrup set.
While it is a matter of preference, peeling the peaches results in a smoother, more glossy syrup. Leaving the skins on can sometimes create a slightly chewy texture in the final dish.
This usually happens if the butter was too warm or the dough was overmixed. Keep your fats cold and stir until the ingredients are just combined for a tender, buttery interior.
The Full Homemade Peach Cobbler Recipe Card
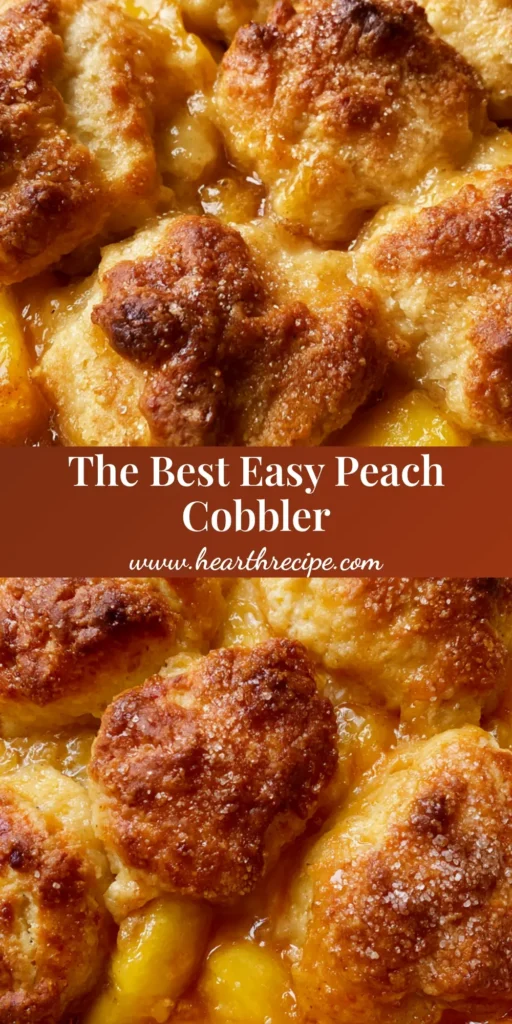
Homemade Peach Cobbler: The Ultimate Southern-Style Comfort Dessert
Ingredients
Equipment
Instructions
- In a 9x13 ceramic dish, toss sliced peaches with sugars, cornstarch, lemon juice, and spices. Let rest for 15 minutes to form a thick syrup.
- Whisk dry ingredients, then cut in cold butter until pea-sized crumbs form. Stir in buttermilk until just combined.
- Drop spoonfuls of dough onto the peaches. Sprinkle the biscuit peaks with granulated sugar for a sparkling finish.
- Bake at 400°F (200°C) for 35-45 minutes until juices are bubbling and amber, and biscuits are golden-brown and craggy.
Notes
Let the cobbler rest for 20 minutes after baking to allow the syrup to thicken.
Final Thoughts on This Summer Classic
Creating a Homemade Peach Cobbler is a labor of love that rewards you with incredible textures and deep, nostalgic flavors. By focusing on the visual cues—the bubbling amber syrup and the golden, sugar-dusted biscuits—you ensure a result that looks just as good as it tastes. We invite you to share your results and tag us in your photos! For more dessert inspiration, be sure to follow our Pinterest page.