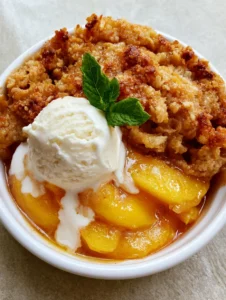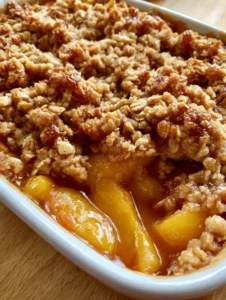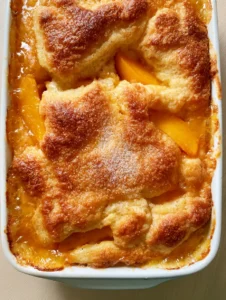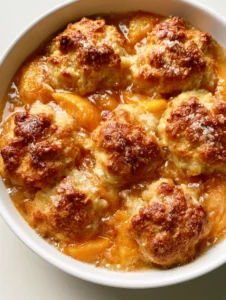
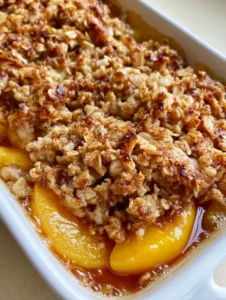
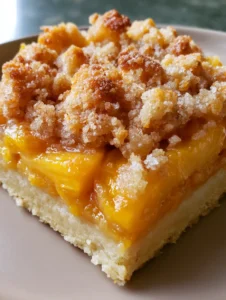
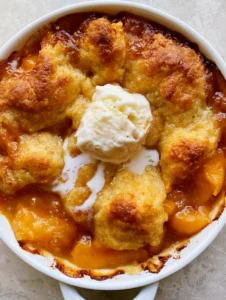
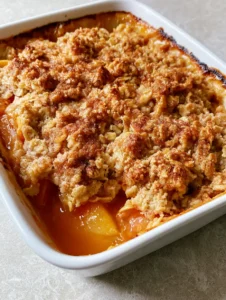
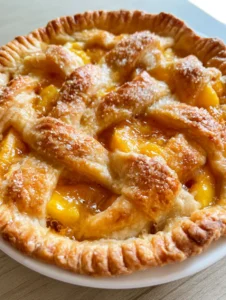
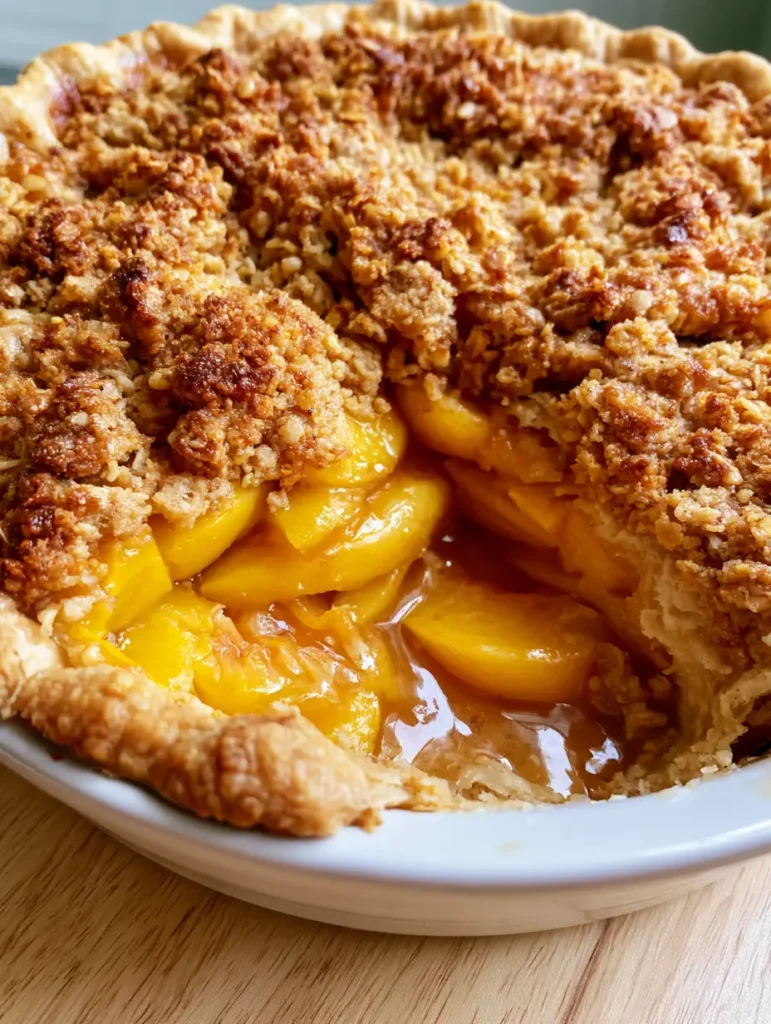
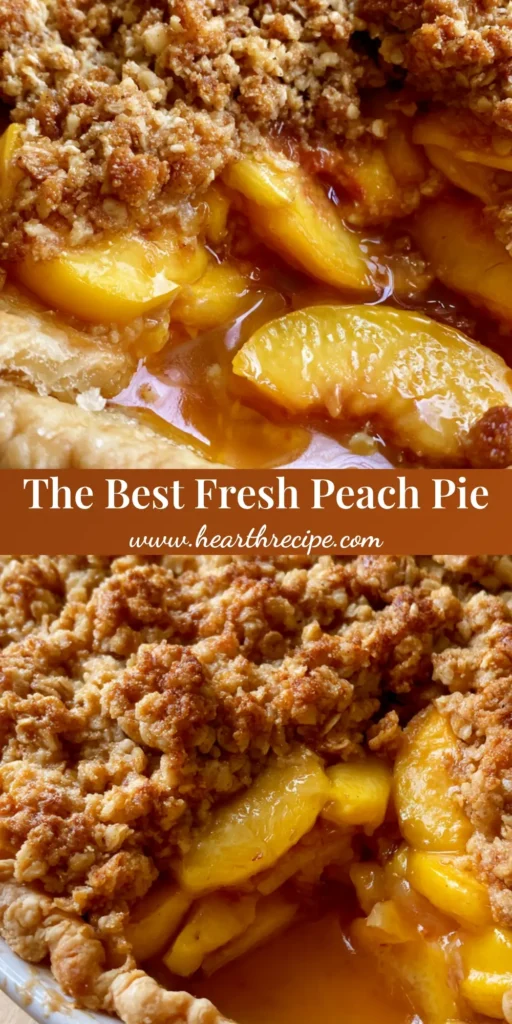
There is nothing quite like a homemade Peach Pie Recipe to signal the height of summer. Imagine a rustic, deep-dish pie sitting on a sun-drenched wooden table, its golden-brown flaky crust holding a mountain of soft, sliced yellow peaches. These peaches aren’t just baked; they are suspended in a thick, translucent amber syrup that shimmers under a generous layer of chunky, buttery oat crumble.
This particular recipe focuses on achieving that elusive “smartphone-photo” perfection—a pie that looks as good as it tastes. We combine the structural integrity of a traditional pastry with the textural delight of a crisp-like topping, ensuring every slice reveals beautiful layers of fruit and a crisp, well-baked edge.
Whether you are a seasoned baker or a curious newcomer, this guide will walk you through the nuances of peach selection, crust aeration, and the science of a perfectly thickened nectar glaze. Let’s dive into the ultimate summer dessert experience.
The Irresistible Allure of This Rustic Summer Pie
- Sensory Contrast: Experience the juxtaposition of a shattering, flaky bottom crust against a soft, velvet-like peach filling and a crunchy, brown-sugar-laden oat topping.
- Amber Nectar Glaze: Unlike cloudy fillings, our use of a thickened peach nectar ensures a translucent, glistening syrup that highlights the natural beauty of the yellow peaches.
- Structural Integrity: No more soggy bottoms; our technique ensures the pastry remains crisp even under the weight of juicy, macerated fruit.
- Visual Masterpiece: Designed to mimic a rustic, handheld photo aesthetic, this pie features a white ceramic dish contrast that makes the golden-brown tones pop.
The Essential Components of the Perfect Peach Pie Recipe
To achieve the visual and textural results described in our blueprint, every ingredient must serve a specific culinary purpose. We aren’t just mixing fruit and sugar; we are engineered a balanced dessert.
Fresh Yellow Peaches: You will need about 6 cups (approx. 1kg) of sliced yellow peaches. These provide the iconic sunset hue and a robust, slightly acidic sweetness that holds up better during the baking process than white peaches.
Peach Nectar: 1/2 cup (120ml) of high-quality peach nectar is the secret to our translucent glaze. It intensifies the fruit flavor without adding the cloudiness often associated with excess flour or cornstarch.
Unsalted Butter: You will use cold butter for the crust to create steam pockets (flakiness) and melted or softened butter for the crumble to bind the oats into “chunky” clusters. Use approximately 1.5 cups (340g) total across both components.
Old-Fashioned Rolled Oats: 1 cup (90g) of oats provides the vital “rustic” texture for the topping. Avoid instant oats, as they lack the structural bite needed to contrast the soft fruit.
Cornstarch: 3 tbsp (24g) acts as our thickening agent. When combined with the nectar and peach juices, it clears as it cooks, creating that glistening amber syrup seen in professional food photography.
All-Purpose Flour: 2.5 cups (310g) for the crust and a small amount for the crumble. This provides the protein structure necessary to hold the “rustic” shape of the pie.
Tools for Achieving the Rustic Bakery Aesthetic
To recreate the visual prompt exactly, you will need a 9-inch (23cm) white ceramic pie dish. The ceramic material conducts heat evenly, which is crucial for browning the bottom crust without burning the edges.
A pastry cutter or food processor is essential for cutting the cold butter into the flour for the pastry. You want “pea-sized” bits of butter to remain visible; these are the engines of flakiness.
Finally, a light wood surface or cutting board is the ideal backdrop for serving. The neutral tones of the wood allow the amber hues of the peach nectar glaze to stand out, echoing the soft natural daylight look of our visual guide.
Engineering the Flakiest Bottom Crust
Hydration and Temperature Control
Start by whisking 1.5 cups (185g) of flour with a pinch of salt. Incorporate 1/2 cup (113g) of cubed, ice-cold butter until the mixture resembles coarse crumbs with some larger pieces remaining.
Slowly add 3-4 tbsp (45-60ml) of ice water. Mix until the dough just barely comes together; overworking at this stage develops too much gluten, leading to a tough rather than flaky result.
The Chilling Phase
Wrap your dough disk in plastic and refrigerate for at least 1 hour. This allows the flour to fully hydrate and the butter to re-solidify, which is the key to preventing the crust from shrinking in your white ceramic dish.
Crafting the Glistening Peach Filling
Maceration and Glaze Development
Peel and slice your peaches into 1/2-inch (1.25cm) wedges. In a large bowl, toss them with 1/2 cup (100g) of granulated sugar and 1 tbsp (15ml) of lemon juice; let them sit for 20 minutes to release their natural juices.
Drain the accumulated juices into a small saucepan and whisk in the 1/2 cup (120ml) of peach nectar and 3 tbsp (24g) of cornstarch. Heat over medium until the liquid bubbles and turns into a thick, translucent amber syrup.
Combining the Layers
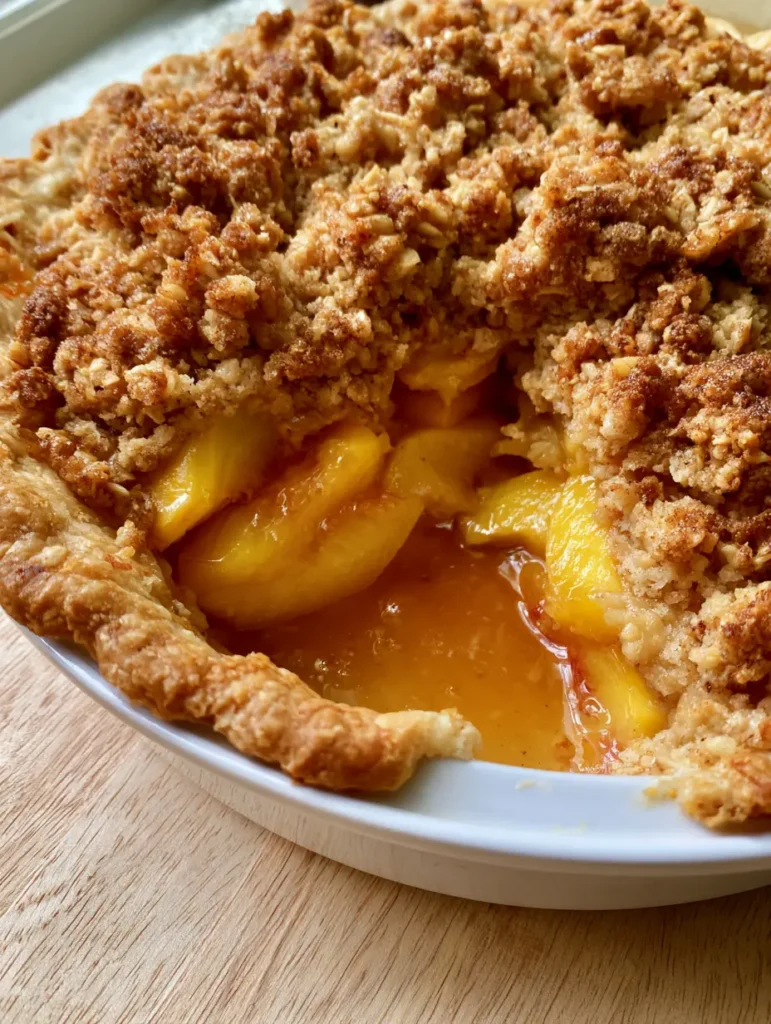
Pour this thickened glaze back over the peaches. This “pre-thickening” step ensures that the pie doesn’t become a soupy mess in the oven, keeping those interior layers of juicy fruit distinct and beautiful when you pull out that first slice.
The Chunky Golden-Brown Oat Topping
Creating the “Chunky” Texture
For the topping, combine 1 cup (90g) of rolled oats, 1/2 cup (100g) of brown sugar, and 1/2 cup (65g) of flour. Stir in 1/2 cup (113g) of melted butter and a teaspoon of cinnamon.
Use your fingers to pinch the mixture into various sizes of clumps. This creates the “generously layered” and “chunky” appearance described in the visual prompt, offering a variety of crunchy textures in every bite.
Baking to Golden-Brown Perfection
Preheat your oven to 400°F (200°C). Roll out your chilled dough and fit it into the ceramic dish, crimping the edges for a rustic look. Fill with the glazed peaches and top with the oat crumble.
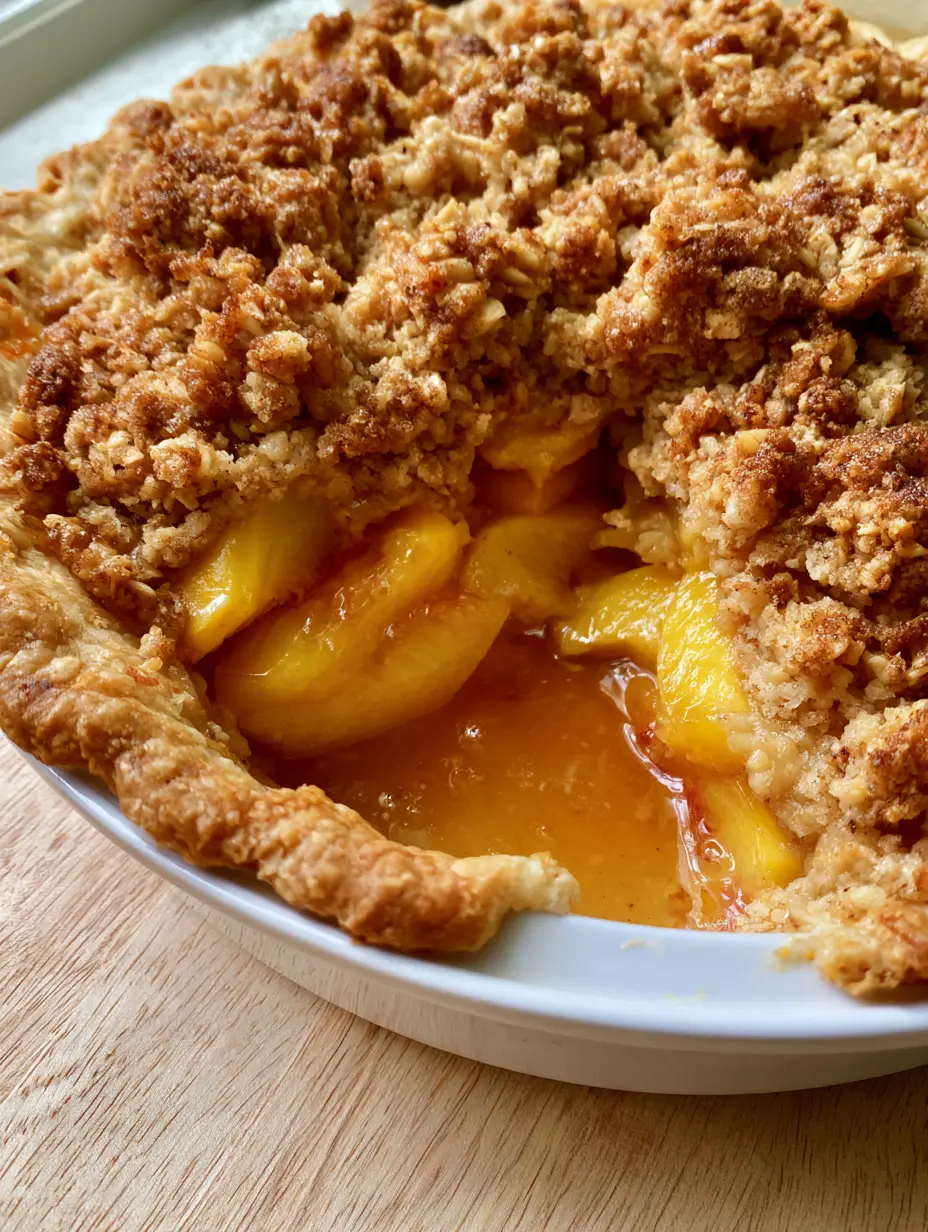
Bake for 45-55 minutes. Look for the visual cues: the nectar should be bubbling lazily at the edges, and the oat crumble should be a deep, toasted golden-brown. If the crust edges brown too quickly, shield them with foil.
Crucially, let the pie cool for at least 3 hours. This “setting” time is what allows the amber syrup to reach its glistening, semi-solid state, ensuring a clean slice that shows off the interior fruit layers.
Expert Tips for Success
- Blanch Your Peaches: To peel them easily, drop whole peaches into boiling water for 30 seconds, then immediately into an ice bath. The skins will slip right off.
- Butter Temperature: If your kitchen is warm, put your flour/butter mixture in the freezer for 10 minutes before adding the water. Cold fat is non-negotiable for flakiness.
- Nectar Choice: Use 100% juice peach nectar rather than “peach drink” to avoid artificial flavors and excessive corn syrup.
- The “Slice Test”: Only cut into the pie once it is at room temperature. If you cut it while hot, the glistening glaze will run out, leaving the fruit dry.
What to Serve With This Peach Pie Recipe
This pie is a star on its own, but it pairs beautifully with other summer treats. If you have extra peaches, consider whipping up a creamy peach smoothie for a refreshing breakfast the next day.
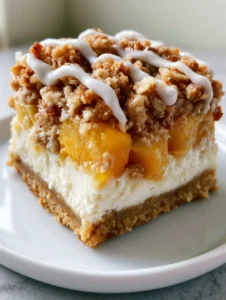
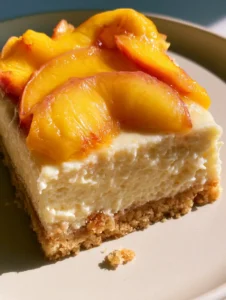
For a complete dessert spread, you might also serve small portions of a light peach mousse to offer a different textural take on the fruit. If you prefer a more portable version of these flavors, these peach crumble bars (coming soon) use a similar oat-based crust and are perfect for picnics.
Of course, a scoop of vanilla bean ice cream melting into the warm, chunky oat topping is the classic choice that never fails to satisfy a crowd.
Frequently Asked Questions
Yes, you can use frozen peaches. Thaw and drain them thoroughly before tossing with the nectar glaze to ensure the excess water doesn’t thin out the translucent amber syrup.
To prevent a soggy bottom, pre-thicken the peach juices and nectar into a glaze before filling the pie, and bake the pie on a lower oven rack to ensure the bottom crust receives direct heat.
The pie needs at least 3 hours to cool to room temperature. This allows the cornstarch and nectar glaze to set, ensuring clean, beautiful slices with distinct layers.
Yes, peeling is recommended for a professional texture. Blanch the peaches in boiling water for 30 seconds followed by an ice bath to slip the skins off easily without bruising the fruit.
Peach nectar intensifies the natural fruit flavor and, when thickened with cornstarch, creates a clear, glistening amber syrup that is visually superior to flour-thickened fillings.
The Ultimate Peach Pie Recipe Card
Peach Pie Recipe with Glistening Amber Glaze and Buttery Oat Crumble
Ingredients
Equipment
Instructions
- Combine flour and salt; cut in cold butter until pea-sized. Add ice water until dough forms. Chill for 1 hour.
- Simmer peach juices, nectar, and cornstarch until a thick, translucent amber syrup forms. Toss with peach slices.
- Layer peaches in the crust, top with chunky oat crumble, and bake at 400°F (200°C) for 50 minutes until golden-brown.
Notes
Use yellow peaches for the best visual 'sunset' color and ideal acidity.
Closing & Call to Action
Mastering this Peach Pie Recipe is about more than just following steps; it’s about embracing the rhythm of summer baking. From the scent of toasted oats to the sight of translucent amber glaze, this pie is a feast for all senses. We hope this rustic dessert becomes a staple in your home.
If you enjoyed this recipe, please leave a comment below and tell us how your peaches turned out! Don’t forget to save this to your favorite dessert board on Pinterest so you can find it every summer.