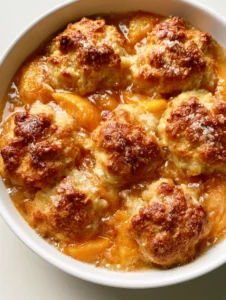
There is nothing quite like the smell of an Easy Fresh Peach Crisp wafting through the kitchen on a warm summer afternoon. This recipe captures the essence of peak-season stone fruit, transforming vibrant orange peaches into a bubbling, amber-hued masterpiece. Whether you are hosting a backyard barbecue or looking for a comforting weeknight treat, this dessert delivers a professional-grade result with minimal effort.
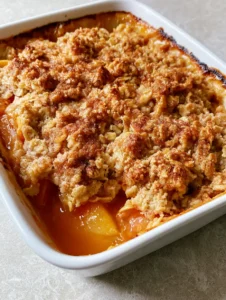
Our Easy Fresh Peach Crisp is designed to bridge the gap between rustic home cooking and culinary precision. We focus on achieving that specific visual of tender, glistening fruit tucked beneath a deeply toasted, cinnamon-dusted oat topping. The secret lies in the balance of moisture and crunch, ensuring every bite provides a textural symphony that keeps you coming back for more.
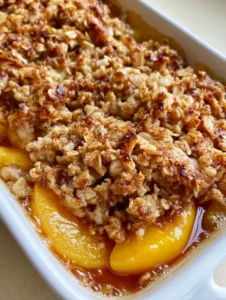
By following this guide, you will learn how to master the “bubbly amber syrup” look seen in elite food photography. This isn’t just a recipe; it’s a deep dive into the science of fruit desserts. From the Maillard reaction on the oat clusters to the enzymatic browning of the fruit sugars, we have optimized every step for maximum flavor and visual appeal.
Why This Is the Best Easy Fresh Peach Crisp You Will Ever Bake
- Visual Perfection: Every ramekin features caramelized fruit bits on the inner edges and a rustic, golden-brown crust.
- Textural Contrast: We pair soft, melt-in-your-mouth peaches with a shatteringly crisp topping of toasted rolled oats and butter clusters.
- Balanced Sweetness: By using a touch of lemon juice and ground cinnamon, we enhance the natural sugars of the peaches without making them cloying.
- Foolproof Technique: Our method ensures a thick, syrupy base that never turns watery or bland, much like our classic southern peach cobbler (coming soon).
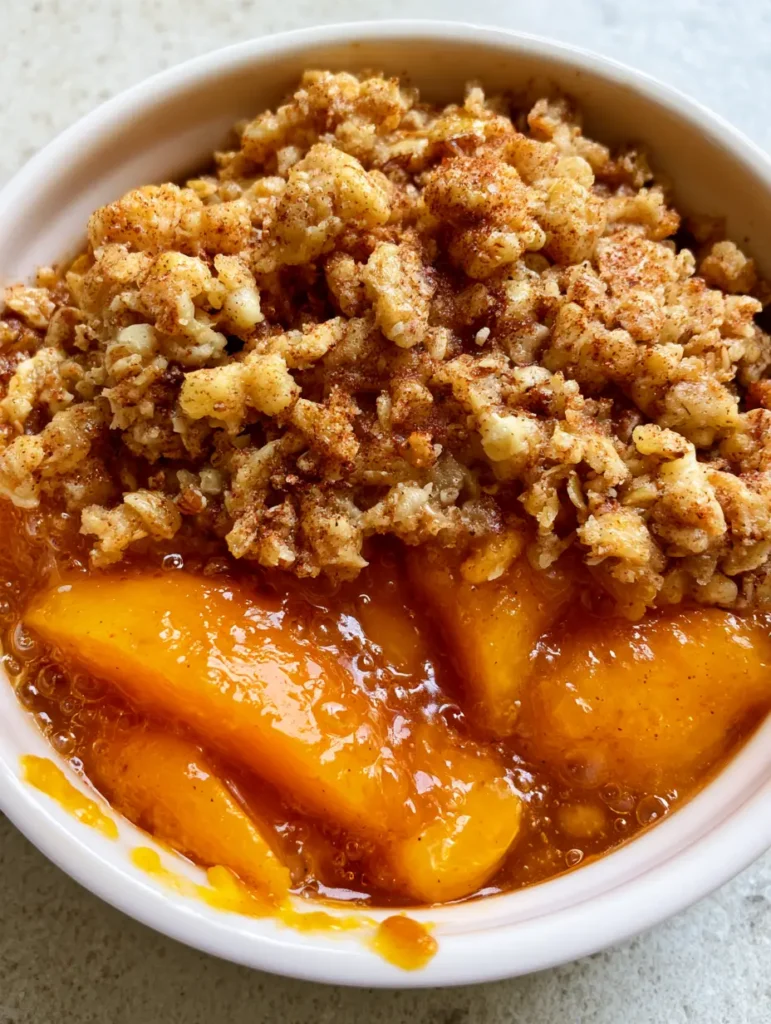
Hand-Selected Ingredients for a Glistening Fruit Filling
Fresh Peaches: You will need 2 lbs (907g) of ripe, freestone peaches. When sliced into 1/2-inch (1.25cm) wedges, these provide the “tender sliced peaches” look that defines a high-quality crisp. If you have an abundance of fruit, consider trying these vibrant peach recipes (coming soon) later in the week.
Granulated Sugar: 1/2 cup (100g) of sugar is essential for drawing out the natural juices. This creates the foundational liquid that eventually transforms into a bubbly amber syrup during the baking process.
Cornstarch: 1 tbsp (8g) of cornstarch acts as our invisible structural hero. It binds the peach juices into a thick, glossy glaze rather than a thin soup, ensuring the “glistening” effect described in our visual blueprint.
Lemon Juice: 1 tbsp (15ml) of fresh lemon juice provides the necessary acidity. This brightens the flavor profile and prevents the vibrant orange peaches from oxidizing and turning a dull brown.
Ground Cinnamon: 1/2 tsp (1g) of cinnamon is whisked into the filling. This provides the warm, aromatic base notes that complement the caramelized fruit bits on the ramekin edges.
Building the Ultimate Toasted Rolled Oat Topping
Old-Fashioned Rolled Oats: 1 cup (90g) of rolled oats provides the rustic texture. Unlike quick oats, these hold their shape, resulting in the distinct “toasted rolled oats” visual confirmed in our Midjourney prompt.
All-Purpose Flour: 3/4 cup (95g) of flour acts as the “glue” for our crumble. It mixes with the butter to create those chunky, golden-brown clusters that sit atop the fruit.
Brown Sugar: 1/2 cup (100g) of packed light brown sugar introduces molasses notes. This is the key to achieving the “amber” color and the deep caramelization during the bake.
Unsalted Butter: 1/2 cup (113g) of cold, cubed butter is the most critical element. As it melts, it fries the oats and flour, creating a decadent, biscuit-like crunch.
Sea Salt: A generous pinch (2g) of salt is scientifically required. Salt suppresses bitterness and enhances the perception of sweetness in the peaches, making the dessert taste more “peach-forward.”
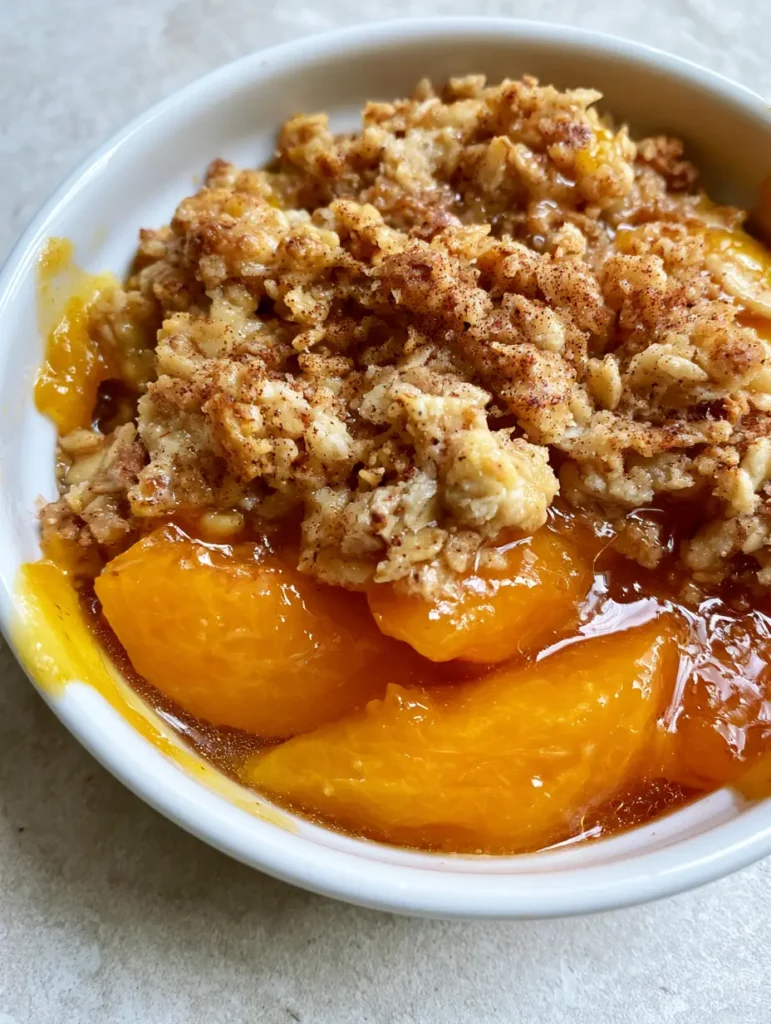
Essential Kitchen Tools for Professional Results
To achieve the handheld smartphone photo look, you need a shallow white ceramic ramekin or a 9-inch (23cm) pie dish. The shallow depth is crucial; it allows for a higher topping-to-fruit ratio and ensures the edges of the fruit can caramelize against the ceramic wall. You will also need a pastry cutter or a fork to work the butter into the oats without over-mixing, which would result in a sandy texture rather than the desired “butter clusters.”
Step-by-Step Guide to the Perfect Bake
Preparing the Vibrant Peach Base
Start by preheating your oven to 375°F (190°C). Peel and slice your peaches into uniform wedges to ensure even cooking. In a large mixing bowl, toss the peach slices with the granulated sugar, lemon juice, and cornstarch. Let this mixture sit for 5 minutes; you will see a syrup begin to form at the bottom of the bowl—this is the precursor to your bubbly amber glaze.
Mastering the Crumble Topping
In a separate bowl, combine the oats, flour, brown sugar, cinnamon, and salt. Add the cold, cubed butter. Use a pastry cutter to “cut” the butter into the dry ingredients until the mixture resembles coarse crumbs with some pea-sized butter clusters remaining. This technique is similar to how we prep the topping for our peach crumb cake (coming soon), ensuring a varied texture that toasts beautifully.
The Assembly and Visual Cues
Transfer the peach mixture into your ceramic ramekin, making sure to scrape in all the liquid. Sprinkle the crumble topping evenly over the peaches, leaving a few small gaps. These gaps allow the steam to escape and let the peach syrup bubble up through the crust, creating those signature “caramelized fruit bits” on the inner edge of the ramekin.
The Final Bake and Transformation
Bake for 40-45 minutes. Watch for specific sensory cues: the peach juice should be thick and bubbling vigorously, and the topping should be a deep, rustic golden-brown. If the topping is browning too quickly, tent it loosely with foil. Once removed from the oven, the “thick, bubbly amber syrup” will continue to set as it cools, reaching its peak glistening state after about 15 minutes of rest.
Expert Tips for Success
- Temperature Matters: Always use cold butter. If the butter is too soft, the topping will melt into a flat puddle instead of forming those beautiful rustic clusters.
- Peach Ripeness: Use peaches that are slightly firm to the touch. Overly mushy peaches will disintegrate into a jam-like consistency rather than remaining as “tender slices.”
- The Ramekin Choice: A shallow dish is better than a deep one. It increases the surface area for the crumble, which is often the favorite part of an Easy Fresh Peach Crisp.
- Don’t Skip the Salt: A little salt in the topping acts as a flavor bridge between the sweet fruit and the savory toasted oats.
Storage, Reheating, and Freezing Advice
This Easy Fresh Peach Crisp is best enjoyed warm, right after the resting period. However, you can store leftovers in an airtight container in the refrigerator for up to 3 days. To maintain the “golden-brown crumble” texture, reheat in a 350°F (175°C) oven for 10 minutes rather than using a microwave, which can make the oats soggy.
While you can freeze the baked crisp for up to 2 months, we recommend freezing the peach filling and the dry crumble topping separately. This preserves the structural integrity of the oats. For more make-ahead ideas, check out our collection of simple fruit desserts (coming soon).
What to Serve With This Fresh Peach Dessert
A scoop of high-quality vanilla bean ice cream is the classic pairing. The cold cream melts into the “bubbly amber syrup,” creating a rich sauce. If you want to lean into the “Southern” vibe, consider serving it alongside a glass of sweet tea or after a meal of grilled chicken with peach salsa (coming soon). For a brunch twist, this crisp pairs excellently with a side of Greek yogurt or as a sweet follow-up to our crispy peach fritters (coming soon).
Frequently Asked Questions
Yes, you can use frozen peaches. Thaw them slightly and drain any excess liquid before tossing with sugar and cornstarch. You may need to add an extra 5-10 minutes to the baking time to ensure the syrup thickens properly.
For the most tender texture, peeling is recommended. However, since peach skins are thin, you can leave them on if you prefer a more rustic, fiber-rich result. If the peaches are organic and well-washed, the skins will soften significantly during the bake.
The key is cornstarch. It acts as a thickening agent that binds the fruit juices into a glossy syrup. Ensure you bake the crisp until you see the juices bubbling vigorously in the center; this indicates the starch has reached its thickening temperature.
Always use old-fashioned rolled oats for the best texture. They provide a sturdy, toasted crunch that quick oats lack. Quick oats tend to disappear into the flour mixture, resulting in a sandy rather than rustic topping.
Soggy topping is usually caused by using warm butter or over-mixing the crumble until it becomes a paste. Always use ice-cold butter and a pastry cutter to maintain defined ‘butter clusters’ that fry the oats into a crisp texture.
The Ultimate Easy Fresh Peach Crisp Recipe
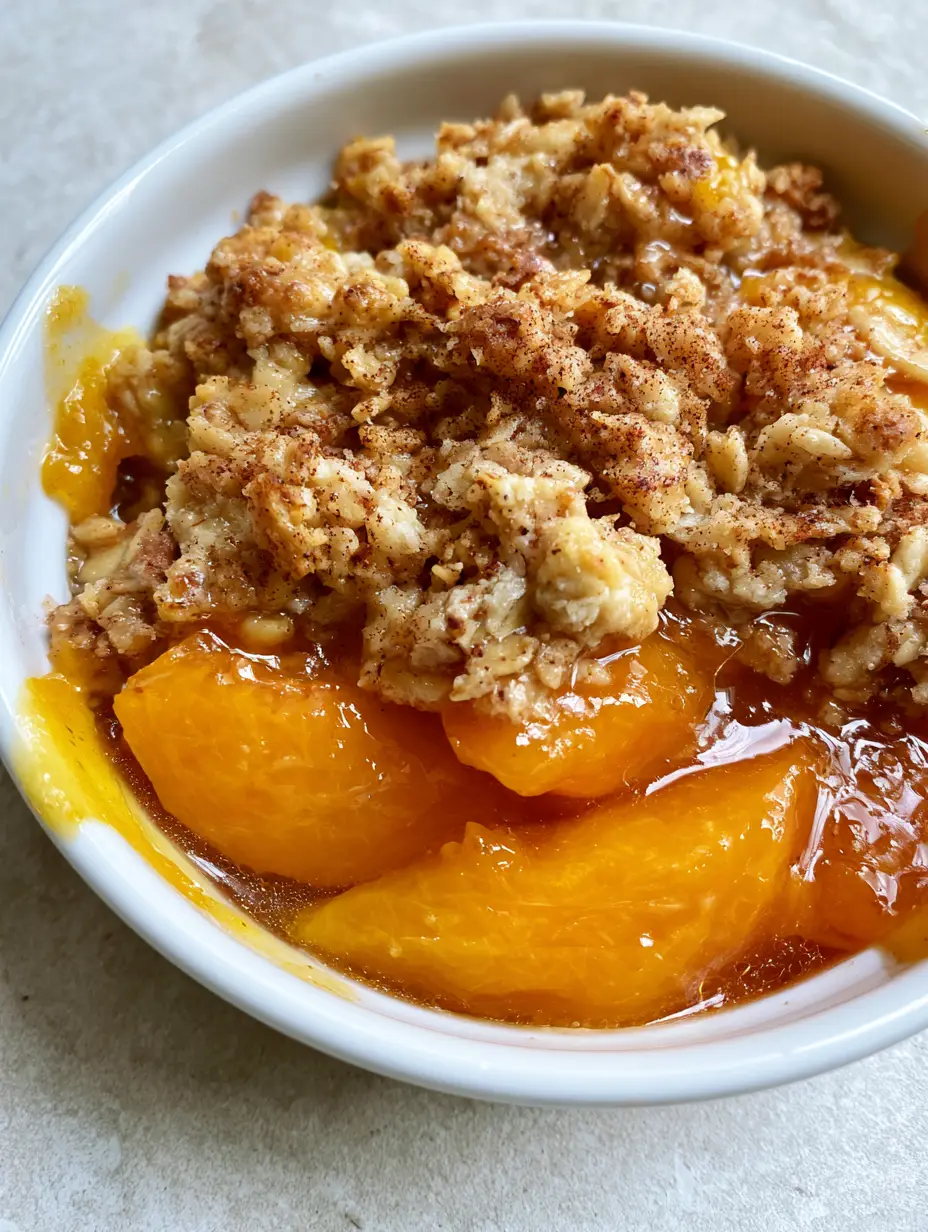
Easy Fresh Peach Crisp with Toasted Oat Crumble
Ingredients
Equipment
Instructions
- Preheat your oven to 375°F (190°C) and prepare a shallow ceramic ramekin or baking dish.
- In a large bowl, toss the sliced peaches with granulated sugar, lemon juice, cornstarch, and cinnamon. Let sit for 5 minutes until a light syrup forms.
- In a separate bowl, whisk together oats, flour, brown sugar, cinnamon, and salt. Use a pastry cutter to work in the cold butter until coarse clusters form.
- Pour the peach mixture into the dish. Top with the oat crumble.
- Bake for 40-45 minutes until the peaches are bubbling in an amber syrup and the topping is golden-brown. Look for caramelized bits on the edges of the dish.
Notes
Allow the crisp to rest for 15 minutes to let the amber syrup thicken.
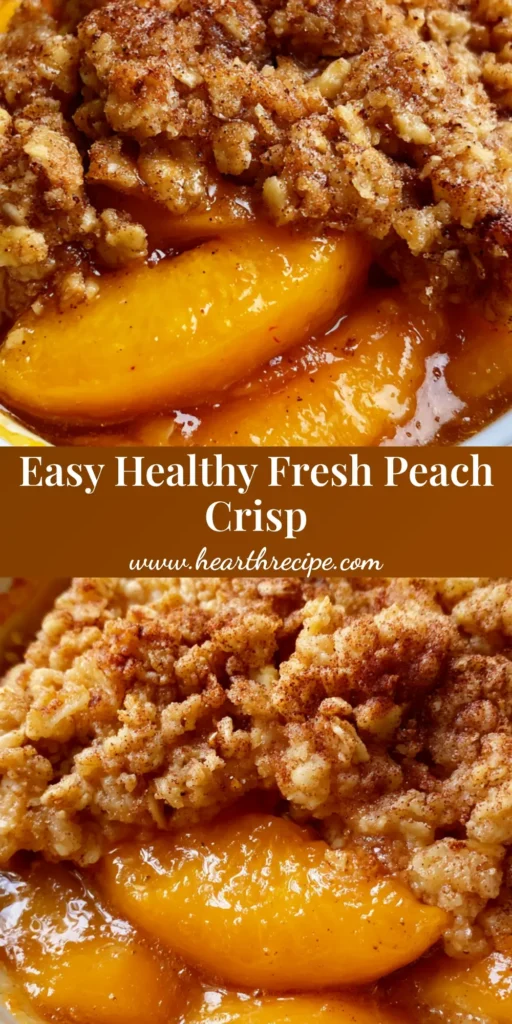
Closing & Call to Action
Mastering the Easy Fresh Peach Crisp is a rite of passage for any home baker. With its glistening orange peaches, toasted oat topping, and caramelized edges, it is the definitive taste of summer. If you enjoyed this recipe, please leave a comment below and share your results! For more culinary inspiration and beautiful food photography, follow us on Pinterest and join our community of passionate cooks.