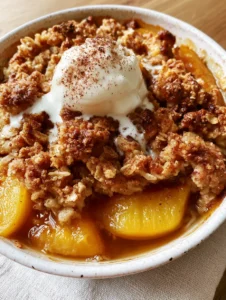
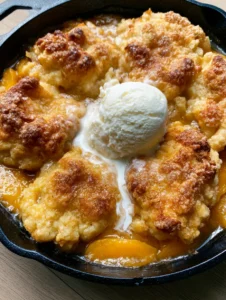
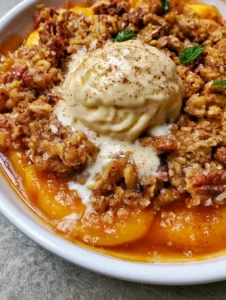
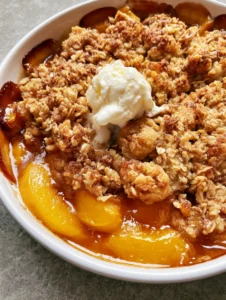
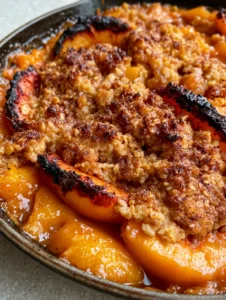
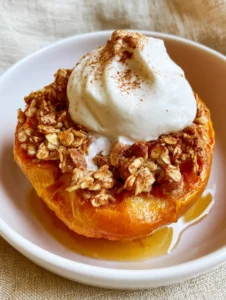
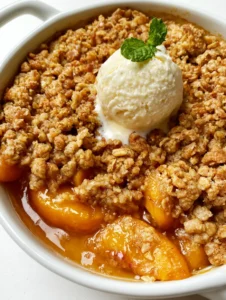
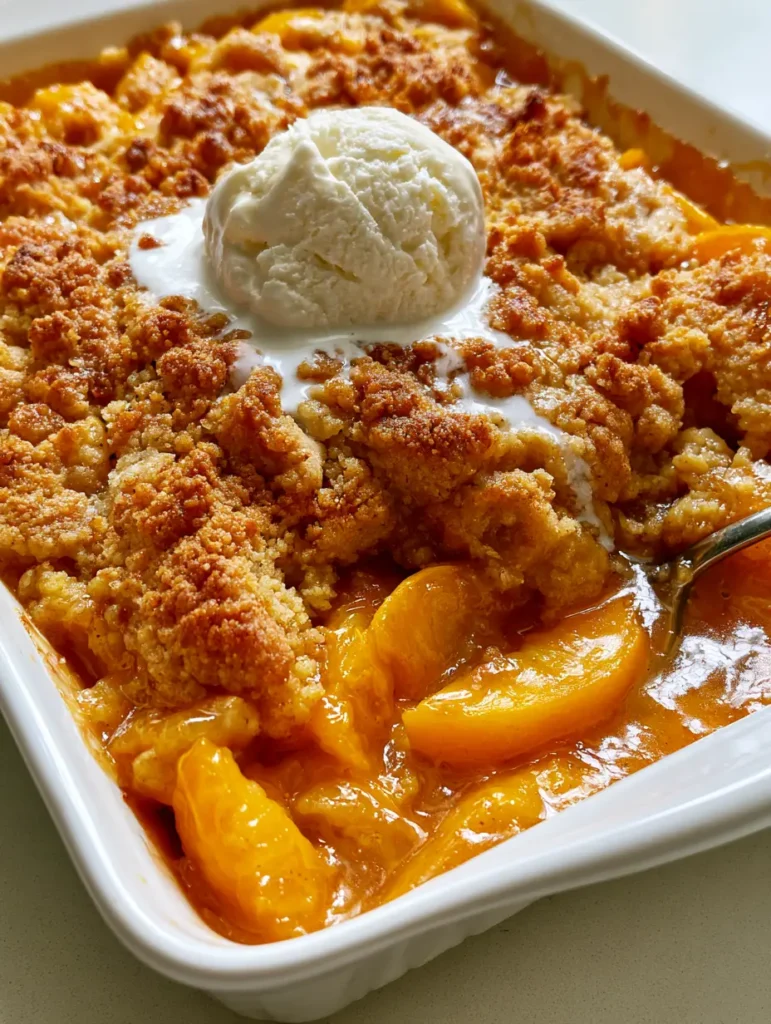
There is nothing quite like a warm Peach Crumble Recipe fresh from the oven, where the scent of caramelized stone fruit fills your entire kitchen. This specific version focuses on the perfect contrast between a thick, bubbling amber peach syrup and a crisp, oat-free golden-brown sugar crumb topping.
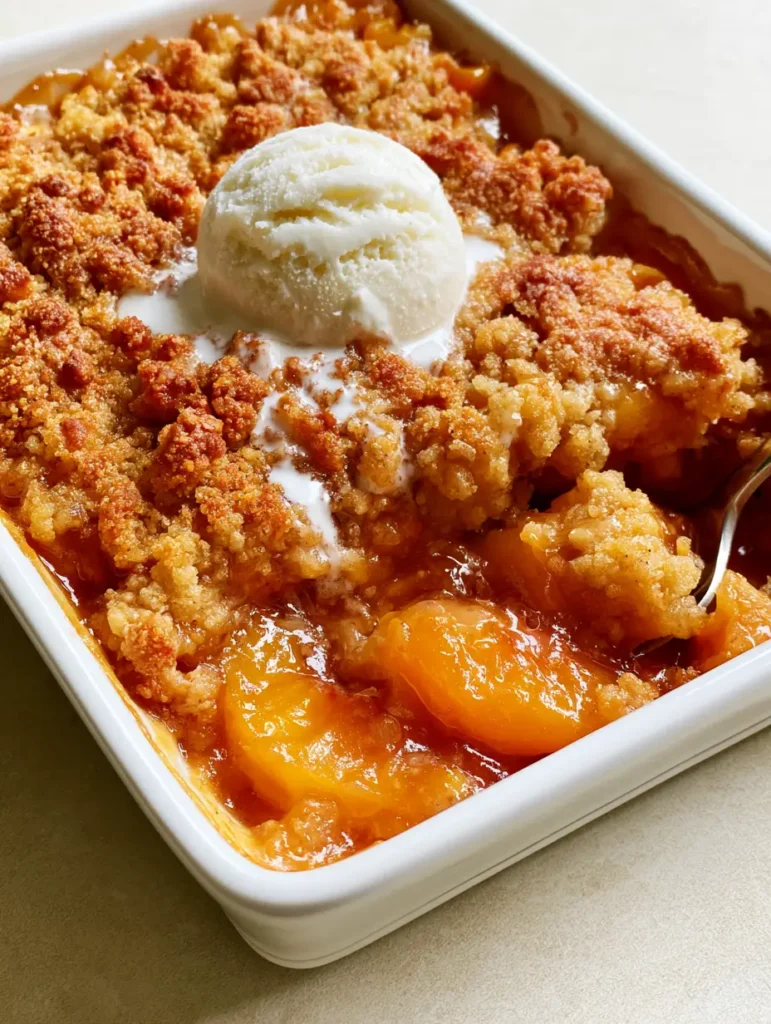
Every bite delivers a symphony of textures, from the tender, jammy sliced peaches to the crunchy, buttery crust that shatters under your spoon. When topped with a scoop of melting vanilla ice cream, the white cream streaks marble into the fruit syrup for a truly decadent experience.
This recipe was engineered to mirror the classic southern dessert style, emphasizing the natural sweetness of the peaches while maintaining a sturdy, cookie-like crumble. Whether you are using peak-season summer peaches or high-quality frozen slices, this method ensures a consistent, professional result every time.
The Science of the Perfect Bubbling Amber Fruit Base
The foundation of a world-class Peach Crumble Recipe lies in how you handle the fruit’s moisture and natural sugars. To achieve that glistening, amber-colored syrup seen in professional food photography, we use a combination of granulated and brown sugars.
The brown sugar provides the deep molasses notes that create the amber hue, while a touch of cornstarch acts as the thickening agent. This prevents the dessert from becoming a “peach soup” and instead creates a thick, jammy glaze that clings to every slice.
We also incorporate a splash of fresh lemon juice. This isn’t just for flavor; the acidity balances the sugar and helps the pectin in the peaches set, ensuring the clear division between the fruit layer and the topping.
Essential Ingredients for the Best Peach Filling
Fresh Peaches (6-8 large or 1kg): We recommend peeling and slicing them into 1/2-inch (1.25cm) wedges. Thick slices ensure the fruit maintains its structural integrity during the long bake time.
Granulated Sugar (1/2 cup / 100g): This draws out the juices from the fruit through osmosis, creating the base of our syrup. It also preserves the bright, natural orange color of the peaches.
Light Brown Sugar (1/4 cup / 50g): The inclusion of molasses in brown sugar is what transforms a clear juice into that iconic bubbling amber syrup. It adds a hint of caramelization that white sugar alone cannot achieve.
Cornstarch (2 tbsp / 16g): This is the invisible hero that binds the fruit juices. It creates a glossy, translucent finish rather than a cloudy or floury texture.
Ground Cinnamon (1 tsp / 2.5g): A classic pairing that enhances the warmth of the peaches. It complements the buttery notes of the topping without overpowering the delicate fruit profile.
Crafting the Signature Oat-Free Golden Crumb Topping
Many recipes rely on oats for texture, but for this specific visual result, we are utilizing a French-style streusel. This results in a thick, unevenly textured, golden-brown buttery sugar crumb that feels more like a shortbread cookie.
The key to this texture is using cold, cubed butter. By rubbing the butter into the flour and sugar by hand, you create various sizes of crumbs, leading to that beautiful “uneven” look described in the visual blueprint.
When the cold butter hits the hot oven, the water content evaporates, creating tiny air pockets. This is what gives the topping its “crisp, baked finish” rather than a soft, doughy consistency.
Must-Have Tools for Peach Dessert Perfection
To achieve the look of a professional handheld smartphone photo, you need the right vessel. A rectangular white ceramic baking dish (approx. 9×13 inch / 23x33cm) is ideal for heat distribution.
Ceramic retains heat longer than metal, which is crucial for getting those peaches to bubble in the center. You will also need a large mixing bowl and a pastry cutter (or just your fingertips) to work the butter into the dry ingredients.
Finally, a sturdy serving spoon is essential. As seen in our visuals, a clean scoop should expose the clear division between the crunchy topping and the juicy peach base.
Step-by-Step Instructions to Visual Perfection
Preparing the Jammy Peach Foundation
Start by preheating your oven to 375°F (190°C). Peel your peaches and slice them into uniform wedges to ensure even cooking and a beautiful presentation.
In your ceramic dish, toss the peaches with the white sugar, brown sugar, cornstarch, lemon juice, and cinnamon. Let them sit for 10 minutes; you will see the fruit start to “glisten” as the juices are released.
Level the fruit in the dish so it creates an even bottom layer. This ensures that the syrup bubbles up evenly around the edges of the topping during the baking process.
Building the “No-Oat” Buttery Crumb
In a separate bowl, whisk together 1.5 cups (190g) of all-purpose flour and 1 cup (200g) of light brown sugar with a pinch of salt. This high sugar-to-flour ratio is what creates the “golden-brown” finish.
Add 3/4 cup (170g) of cold, unsalted butter that has been cut into small cubes. Use your fingers to pinch the butter into the flour until the mixture resembles coarse meal with some pea-sized lumps remaining.
Do not overwork the dough; you want distinct clumps. These clumps are what provide the “unevenly textured” look that identifies a high-quality Peach Crumble Recipe.
The Final Bake and Sensory Cues
Sprinkle the crumble mixture evenly over the peaches. Place the dish on the middle rack of the oven and bake for 40-45 minutes.
Look for the visual cues: the edges should be vigorously bubbling with thick amber syrup. The topping must be a deep golden-brown; if it looks pale, give it another 5 minutes.
Remove from the oven and let it rest for at least 15 minutes. This rest period is vital—it allows the syrup to thicken so it doesn’t run everywhere when you take that first scoop.
Expert Tips for Success
- Temperature Matters: Always use cold butter for the topping. If the butter is room temperature, the topping will melt into a flat sheet instead of staying in “unevenly textured” crumbs.
- Peeling Hack: If you struggle with peeling, blanch the peaches in boiling water for 30 seconds, then shock them in ice water. The skins will slip right off.
- Avoid Mush: If using very ripe peaches, cut them slightly thicker. This prevents them from turning into a puree and keeps the “tender, jammy sliced” look intact.
- The Ice Cream Factor: Add the vanilla ice cream only right before serving. The heat of the crumble should create those beautiful “white cream streaks” as it melts into the syrup.
What to Serve with This Peach Crumble
While melting vanilla ice cream is the gold standard, you can also serve this with a dollop of lightly sweetened whipped cream. The creaminess cuts through the intense sweetness of the amber syrup beautifully.
If you love this flavor profile, you might also enjoy our Southern Peach Cobbler Recipe (coming soon) which uses a more biscuit-like topping. For a portable version of this dessert, try our Peach Crumble Bars (coming soon).
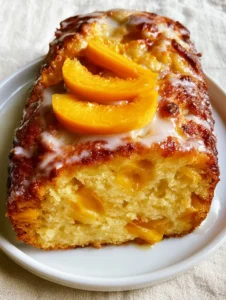
This crumble also pairs wonderfully with a fresh Peach Smoothie for a double-dose of summer fruit during a brunch gathering. For those who prefer a more structured cake, our Peach Cake Recipe is an excellent alternative.
Storage, Reheating, and Freezing
Store any leftovers in an airtight container in the refrigerator for up to 4 days. To maintain the “crisp, baked finish” of the topping, reheat it in the oven at 350°F (175°C) for 10 minutes rather than using the microwave.
You can freeze the unbaked crumble (fruit and topping separately or assembled). When ready to eat, bake from frozen, adding about 15-20 minutes to the total baking time. This makes it a perfect make-ahead dessert for the holidays.
Frequently Asked Questions
This specific recipe is designed to be an oat-free, French-style streusel for a crispier, cookie-like texture. If you prefer oats, you can replace 1/2 cup of flour with 1/2 cup of rolled oats.
Yes, you can use frozen peaches. Do not thaw them first; simply toss them with the sugar and cornstarch. You may need to add 5-10 minutes to the baking time to ensure the syrup bubbles properly.
While not strictly required, peeling the peaches results in the jammy, tender texture seen in professional recipes. Peach skins can become tough or papery when baked in a crumble.
The amber color comes from using light brown sugar in the filling. The thickness is achieved by using cornstarch, which reacts with the fruit juices and heat to create a glossy, jammy glaze.
Soggy topping is usually caused by using warm butter or over-mixing the crumble. To ensure a crisp finish, use very cold, cubed butter and rub it in until you have distinct, uneven lumps.
The Ultimate Peach Crumble Recipe
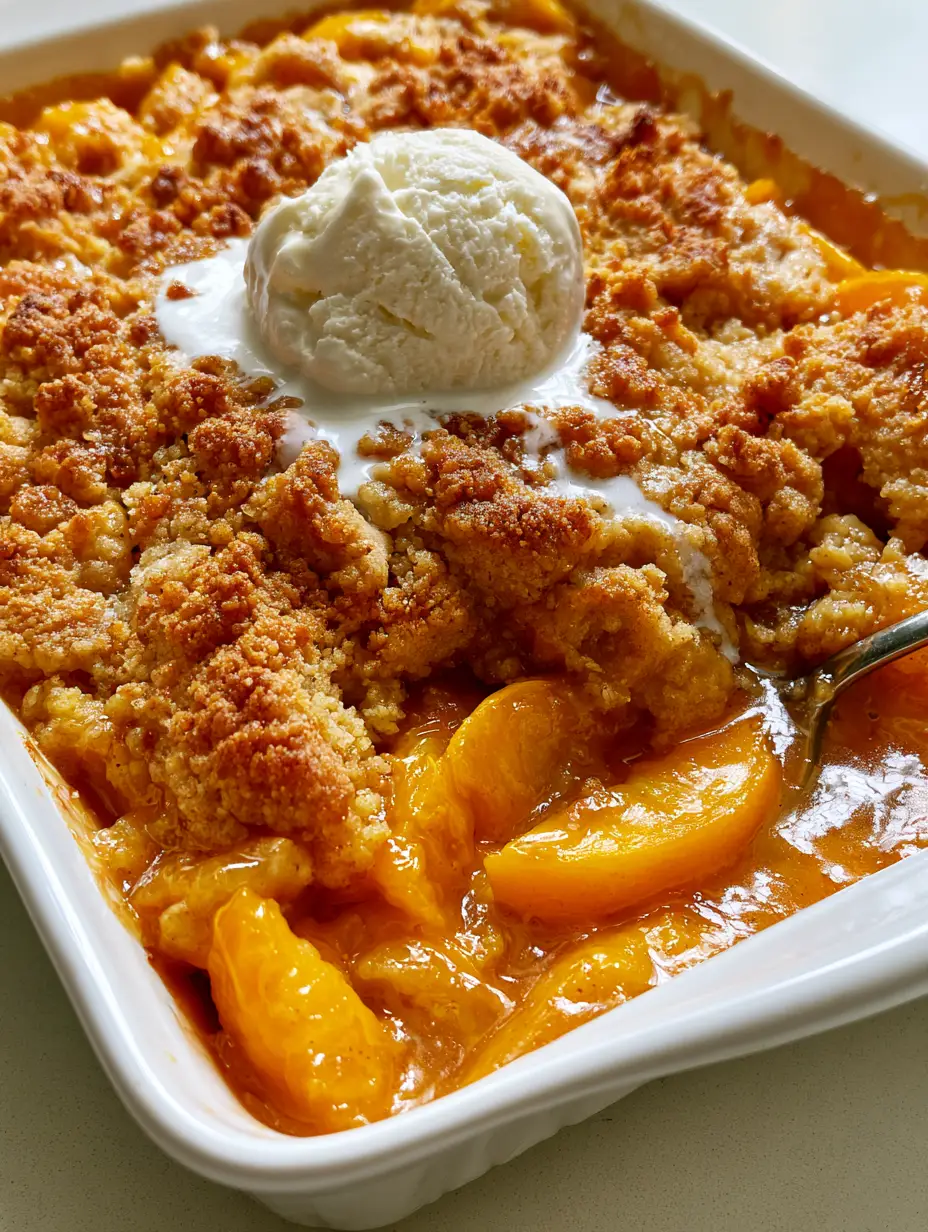
Peach Crumble Recipe: The Ultimate Guide to Jammy Fruit and Golden Buttery Crumbs
Ingredients
Equipment
Instructions
- Preheat oven to 375°F (190°C). Peel and slice peaches into 1/2-inch wedges.
- In the ceramic baking dish, toss peaches with sugars, cornstarch, lemon juice, and cinnamon. Let sit for 10 minutes until glistening.
- In a bowl, combine flour, brown sugar, and salt. Rub in cold cubed butter with fingers until uneven, pea-sized crumbs form.
- Spread crumble over peaches. Bake for 40-45 minutes until the syrup is bubbling and amber-colored and the top is golden-brown.
- Let rest for 15 minutes before serving with a scoop of vanilla ice cream.
Notes
Resting the crumble allows the amber syrup to thicken properly.
Final Thoughts on This Summer Classic
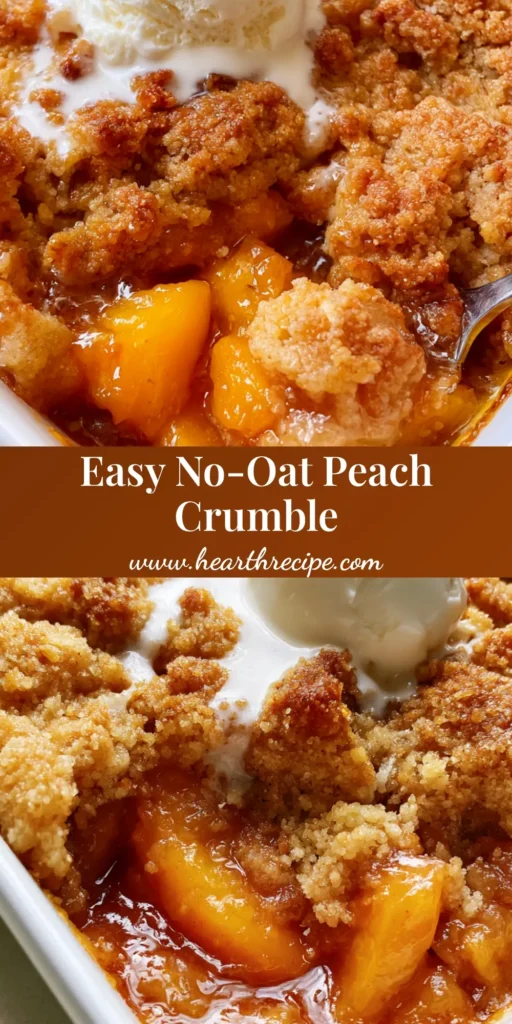
Mastering the Peach Crumble Recipe is a rite of passage for any home cook. By focusing on the “Visual Recipe Blueprint”—achieving that clear division between the crunchy topping and the jammy fruit—you elevate a simple dessert into a gourmet experience.
We invite you to try this recipe and share your results! Did your syrup reach that perfect amber glow? Let us know in the comments below or share your photos on social media.
Be sure to follow us on Pinterest for more visually stunning and scientifically tested recipes. Happy baking!