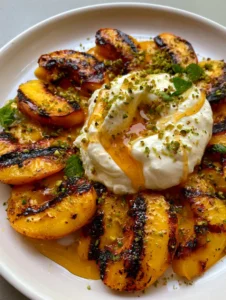
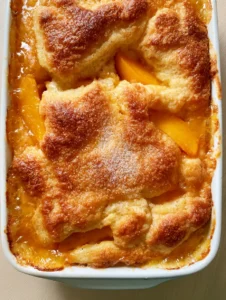
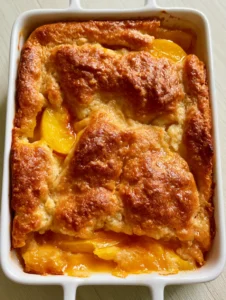
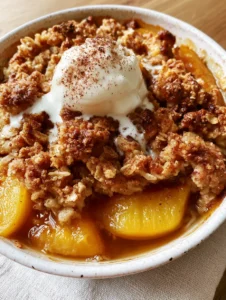
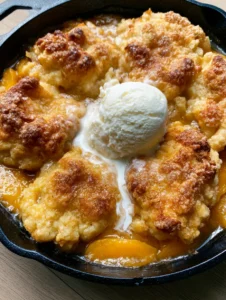
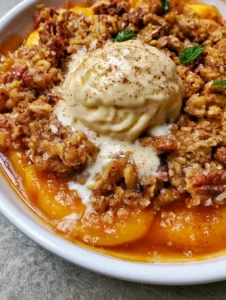
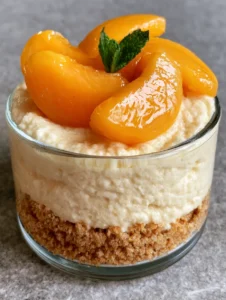
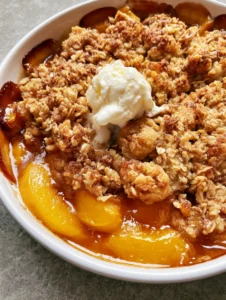
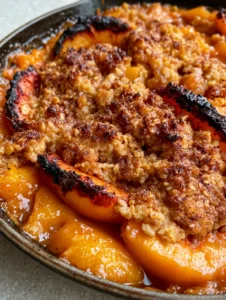
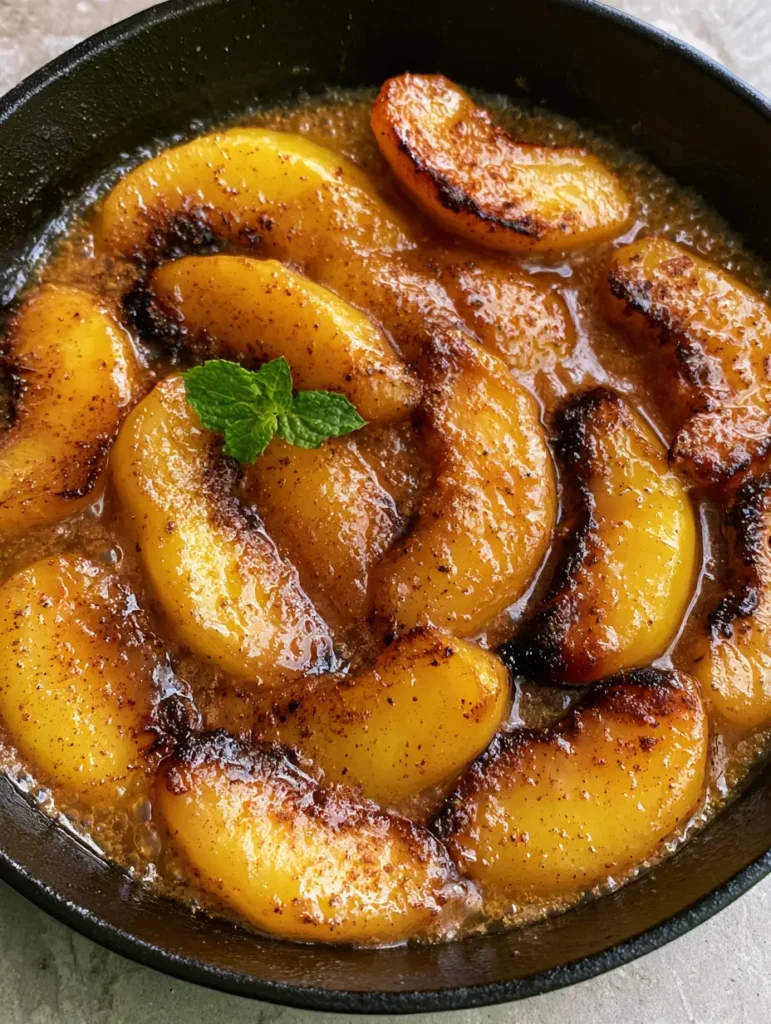
When summer reaches its peak, nothing captures the essence of the season quite like Caramelized Peaches. Imagine thick, juicy wedges of yellow peaches hitting a screaming hot cast iron skillet, their edges transforming into dark golden-brown charred ribbons of flavor. The air fills with the intoxicating scent of melting butter and toasted spices, signaling the creation of a dessert that is as visually stunning as it is delicious.
This recipe isn’t just about heating fruit; it is about the culinary transformation of simple ingredients into a sophisticated masterpiece. We are looking for that specific “translucent” look in the fruit, where the peach becomes tender but retains its structural integrity, all while being bathed in a bubbling, glossy amber-colored caramel sauce. Whether you are serving these over vanilla bean ice cream or eating them straight from the pan, these Caramelized Peaches are the gold standard of summer treats.
Why These Skillet-Seared Peaches Are a Summer Essential
- Textural Contrast: You get a perfect trifecta of textures—tender, jammy fruit centers, crispy charred edges, and a silky, viscous caramel glaze.
- Visual Brilliance: The contrast between the deep amber sauce and the vibrant green of a fresh mint sprig makes this a “smartphone-photo-ready” dish every single time.
- Depth of Flavor: Unlike simple stewed fruit, the use of ground cinnamon and nutmeg creates fine specks of warmth that cut through the richness of the butter.
- Speed and Simplicity: In under 15 minutes, you can achieve a level of flavor complexity that usually takes hours of slow cooking.
The Essential Components for Golden Peach Perfection
To achieve the visual and flavor profile described in our blueprint, every ingredient serves a specific forensic purpose. We aren’t just tossing things in a pan; we are building a sauce that clings to the fruit without becoming greasy or overly thin.
Fresh Yellow Peaches: You need 4 large peaches (approximately 600g). Yellow peaches are superior here because their higher acidity balances the intense sweetness of the brown sugar glaze better than white peaches.
Unsalted Butter: 4 tablespoons (56g) of high-quality butter provides the fat necessary for the Maillard reaction. It creates that glossy, emulsified shine you see in professional food photography.
Light Brown Sugar: 1/2 cup (100g) packed brown sugar is the engine of our caramel. The molasses content provides the “amber-colored” depth and a slight chewiness to the sauce.
Warm Aromatic Spices: 1/2 tsp (1g) ground cinnamon and 1/4 tsp (0.5g) ground nutmeg. These aren’t just for flavor; they provide the “fine specks” visible throughout the bubbling sauce, adding visual texture.
Fresh Mint Garnish: A single sprig of fresh green mint. This provides the critical color pop against the dark cast iron and orange fruit, making the dish look fresh rather than just “heavy.”
The “Invisible” Essentials: A pinch of fine sea salt (to enhance the caramel notes) and 1 teaspoon (5ml) of lemon juice to prevent the fruit from oxidizing and to brighten the heavy sugars.
Choosing the Right Tools for Caramelization
The vessel you choose is just as important as the fruit itself. To get those dark golden-brown charred edges, a 10-inch or 12-inch black cast iron skillet is mandatory. Cast iron retains heat more efficiently than stainless steel or non-stick pans, allowing the sugars to caramelize rapidly before the peach turns to mush.
Additionally, using a wide skillet ensures that the peach slices stay in a single layer. If you crowd the pan, the fruit will steam in its own juices rather than sear. We want sautéed peaches, not boiled ones. If you are starting with very firm fruit, you might want to learn how to peel peaches using the blanching method to ensure the skins don’t become tough during the high-heat sear.
Preparing Your Fruit for the Pan
Start by selecting peaches that are “firm-ripe.” If they are too soft, they will disintegrate. If they are too hard, they won’t release enough natural sugars to mingle with the butter. Wash them thoroughly and pat them dry; moisture is the enemy of a good char.
Slice each peach into 8-10 uniform wedges. Keeping the skins on is often preferred for Caramelized Peaches because the skin helps hold the wedge together and picks up a beautiful dark color during the sautéing process. If you prefer a softer mouthfeel, you can follow a guide for pan-fried peaches (coming soon) which often uses peeled fruit.
How to Master the Searing and Glazing Process
Step 1: The Initial Sear for Color
Place your cast iron skillet over medium-high heat. Add 1 tablespoon (14g) of the butter and let it melt until the foaming subsides and it begins to smell slightly nutty. Carefully lay the peach slices in the pan in a single layer. Do not move them for at least 2 minutes.
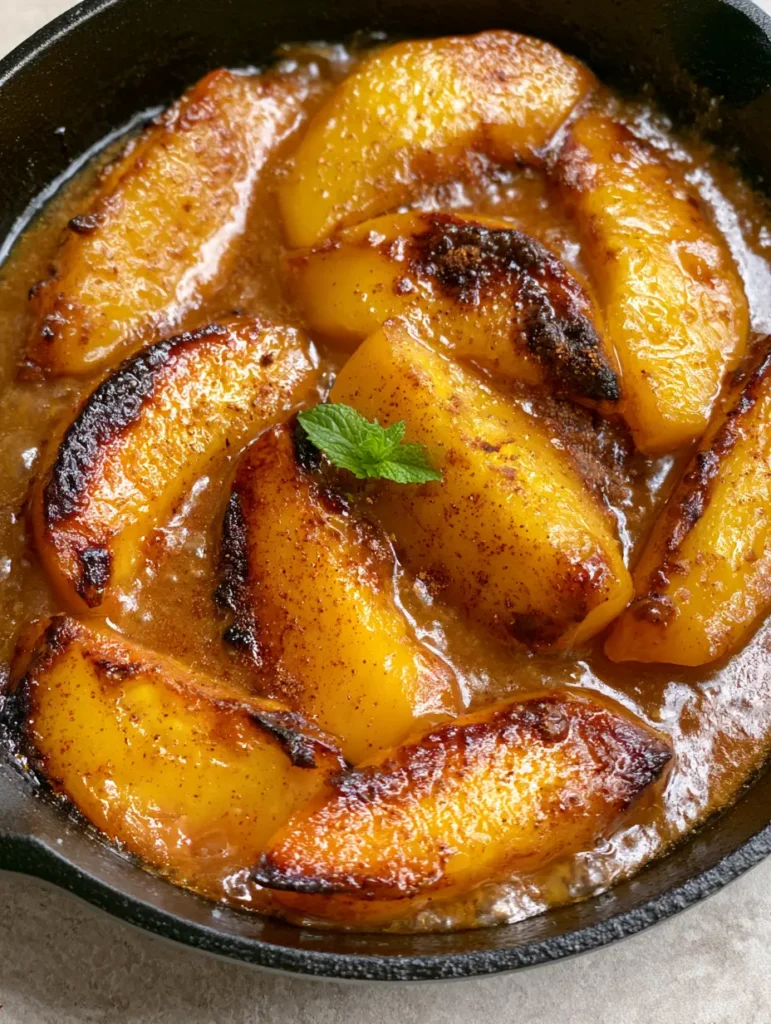
You are looking for a specific sensory cue: a vigorous sizzle and the visible darkening of the edges touching the iron. Once they have a dark golden-brown char, flip them gently using a silicone spatula or tongs. You want the fruit to look slightly translucent around the edges while the center remains opaque.
Step 2: Building the Bubbling Amber Sauce
Reduce the heat to medium. Add the remaining 3 tablespoons (42g) of butter, the brown sugar, cinnamon, nutmeg, and the pinch of salt. As the butter melts, it will combine with the sugar and the peach juices to create a thick, bubbling liquid.
Use a spoon to continuously baste the peaches with this mixture. The sauce will begin to reduce and thicken into a glossy amber caramel. Watch for the bubbles—they will transition from small and watery to large, slow-popping “lava” bubbles. This is the sign that the water has evaporated and you are left with pure flavor.
Step 3: The Finishing Touch
Once the peaches are tender and the sauce clings to them like a warm blanket, remove the skillet from the heat. The residual heat of the cast iron will continue to cook the sauce, so don’t overdo it. Add the lemon juice and stir gently one last time. Place your fresh mint sprig right in the center for that iconic top-down visual appeal.
Expert Tips for Flawless Caramelized Peaches
- Avoid the Crowded Skillet: If you are doubling the recipe, work in batches. Overcrowding leads to “stewed peaches” rather than the seared, charred result we want.
- Control the Sugar Burn: If the sauce looks like it’s getting too dark too fast, add a tablespoon of water or heavy cream to instantly lower the temperature and emulsify the caramel.
- Spice Freshness: Use freshly grated nutmeg if possible. The oils in fresh nutmeg provide a much more vibrant aroma than the pre-ground variety, which can sometimes taste dusty.
- Deglazing Secret: If you want a more “adult” version, deglaze the pan with a splash of bourbon just before adding the brown sugar. The alcohol burns off, leaving a smoky complexity.
Creative Ways to Serve and Pair Your Peaches
While these Caramelized Peaches are a star on their own, they thrive when paired with contrasting temperatures and textures. The most classic pairing is a scoop of cold vanilla bean ice cream, but the possibilities extend far beyond the bowl.
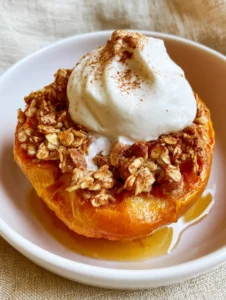
For a sophisticated brunch, serve these over sourdough French toast or thick-cut pancakes. If you have leftovers, they make an incredible addition to a peaches and cream trifle (coming soon) or as a topping for baked peaches with oat crumble (coming soon). The syrupy sauce is liquid gold—never let it go to waste! You can even use the extra glaze to drizzle over a peach cake recipe to add moisture and shine.
Storage, Reheating, and Make-Ahead Advice
Caramelized Peaches are best enjoyed immediately while the contrast between the hot fruit and the bubbling sauce is at its peak. However, if you have leftovers, they store surprisingly well.
Place them in an airtight glass container and refrigerate for up to 3 days. To reheat, return them to a skillet over low heat with a tiny splash of water to loosen the caramel. Avoid the microwave if possible, as it can make the peaches rubbery. We do not recommend freezing this specific recipe, as the cellular structure of the sautéed peach will collapse upon thawing, resulting in a mushy texture.
Common Questions About Skillet Peaches
Yes, simply substitute the unsalted butter with a high-quality plant-based butter or refined coconut oil. The caramelization process will remain the same.
While you can use canned peaches, they are much softer and will not achieve the same charred edges as fresh fruit. If using canned, drain them thoroughly and reduce the cook time significantly.
No, leaving the skin on helps the peach wedges maintain their shape and adds a beautiful color contrast. However, if the skins are very fuzzy or tough, you can peel them first.
Yellow Freestone peaches are the best choice. They have the right balance of acidity and sweetness, and the pit is easily removed, making slicing much cleaner.
This usually happens if the peaches were overripe or if they were cooked for too long at a low temperature. Ensure you use firm-ripe fruit and a hot cast iron skillet to sear the outside quickly.
The Ultimate Skillet Caramelized Peaches Recipe
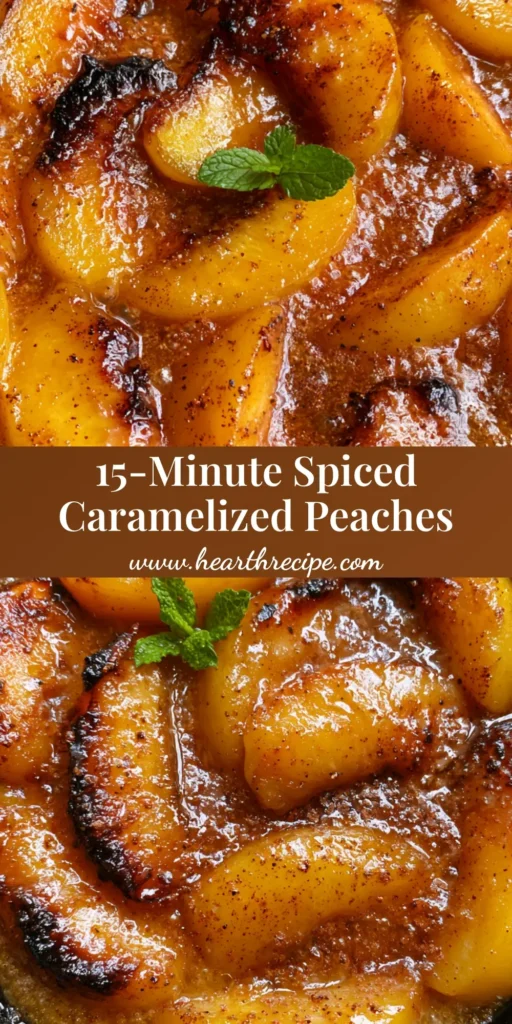
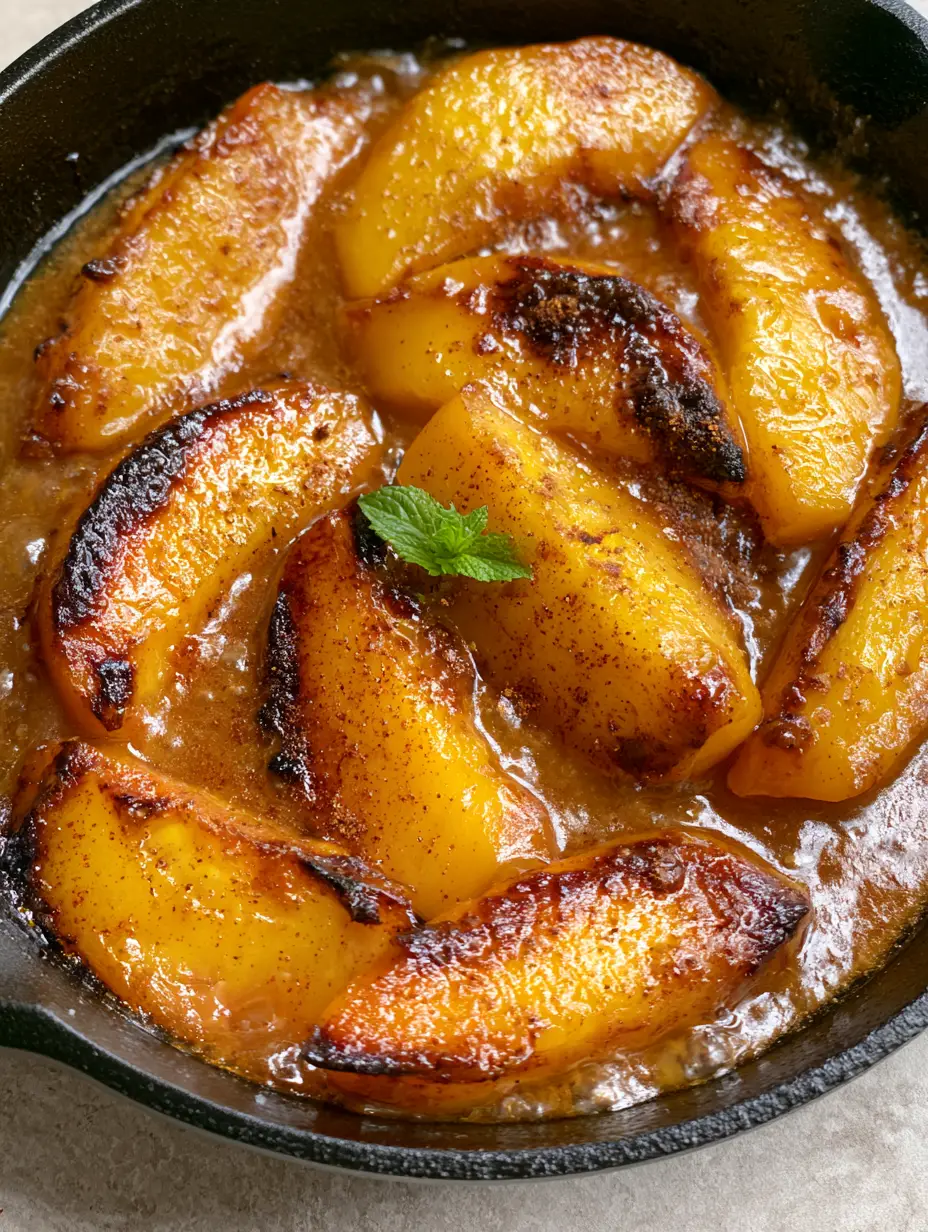
Caramelized Peaches: The Ultimate Cast Iron Skillet Guide
Ingredients
Equipment
Instructions
- Wash and dry the peaches. Slice each into 8-10 uniform wedges, keeping the skins on for structural integrity.
- Heat a cast iron skillet over medium-high heat. Melt 1 tbsp (14g) of butter. Add peaches in a single layer. Sauté for 2-3 minutes without moving until dark golden-brown charred edges form.
- Flip peaches. Reduce heat to medium. Add remaining butter, brown sugar, cinnamon, nutmeg, and salt. Cook for 3-5 minutes, basting the fruit, until the sauce is thick, bubbling, and amber-colored.
- Remove from heat. Stir in lemon juice. The fruit should be slightly translucent. Garnish with a fresh mint sprig and serve warm.
Notes
Ensure the skillet is hot before adding fruit to get the best char.
Closing Thoughts on This Summer Classic
Mastering Caramelized Peaches is a foundational skill for any home cook looking to elevate their summer dessert game. By focusing on the heat of the cast iron and the timing of the sugar, you create a dish that feels both rustic and incredibly refined. The tender fruit, the spicy aroma of nutmeg, and that signature bubbling glaze are a testament to the power of simple, high-quality ingredients.
If you enjoyed this recipe, please leave a comment below and let us know how you served yours! Don’t forget to share your own skillet photos and tag us, or save this recipe to your favorite boards on Pinterest for your next summer gathering.