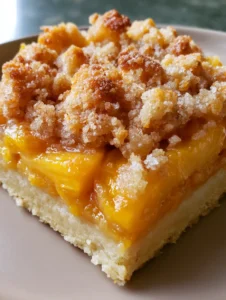
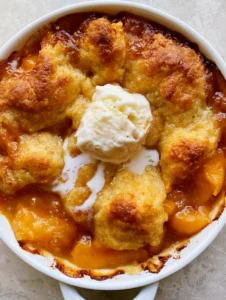
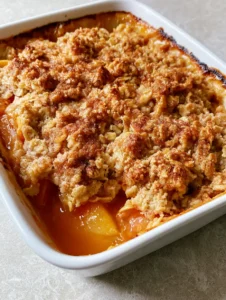
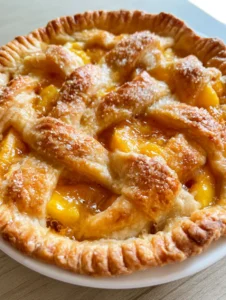
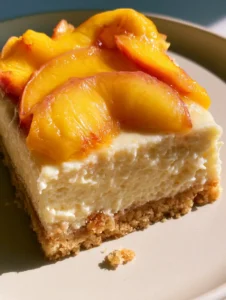
There is nothing quite like the golden glow of a late-summer afternoon, especially when it is captured in the form of a decadent dessert. This No-Bake Peach Cheesecake is a celebration of seasonal fruit, combining a buttery, structural base with a filling that is as smooth as velvet.
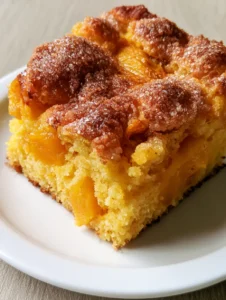
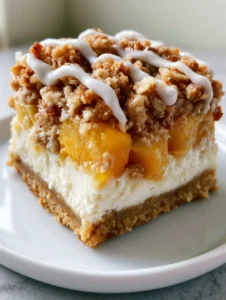
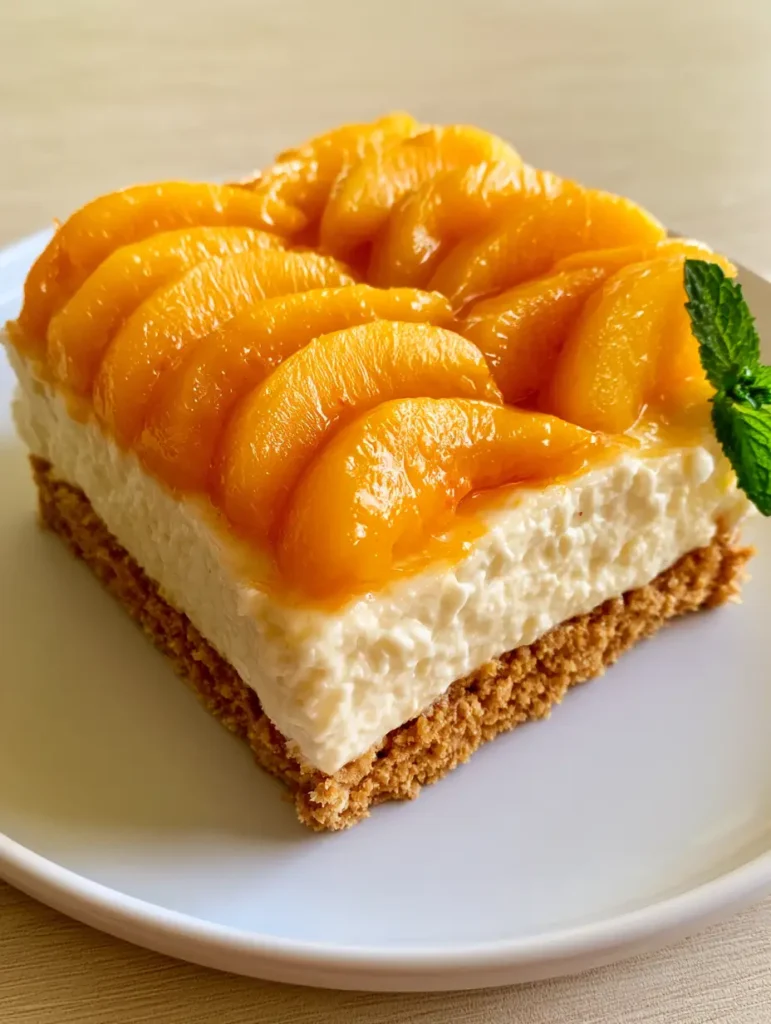
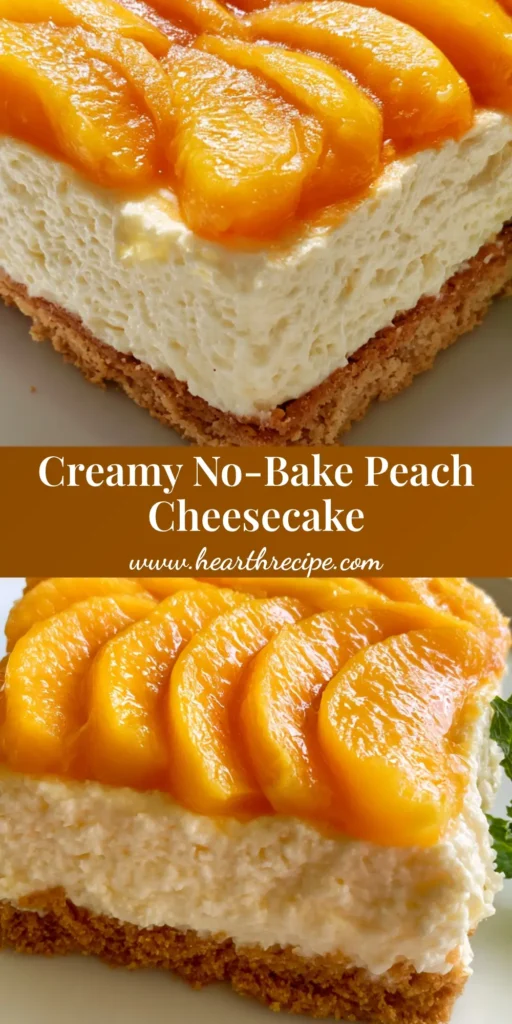
When you look at a slice of this cheesecake, you aren’t just looking at a dessert; you are looking at a masterclass in texture and color. The handheld aesthetic of a perfect square slice, resting on a clean white plate, highlights the vibrant contrast between the bright orange peaches and the snow-white cream.
Whether you are hosting a backyard gathering or simply looking for a way to use up a harvest of sun-ripened fruit, this recipe provides a foolproof method for achieving professional results without ever turning on your oven. It is the ultimate solution for those who want high-impact flavor with a cooling, refreshing finish.
The Irresistible Appeal of This Summer Stone Fruit Masterpiece
- Visual Brilliance: The shingled, overlapping slices of fresh peaches create a professional, bakery-style finish that looks stunning in natural daylight.
- Structural Integrity: A thick, golden-brown graham cracker crust provides the necessary crunch to support the dense, creamy filling.
- Symphony of Textures: You will experience the snap of the crust, the silkiness of the cheesecake, and the soft, juicy bite of glazed peaches in every mouthful.
- Effortless Sophistication: By using a glossy fruit glaze, we elevate a simple no-bake treat into a centerpiece-worthy no-bake peach delight (coming soon).
Essential Components for the Ultimate No-Bake Peach Cheesecake
The success of this dessert relies on the quality of your ingredients and the science of their temperatures. Each element has been selected to ensure the cheesecake sets firmly while maintaining a melt-in-the-mouth quality.
Full-Fat Brick Cream Cheese: You will need 24 oz (680g) of high-quality cream cheese. Ensure it is at room temperature to prevent any lumps from forming in your dense filling.
Heavy Whipping Cream: 1.5 cups (360ml) of cold heavy cream provide the aeration and volume. When whipped to stiff peaks and folded in, it transforms the heavy cheese into a light, mousse-like cloud.
Graham Cracker Crumbs: 2.5 cups (300g) of finely ground crumbs form our foundation. These must be pressed firmly to ensure the crust doesn’t crumble when the square is lifted.
Unsalted Butter: 3/4 cup (170g) of melted butter acts as the “glue” for your crust. It provides a rich, toasted flavor that complements the sweetness of the peaches.
Powdered Sugar: 1.25 cups (150g) of sifted icing sugar sweetens the filling without the grittiness of granulated sugar. It dissolves instantly for a perfectly smooth finish.
Fresh Peaches: 3-4 medium-sized ripe peaches are the stars of the show. Choose fruit that is fragrant and gives slightly to pressure but is still firm enough to slice cleanly.
Apricot or Peach Preserves: 1/2 cup (160g) of preserves, strained and warmed, creates that signature glossy fruit glaze. This prevents the fruit from browning and adds a professional sheen.
Fresh Mint Sprigs: These are used as the final garnish to add a pop of vibrant green. The aromatic oils in the mint provide a refreshing contrast to the sweet fruit.
Pure Vanilla Paste: 1 tsp (5ml) adds those beautiful black specks and a deep, floral aroma. This enhances the natural flavor of the cream without overpowering it.
Professional Equipment for a Flawless Result
To achieve the sharp edges and dense texture seen in the visual blueprint, specific tools are required. Using the right equipment ensures your No-Bake Peach Cheesecake looks as good as it tastes.
An 8×8 inch (20x20cm) square baking pan is essential for creating those perfect square slices. I recommend lining it with parchment paper that overhangs the sides, allowing you to lift the entire cheesecake out before slicing.
A stand mixer or a high-powered hand mixer is necessary for beating the cream cheese and whipping the cream. You need significant power to achieve the “dense yet smooth” finish required for the filling layer.
A flat-bottomed measuring cup or a glass is the secret tool for the crust. Use it to press the crumbs into the corners of the pan with significant pressure, ensuring a golden-brown graham cracker crust that holds its shape.
Finally, an offset spatula is your best friend for smoothing the cheesecake layer. A perfectly level surface is vital so that your peach slices can lie flat and neat across the top.
The Step-by-Step Guide to Crafting Peach Perfection
Constructing the Compressed Graham Cracker Foundation
Begin by combining your graham cracker crumbs with the melted butter and 2 tbsp (25g) of sugar. The mixture should feel like wet sand and hold its shape when squeezed in your palm.
Pour the mixture into your lined pan and use the bottom of a heavy glass to press it down firmly. Focus on the corners to ensure a “visible crumb” texture that is structurally sound. Chill the crust in the freezer for 15 minutes while you prepare the filling; this “sets” the butter and prevents the crust from shifting.
Whipped Aeration: Preparing the Cheesecake Filling
In a large bowl, beat the room-temperature cream cheese until it is completely smooth and fluffy. Add the powdered sugar, vanilla paste, and a pinch of salt, continuing to mix until no streaks remain.
In a separate chilled bowl, whip the heavy cream until it reaches stiff peaks—you should be able to turn the bowl upside down without the cream moving. Gently fold the whipped cream into the cheese mixture in three stages. This technique preserves the air bubbles, resulting in a creamy white cheesecake filling that is light but holds its shape.
The Setting Phase: Patience for Performance
Spread the filling over the chilled crust using your offset spatula. Smooth the top until it is as level as a sheet of ice. This is the stage where the “dense, smooth finish” described in the blueprint is created.
Cover the pan with plastic wrap and refrigerate for at least 6 hours, though overnight is preferred. The cheesecake needs this time for the fats in the cream cheese and butter to solidify, creating a slice that can be handled easily for a handheld photo.
Artistic Shingling: Slicing and Arranging the Peaches
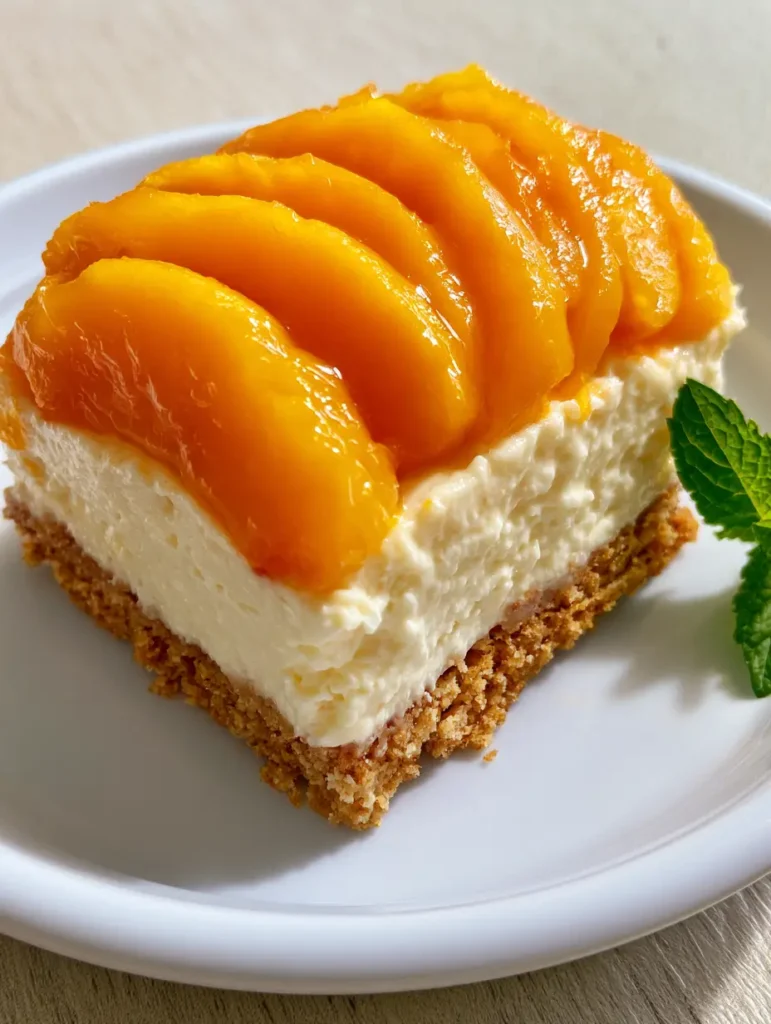
Just before serving, peel and slice your fresh peaches into uniform 1/4-inch (6mm) wedges. To achieve the “neat, overlapping slices” look, start from one corner of the square and lay the slices in a diagonal shingle pattern.
Continue this pattern until the entire surface is covered in bright orange fruit. Each slice should slightly overlap the previous one, creating a textured, rhythmic design that catches the natural daylight beautifully.
The Final Polish: Glazing and Garnishing
Warm your preserves in the microwave for 20 seconds and strain out any large fruit chunks. Using a pastry brush, gently dab the glaze over the peaches. Look for that “glossy sheen” that makes the fruit look vibrant and fresh.
Place a small, vibrant green mint sprig on the corner of each slice. This final touch provides the visual “pop” against the orange peaches and white cream. Use a sharp, warm knife to cut the cheesecake into squares, cleaning the blade between every single cut for the sharpest edges.
Expert Tips for Success with No-Bake Desserts
- Room Temp is Key: Never try to beat cold cream cheese; it will result in tiny white lumps that ruin the smooth finish of your filling.
- The Clean Cut: To get the square slice look, dip your knife in hot water and wipe it dry before each slice. This melts through the fats for a mirror-smooth edge.
- Avoid Soggy Crusts: Ensure your butter and crumbs are well-mixed. If there is too much butter, the crust will be rock hard; too little, and it will fall apart when you lift the slice.
- Peach Selection: If your peaches are too juicy, pat them dry with a paper towel before shingling them on the cheesecake to prevent the juice from bleeding into the cream.
- Glaze Timing: Only glaze the peaches right before serving to maintain the freshest “unedited aesthetic” for your guests or your camera.
Strategic Pairings for a Peach Harvest Feast
This No-Bake Peach Cheesecake is the crown jewel of summer, but it pairs beautifully with other seasonal treats. If you are looking to create a full peach-themed spread, consider starting with a refreshing peach lemonade to cleanse the palate.
For those who prefer a more portable option for picnics, these peach cheesecake bars (coming soon) use a similar flavor profile but are easier to transport. If you find yourself with an abundance of fruit, you can also explore other peach recipes (coming soon) like cobblers or crisps.
If you love the combination of cream and peaches, you might also enjoy a scoop of no-churn peach ice cream served alongside a warm slice of peach bread (coming soon).
Storage and Preservation for Peak Freshness
Because this is a dairy-heavy dessert with fresh fruit, it must be kept refrigerated at all times. It will stay fresh and delicious for up to 3 days in an airtight container.
I do not recommend freezing the cheesecake once the fresh peaches have been added, as the fruit’s texture will become mushy upon thawing. However, you can freeze the cheesecake base and filling for up to a month, then add the fresh peaches and glaze on the day you plan to serve it.
Frequently Asked Questions Regarding No-Bake Cheesecake
Frozen peaches can be used but must be thawed and patted extremely dry. They will be softer than fresh peaches and may not shingle as neatly.
Line your pan with parchment paper to lift the entire cheesecake out. Use a sharp knife dipped in hot water and wiped dry to cut through the layers, cleaning the blade between every cut.
Applying a glossy fruit glaze made from warmed apricot or peach preserves acts as a barrier to oxygen, keeping the peaches bright orange and vibrant.
This recipe relies on the high fat content of brick cream cheese and whipped heavy cream for stability. If your kitchen is very warm, 1 tsp of dissolved gelatin can be added for extra insurance.
The most common reasons are using ‘tub’ cream cheese instead of ‘brick’ cream cheese, or not whipping the heavy cream to stiff enough peaks before folding it in. Ensure the cheesecake chills for at least 6 hours.
The Ultimate No-Bake Peach Cheesecake Recipe Card
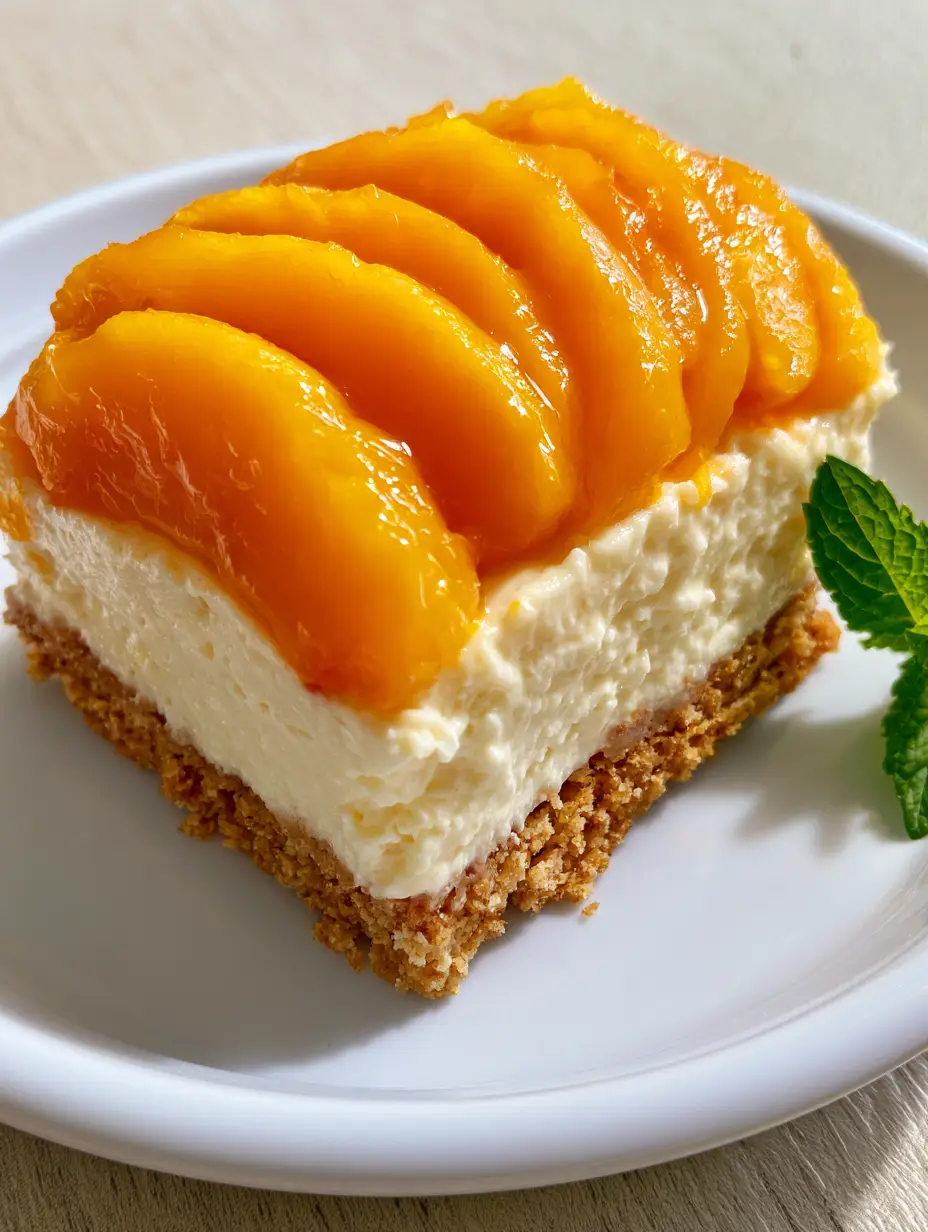
No-Bake Peach Cheesecake with Fresh Sliced Peaches and Glossy Glaze
Ingredients
Equipment
Instructions
- Mix crumbs and melted butter. Press firmly into an 8x8 pan using a flat glass. Chill in freezer for 15 minutes.
- Beat cream cheese and sugar until smooth. In a separate bowl, whip heavy cream to stiff peaks. Fold cream into the cheese mixture gently.
- Smooth filling over crust. Refrigerate for at least 6 hours or overnight until dense and firm.
- Shingle sliced peaches across the top. Brush with warmed preserves and garnish with mint before slicing into squares.
Notes
Clean your knife with hot water between cuts for professional square slices.
Closing and Join the Hearth Recipe Community
This No-Bake Peach Cheesecake is more than just a recipe; it is a way to capture the essence of summer in a single, creamy bite. The combination of the dense filling and the bright, glazed peaches creates a dessert that is as beautiful as it is delicious. We hope this becomes a staple in your summer dessert rotation!
If you enjoyed this recipe, please leave a comment below and let us know how your peach shingling turned out! Don’t forget to sign up for our newsletter for more seasonal inspiration and share your creations with us on Pinterest. Happy “baking” without the oven!