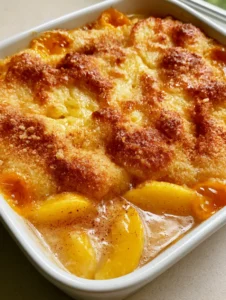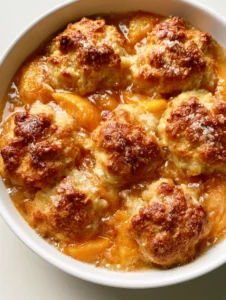

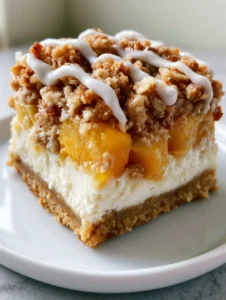
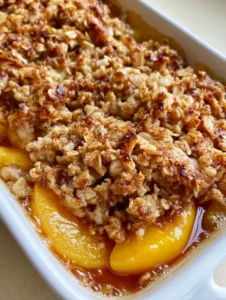

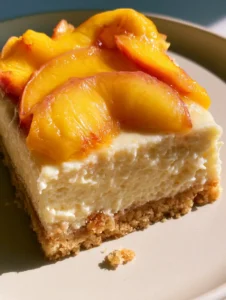
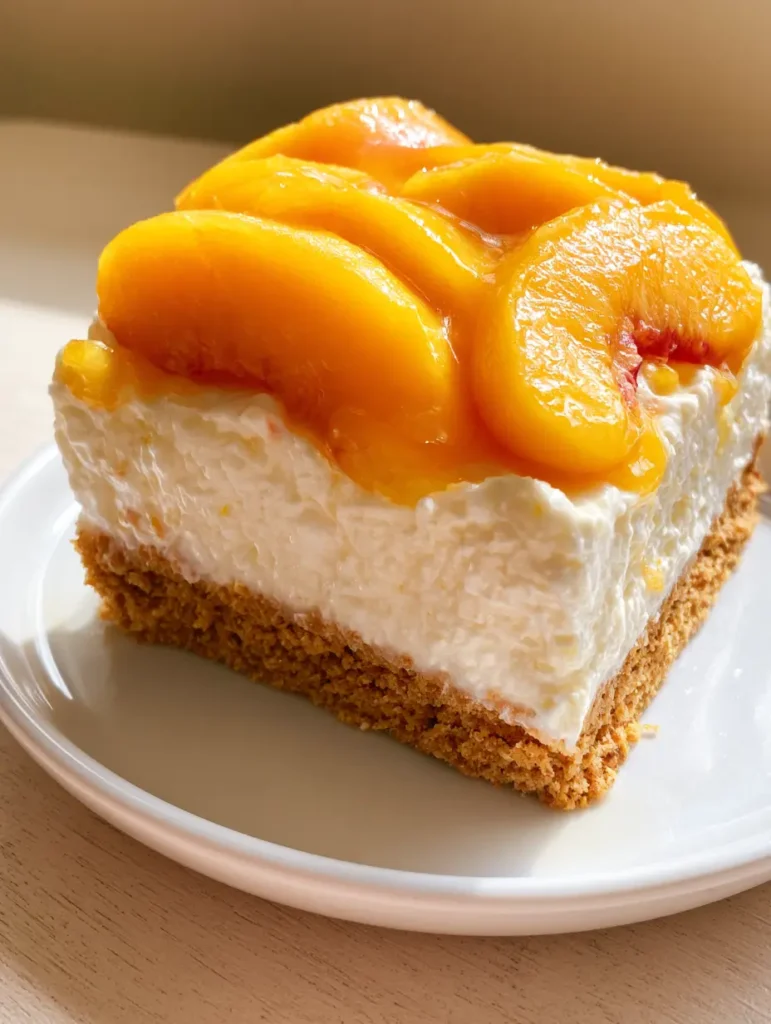
There is nothing quite like the sight of a vibrant, sun-kissed No-Bake Peach Delight sitting on a rustic wooden table. Imagine a handheld slice, perfectly square, revealing layers of architectural precision: a thick, golden-brown graham cracker base, a snow-white cream cheese center, and a crown of glistening orange fruit. This dessert is the physical embodiment of summer, capturing the fleeting essence of peak peach season without ever requiring you to turn on your oven.
When you take your first bite, you experience a symphony of textures. The crust offers a satisfying, buttery crunch that supports the weight of a dense, perfectly level whipped cream cheese filling. This isn’t just a simple cheesecake; it is a meticulously balanced dessert where the tang of the cheese meets the floral sweetness of fresh peaches. The natural peach nectar glaze provides a mirror-like finish, ensuring every slice looks as professional as a high-end bakery offering.
Whether you are hosting a backyard barbecue or looking for the perfect conclusion to a family dinner, this No-Bake Peach Delight is designed to impress. It leans into the visual cues of “everyday kitchen lighting”—authentic, bright, and undeniably appetizing. By following this guide, you will master the art of the “clean slice” and the “perfectly set” glaze, creating a dessert that is as stable as it is delicious.
Why This No-Bake Peach Delight Stands Out
- Structural Integrity: Unlike flimsy no-bake desserts, our thick-pressed crust and stabilized filling ensure a perfectly level, dense slice every time.
- Visual Brilliance: The overlapping vibrant orange and yellow peach slices create a professional aesthetic that mirrors our forensic visual blueprint.
- Sensory Balance: We balance the rich, buttery graham cracker foundation with a bright, natural peach nectar glaze that enhances the fruit’s natural juices.
- Temperature Contrast: The chilled, refreshing filling acts as the perfect canvas for room-temperature, juice-ripened peaches.
The Essential Components of Your Peach Masterpiece
To achieve the specific visual and structural results described in our blueprint, every ingredient serves a forensic purpose. We don’t just add sugar for sweetness; we add it for stability. We don’t just use peaches; we select them for their color and juice content.
The Golden-Brown Crust Foundation
2 cups (170g) graham cracker crumbs provide the structural base. When finely ground, these crumbs compress into a tight, dense layer that won’t crumble when sliced. 1/2 cup (115g) unsalted butter, melted, acts as the “glue,” saturating the crumbs to ensure they set firmly in the refrigerator. 1/4 cup (50g) granulated sugar adds a slight caramel note and helps the crust bond through crystallization while chilling.
The Dense and Level Cream Cheese Layer
16 oz (450g) full-fat cream cheese, softened to room temperature, is the heart of the filling. It must be full-fat to achieve the “dense, smooth” texture seen in the visual prompt. 1 cup (120g) powdered sugar provides sweetness without the graininess of granulated sugar, keeping the filling perfectly smooth. 1 tsp (5ml) pure vanilla extract adds an aromatic depth that complements the stone fruit.
For the “whipped” element, we use 1.5 cups (360ml) heavy whipping cream, chilled. When folded into the cream cheese, it introduces just enough air to make the filling light, yet it remains sturdy enough to hold a level top. A pinch of salt is the invisible hero, cutting through the richness to make the peach flavors pop.
The Vibrant Fruit Topping and Nectar Glaze
4 to 5 large ripe peaches (approx. 600g) are the stars. You want peaches that are firm enough to slice thinly but ripe enough to show those vibrant orange and yellow hues. For the glistening finish, we use 1/2 cup (120ml) natural peach nectar mixed with 1 tsp (3g) cornstarch. This creates a clear, natural glaze that prevents the fruit from oxidizing and adds that professional “glistening” look.
Precision Tools for a Bakery-Quality Result
Achieving a perfectly square slice requires more than just a knife. You will need a 9×9 inch (23x23cm) square baking pan, preferably with straight sides to ensure the “perfectly level” layer. A flat-bottomed measuring cup is essential for pressing the graham cracker crust into a dense, even foundation.
For the filling, an electric hand mixer or stand mixer is necessary to aerate the heavy cream and smooth out the cream cheese. To get that mirror-flat surface, use an offset spatula. Finally, a very sharp chef’s knife, wiped clean between every single cut, is the secret to the clean layers shown in our no-bake peach cheesecake (coming soon) style guide.
Mastering the Layers: How to Build Your Peach Delight
Step 1: Constructing the Compressed Graham Base
In a medium bowl, combine the graham cracker crumbs, melted butter, and sugar. Stir until the mixture resembles wet sand. Pour the mixture into your 9-inch square pan. Using the bottom of a flat measuring cup, press the crumbs down with significant pressure. Start from the center and move toward the edges until you have a thick, even foundation. Chill this in the freezer for 15 minutes to lock the butter in place before adding the filling.
Step 2: Whipping the Smooth Cream Cheese Filling
In a large mixing bowl, beat the softened cream cheese until it is completely smooth and free of lumps. Sift in the powdered sugar and add the vanilla and salt. In a separate chilled bowl, whip the heavy cream until stiff peaks form. The cue to look for is cream that holds its shape when the whisk is lifted. Gently fold the whipped cream into the cream cheese mixture using a spatula. Do not overmix, or you will lose the “whipped” volume needed for the level layer.
Step 3: Leveling the Canvas
Spread the cream cheese filling over the chilled crust. Use an offset spatula to smooth the top, ensuring it reaches all the corners. The visual goal is a “perfectly level layer of white.” Cover the pan with plastic wrap, ensuring the wrap does not touch the surface, and refrigerate for at least 4 to 6 hours. For the best results, an overnight chill ensures the filling is dense enough to support the fruit topping.
Step 4: The Art of the Peach Overlay
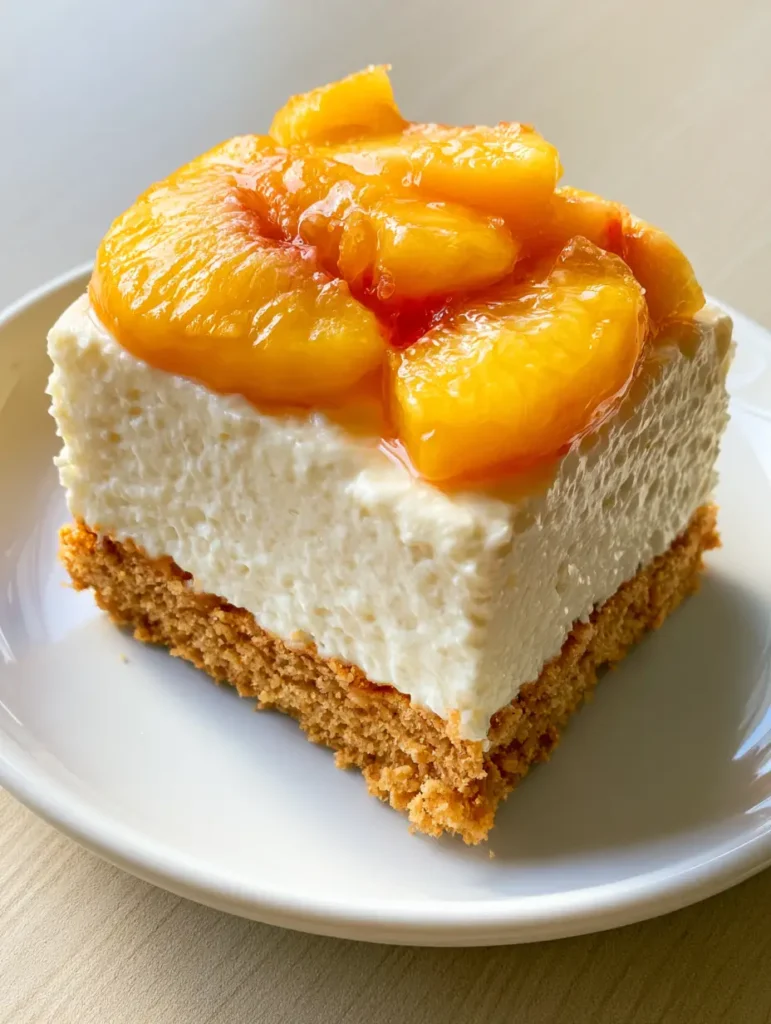
Wash and dry your peaches. Slice them into thin, uniform wedges about 1/4 inch (6mm) thick. Starting at one corner of the chilled dessert, lay the slices in overlapping rows. This “overlapping” technique is critical for the visual appeal described in our blueprint. The vibrant orange and yellow skins should face upward to maximize the color contrast against the white filling.
Step 5: Finishing with the Glistening Nectar Glaze
In a small saucepan, whisk the peach nectar and cornstarch together. Bring to a simmer over medium heat, stirring constantly until the mixture thickens and becomes clear. Let the glaze cool to room temperature—it should be pourable but not hot. Using a pastry brush, gently dab the glaze over the peach slices. This gives them that “glistening with natural juice” look while locking in freshness. Return to the fridge for 30 minutes to set the glaze before serving.
Expert Tips for the Perfect Clean Slice
- The Hot Knife Trick: To get the distinct layers shown in the photo, dip your knife in hot water and wipe it dry before each cut. The heat melts the fats in the cream cheese just enough to slide through cleanly.
- Peach Selection: Use Freestone peaches if possible. They pull away from the pit easily, allowing you to get those perfect, unbruised slices required for a pro-level peach recipe (coming soon).
- Preventing Soggy Crust: Ensure your butter is fully incorporated into the crumbs. If the crust is too loose, the moisture from the filling will seep in, ruining the “thick, pressed” texture.
- Stabilizing the Cream: If you live in a warm climate, you can add 1 tsp (5g) of gelatin (bloomed in water) to the filling to ensure it stays “perfectly level” even when sitting out on the table.
Serving and Pairing Suggestions
This No-Bake Peach Delight is a standalone star, but it pairs beautifully with other summer staples. Serve it alongside a chilled glass of peach lemonade for a double dose of refreshment. If you are hosting a larger brunch, it complements savory items like peach bruschetta or even peach pancakes (coming soon) for a themed menu.
For a more rustic presentation, you can serve individual squares on small white ceramic plates, just like in our visual prompt. The neutral background of a wooden table and soft natural daylight will make the vibrant colors of the peaches pop, making it a perfect subject for your own social media photos.
Storage and Make-Ahead Advice
This dessert is an excellent make-ahead option. You can prepare the crust and the cream cheese layer up to 48 hours in advance. However, for the best visual results, we recommend adding the fresh peach slices and glaze on the day of serving. This ensures the fruit remains “vibrant” and doesn’t release excess moisture into the filling.
Store any leftovers in an airtight container in the refrigerator for up to 3 days. We do not recommend freezing this specific recipe, as the fresh peaches will lose their texture and the cream cheese filling may become slightly grainy upon thawing. If you are looking for a frozen alternative, our no-churn peach ice cream is a great choice.
Frequently Asked Questions
Yes, you can use canned peaches, but ensure they are thoroughly drained and patted dry. Fresh peaches are preferred for the vibrant orange and yellow colors and firm texture seen in the visual blueprint.
Yes, because it contains cream cheese and heavy cream, it must be kept refrigerated. It also needs at least 4-6 hours to set properly so it can be sliced into perfect squares.
The secret is to use enough melted butter and to press the crumbs firmly using the flat bottom of a measuring cup. Chilling the crust before adding the filling is essential for a stable base.
The natural peach nectar glaze acts as a barrier to oxygen. By brushing the fruit with the glaze immediately after slicing, you maintain the glistening, fresh look.
The Ultimate No-Bake Peach Delight Recipe
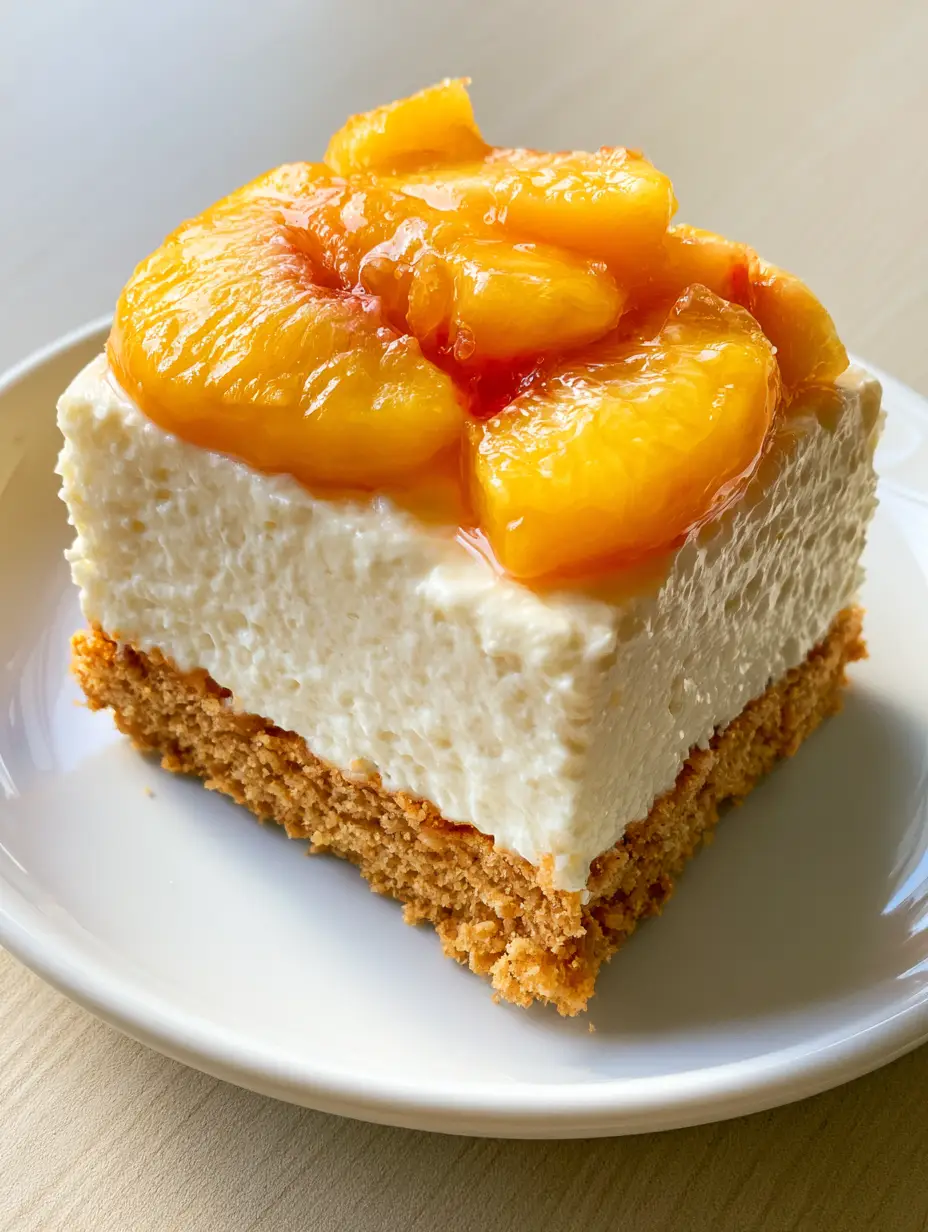
No-Bake Peach Delight: The Ultimate Creamy Summer Dessert Recipe
Ingredients
Equipment
Instructions
- Combine graham cracker crumbs, melted butter, and sugar. Press firmly into a 9x9 inch pan and chill for 15 minutes.
- Beat softened cream cheese with powdered sugar and vanilla until smooth.
- In a separate bowl, whip heavy cream to stiff peaks, then gently fold into the cream cheese mixture until smooth.
- Spread the filling over the crust, smoothing with a spatula. Refrigerate for 4-6 hours until set.
- Layer overlapping fresh peach slices across the chilled filling surface.
- Simmer peach nectar and cornstarch until thickened. Cool slightly and brush over the peaches for a glistening finish.
Notes
Wipe your knife clean between slices for professional squares.
Share Your Summer Success!
We hope this No-Bake Peach Delight becomes a new favorite in your household. Its combination of a crunchy graham cracker crust and silky cream cheese filling topped with glistening peaches is truly hard to beat. If you enjoyed this recipe, please leave a comment below and tell us how yours turned out! Don’t forget to follow us on Pinterest for more inspiration. Pin this recipe to your dessert boards using the image below so you can find it every time peach season rolls around!