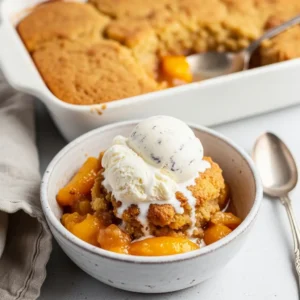
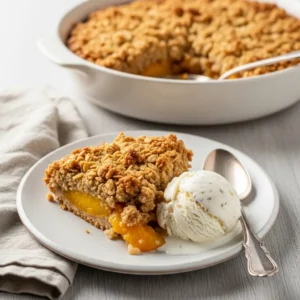
Get ready to fall in love with summer all over again with this incredible gluten-free peach cobbler recipe. It features a bubbling, jammy filling of sweet, tender peaches topped with a soft, cake-like biscuit topping that’s baked to golden-brown perfection. This recipe is simple, uses common ingredients, and delivers that classic, comforting flavor you crave—without any of the gluten. No one will ever guess it’s gluten-free!
Whether you’re using fresh summer peaches, convenient canned peaches, or even frozen ones, this dessert comes together effortlessly. It’s the perfect sweet ending for a family dinner, a backyard barbecue, or any occasion that calls for a little taste of sunshine.
Why This is the Best Gluten-Free Peach Cobbler Recipe
We’ve tested this recipe countless times to ensure it’s absolutely foolproof. Here’s why it stands out from the rest:
- Perfect Texture: The topping is tender, slightly sweet, and cakey, never gummy or dense. It provides the perfect contrast to the juicy, syrupy fruit filling.
- Incredibly Versatile: This recipe works beautifully with fresh, canned, or frozen peaches, so you can enjoy it year-round. We provide instructions for all three!
- Simple Ingredients: You won’t need any complicated or hard-to-find ingredients. Just a good quality all-purpose gluten-free flour blend and some pantry staples.
- Dairy-Free Option Included: With a couple of simple swaps, you can easily make this a completely dairy-free and vegan peach cobbler.
Ingredients You’ll Need
This recipe uses simple, straightforward ingredients. The key is a good quality gluten-free flour blend that contains xanthan gum.
For the Peach Filling
- Peaches: About 6 medium ripe peaches, peeled and sliced. You can also use canned or frozen.
- Brown Sugar: Adds a rich, caramel-like sweetness to the filling.
- Lemon Juice: Brightens the flavor of the peaches and prevents browning.
- Cornstarch: This is our secret to a perfectly thick, not-runny filling.
- Cinnamon & Nutmeg: Warm spices that are a classic pairing with peaches.
- Vanilla Extract: Enhances all the other flavors.
For the Gluten-Free Topping
- Gluten-Free All-Purpose Flour: Use a blend that contains xanthan gum for the best structure.
- Granulated Sugar: For sweetness in the topping. A little is also sprinkled on top for a crunchy finish.
- Baking Powder: Gives the biscuit topping its light, airy lift.
- Salt: Balances the sweetness.
- Cold Butter: Use unsalted butter, cut into small cubes. For a dairy-free version, use a solid vegan butter stick.
- Milk: Any kind will work! Whole milk, 2%, or a plant-based milk like almond or oat milk.
- Egg: Helps bind the topping and gives it a richer flavor and texture.

How to Make Gluten-Free Peach Cobbler
Making this dessert from scratch is surprisingly simple. Just follow these three main steps for a perfect result every time.
Step 1: Prepare the Peach Filling
First, preheat your oven to 375°F (190°C). In a large bowl, gently toss the sliced peaches with the brown sugar, lemon juice, cornstarch, cinnamon, nutmeg, and vanilla extract. Make sure every slice is evenly coated. Pour this mixture into a 9×13 inch baking dish (or a similar 3-quart dish) and spread it out evenly.
Step 2: Make the Cobbler Topping
In a separate medium bowl, whisk together the gluten-free flour, granulated sugar, baking powder, and salt. Add the cold, cubed butter to the flour mixture. Using a pastry cutter or your fingertips, cut the butter into the flour until the mixture resembles coarse crumbs with some pea-sized pieces of butter remaining. In a small bowl, whisk together the milk and egg. Pour the wet ingredients into the dry ingredients and stir with a fork until just combined. Be careful not to overmix!
Step 3: Assemble and Bake
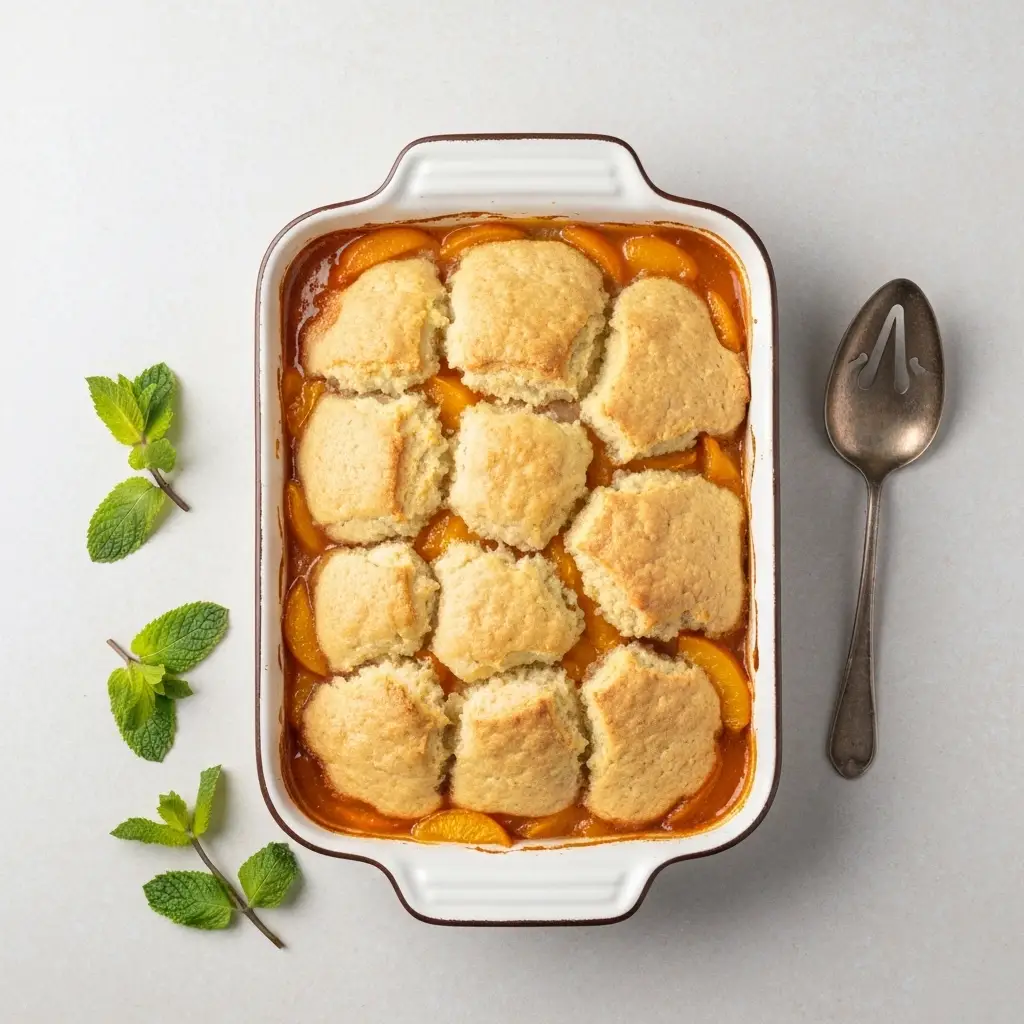
Drop spoonfuls of the gluten-free biscuit topping evenly over the peach filling in the baking dish. You don’t need to cover it completely; it’s nice to see the bubbly fruit peeking through. For a little extra sparkle and crunch, sprinkle the top with a tablespoon of granulated sugar. Bake for 40-45 minutes, or until the fruit filling is bubbly and thick and the topping is a beautiful golden brown. Let it cool for at least 15-20 minutes before serving. This allows the filling to set up properly.
Tips for the Perfect Cobbler Every Time
- Choose the Right Flour: Your success depends heavily on the gluten-free flour. We recommend using a high-quality “cup-for-cup” or “1-to-1” all-purpose gluten-free flour blend that already contains xanthan gum.
- Don’t Overmix the Topping: Mix the batter until the ingredients are just combined. Overmixing can lead to a tough, dense topping. A few lumps are perfectly fine!
- Let It Rest: Letting the cobbler cool on a wire rack for at least 15-20 minutes is crucial. This allows the hot, bubbly filling to thicken and set, making it much easier to serve.
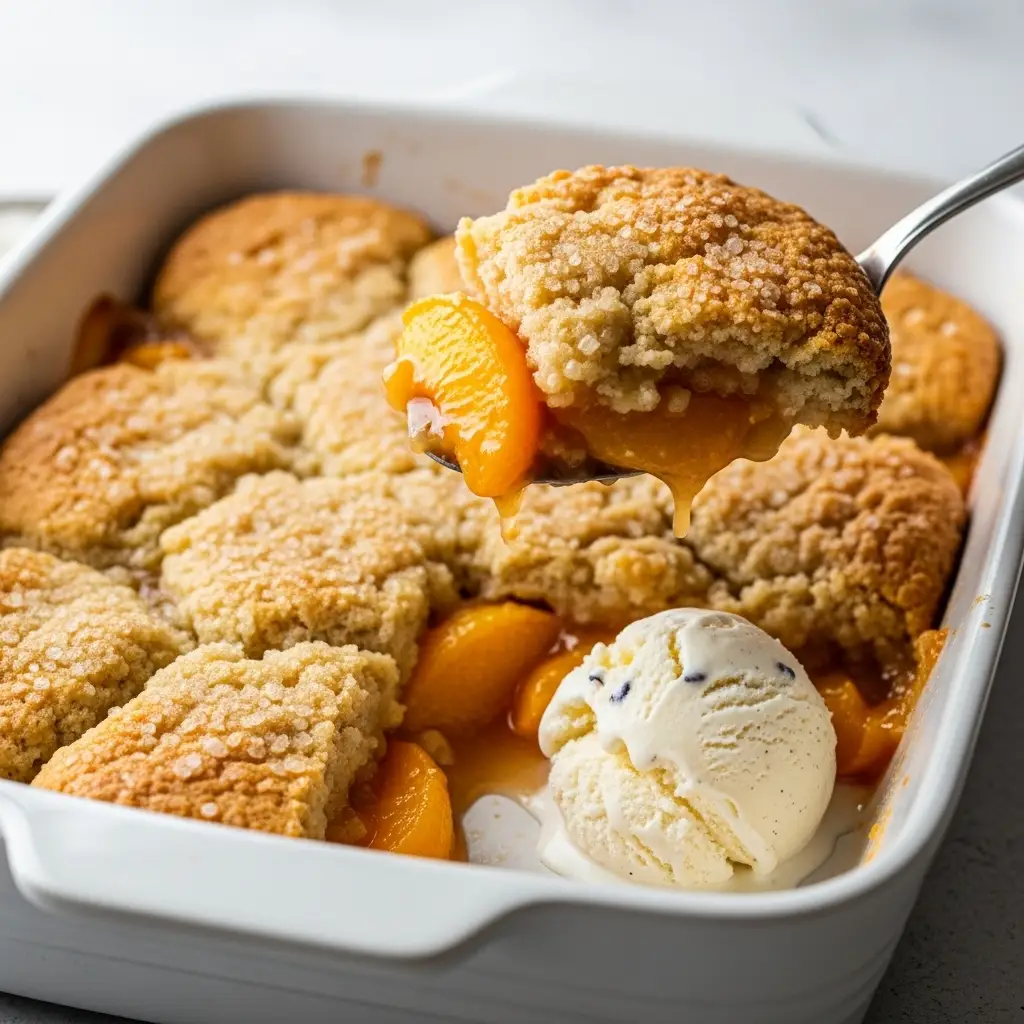
- Serve Warm: Peach cobbler is at its best when served warm, topped with a generous scoop of vanilla ice cream or a dollop of whipped cream.
Recipe Variations & Substitutions
One of the best things about this easy cobbler recipe is how adaptable it is. Here are a few popular variations:
Using Fresh, Canned, or Frozen Peaches
You can make this delicious cobbler any time of year! Just follow these simple adjustments.
| Peach Type | Instructions |
|---|---|
| Fresh Peaches | This is the classic choice. Use ripe, fragrant peaches for the best flavor. Follow the recipe for fresh peaches as written. |
| Canned Peaches | Use two (15-ounce) cans of sliced peaches. Drain them very well and pat them dry to remove excess liquid before mixing with the other filling ingredients. You may want to reduce the brown sugar by 1-2 tablespoons if they are packed in syrup. |
| Frozen Peaches | Use about 4-5 cups of frozen sliced peaches. You can thaw them first or use them straight from the freezer. If using from frozen, you may need to add 5-10 minutes to the baking time. |
How to Make it Dairy-Free
Making a dairy-free gluten-free peach cobbler is easy! Simply substitute the butter with a firm, stick-style vegan butter (not margarine from a tub) and use your favorite unsweetened plant-based milk, such as almond, soy, or oat milk, in place of the regular milk.
Spice It Up!
Feel free to experiment with the spices. A pinch of ground ginger or cardamom in the filling adds a lovely warmth. For a different flavor profile, consider a gluten-free crumble topping with added oats and pecans.
Storage, Freezing, and Reheating Instructions
Storing Leftovers
Cover the cooled cobbler tightly and store it at room temperature for up to 2 days. For longer storage, you can refrigerate it for up to 5 days. Note that the topping will soften over time in the fridge.
Can You Freeze Gluten-Free Peach Cobbler?
Yes! You can freeze it baked or unbaked. For a baked cobbler, let it cool completely, cover it tightly with a double layer of plastic wrap and then foil, and freeze for up to 3 months. To freeze unbaked, assemble the cobbler completely, cover, and freeze. Thaw in the refrigerator overnight before baking as directed (you may need to add a few extra minutes).
The Best Way to Reheat
To restore the topping’s texture, reheat the cobbler in an oven preheated to 350°F (175°C) for 15-20 minutes, or until warmed through. The microwave works in a pinch, but the topping will be softer.
The Easiest Gluten-Free Peach Cobbler Recipe
Gluten-Free Peach Cobbler Recipe (The Best & Easiest!)
Ingredients
Equipment
Instructions
- Preheat oven to 375°F (190°C).
- In a large bowl, combine the sliced peaches, brown sugar, cornstarch, lemon juice, cinnamon, nutmeg, and vanilla extract. Toss gently to coat. Pour the mixture into a 9x13 inch baking dish and spread evenly.
- In a medium bowl, whisk together the gluten-free flour, 1/2 cup of granulated sugar, baking powder, and salt. Add the cold cubed butter. Using a pastry blender or your fingers, cut the butter into the flour until the mixture resembles coarse crumbs.
- In a small bowl, whisk together the milk and egg. Pour this into the flour mixture and stir with a fork until just combined. Do not overmix.
- Drop large spoonfuls of the batter evenly over the peach filling. Sprinkle the top with the remaining 1 tablespoon of granulated sugar.
- Bake for 40-45 minutes, or until the topping is golden brown and the filling is bubbly and thick. Let it cool on a wire rack for at least 15-20 minutes before serving to allow the filling to set.
Notes
Dairy-Free Option: Substitute butter with a firm vegan butter stick and use your favorite unsweetened plant-based milk.
Serving Suggestion: This cobbler is best served warm with a scoop of vanilla ice cream or whipped cream.
Frequently Asked Questions
Absolutely! To make this recipe dairy-free, simply replace the unsalted butter with a firm, stick-style vegan butter and use your favorite unsweetened plant-based milk (like almond, soy, or oat milk) in place of the dairy milk. The results are just as delicious.
Yes, this recipe is very versatile. If using canned peaches, make sure to drain them very well. If using frozen peaches, you can use them directly from the freezer but may need to add 5-10 minutes to the total baking time.
There are two key tips. First, make sure your peach filling isn’t overly liquidy; the cornstarch in this recipe helps thicken it perfectly. Second, ensure you bake the cobbler long enough for the top to become golden-brown and cooked through. Letting it cool for 15-20 minutes after baking also allows steam to escape and the filling to set, which helps keep the topping firm.
You can store leftover cobbler, tightly covered, at room temperature for up to 2 days. For longer storage, keep it in the refrigerator for up to 5 days. Reheat in the oven at 350°F (175°C) for about 15 minutes to warm it up and crisp the topping.
The best choice is a high-quality, all-purpose ‘cup-for-cup’ or ‘1-to-1’ gluten-free flour blend. These blends are designed to directly replace regular flour in recipes and, most importantly, they already contain xanthan gum, which is essential for providing structure and preventing a crumbly topping.
Fall in Love with This Summer Classic
This gluten-free peach cobbler recipe is proof that you don’t have to miss out on your favorite comfort food desserts. It’s warm, sweet, and satisfying in every way. We hope you and your family love it as much as we do!
If you try this recipe, please leave a comment below and let us know how it turned out! And don’t forget to save it to your favorite dessert board on Pinterest!
