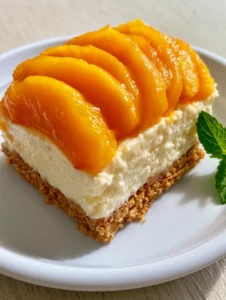
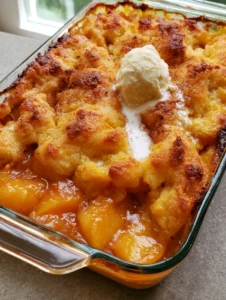
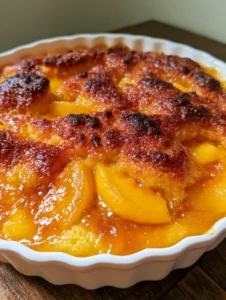
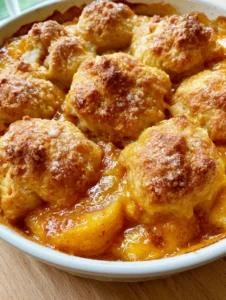
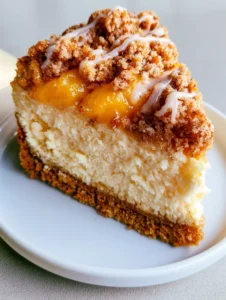

When the temperature rises and the local orchards begin to overflow with sun-ripened fruit, the last thing any home cook wants to do is preheat a heavy oven. This No-Bake Peach Cheesecake represents the pinnacle of seasonal simplicity, offering a sophisticated dessert experience that requires zero baking time. By combining the crunch of a golden-brown crust with a velvety, dense filling and the vibrant sweetness of fresh fruit, you create a dessert that is as visually stunning as it is delicious.
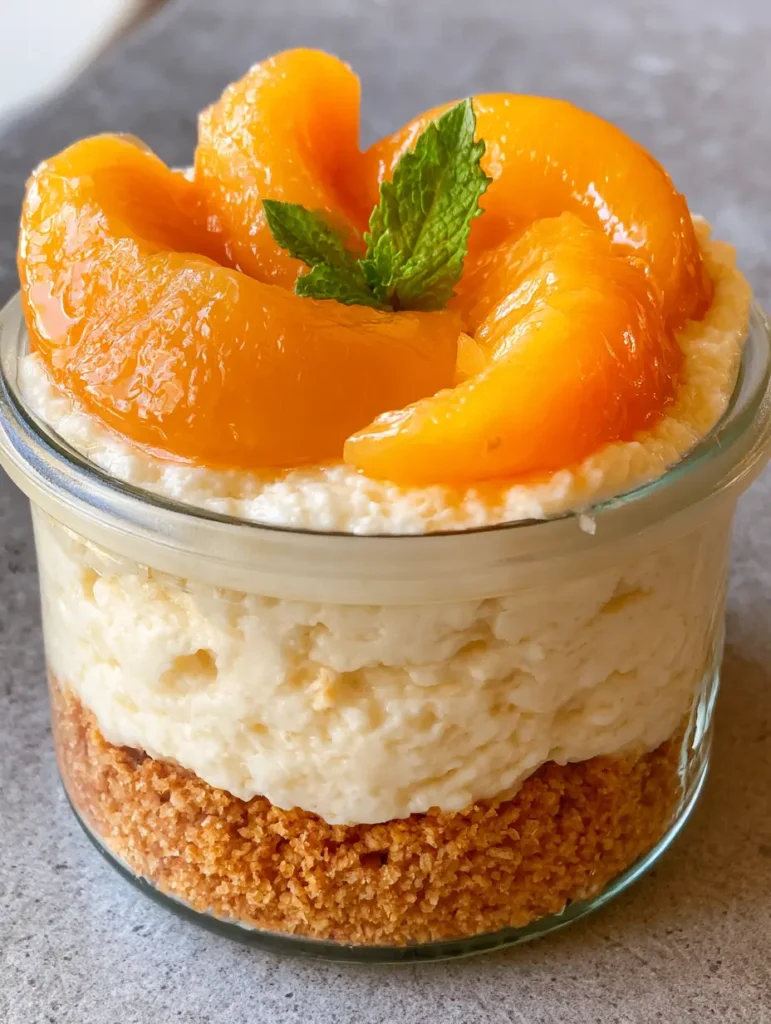
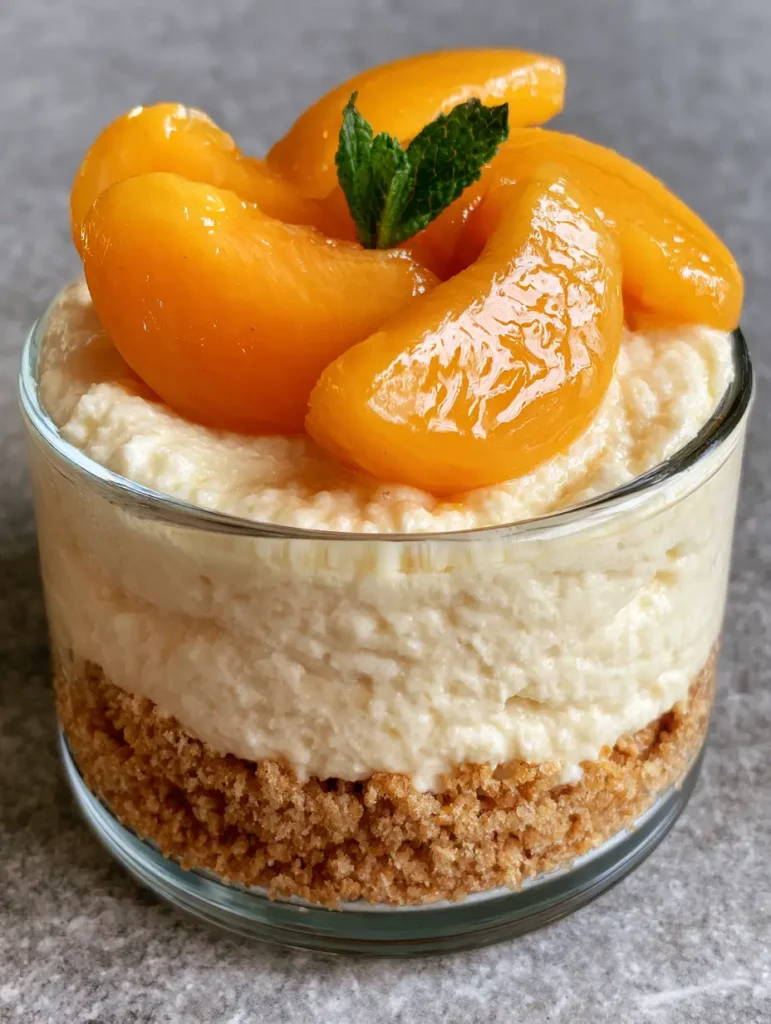
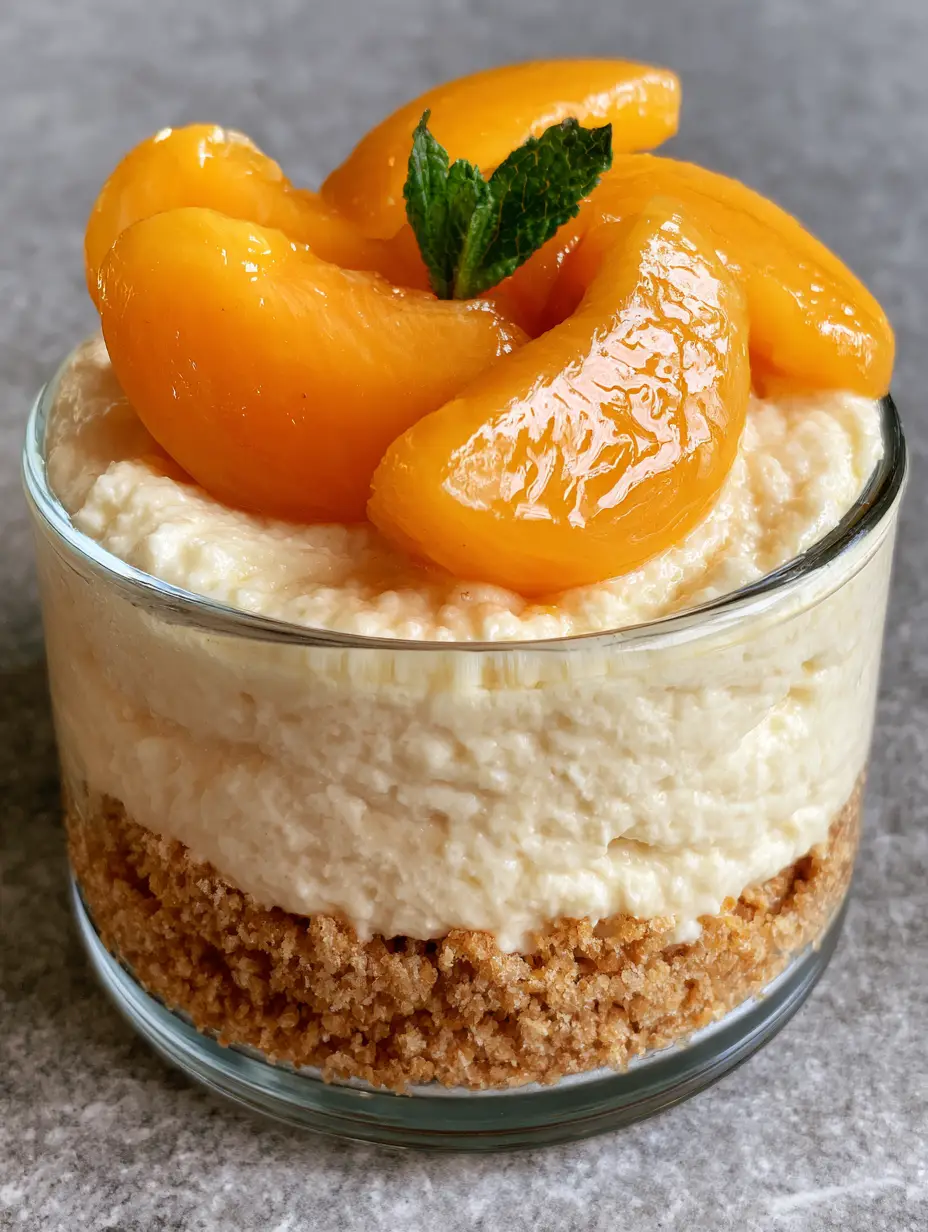
Imagine a handheld smartphone photo of an individual dessert served in a crystal-clear glass jar. Through the glass, you see the distinct, architectural layers: a thick foundation of pressed golden-brown graham cracker crumbs, a middle layer of off-white, silk-smooth cheesecake, and a crown of glistening, crescent-shaped orange peaches. A single sprig of bright green mint provides the final touch of professional flair, all set against a cool, neutral stone backdrop in the soft glow of natural daylight.
Why This Vibrant Summer Treat is a Must-Make
- Textural Contrast: The recipe balances the specific “dense and creamy” texture requested in the visual blueprint with the satisfying snap of a buttery, pressed graham cracker base.
- Visual Sophistication: Serving these in individual glass jars ensures every guest gets a perfect view of the vibrant orange peaches and the clean, off-white filling lines.
- Pure Fruit Flavor: Unlike baked versions where fruit can become jammy or lost, these fresh crescent-shaped slices maintain their juicy integrity and glistening appearance.
- Effortless Hosting: Because these are individual portions, there is no messy slicing or serving at the table; they are ready to be enjoyed straight from the refrigerator.
Foundational Ingredients for the Perfectly Set Filling
Graham Cracker Crumbs: You will need 1.5 cups (150g) of finely ground crumbs to achieve the “thick layer” foundation. These provide the structural base and a toasted, honey-sweet contrast to the tangy cream cheese.
Unsalted Butter: 6 tbsp (85g) of melted butter acts as the edible glue for your crust. It ensures the crumbs stay “pressed” and firm rather than loose and sandy when you dig your spoon in.
Full-Fat Cream Cheese: Use 16 oz (450g) of high-quality brick cream cheese, softened to room temperature. This is the primary building block for the “dense, creamy, off-white” filling described in our visual guide.
Granulated Sugar: 1/2 cup (100g) provides just enough sweetness to balance the tang of the cheese without overshadowing the natural sugars in the fresh peaches.
Heavy Whipping Cream: 1 cup (240ml) of chilled heavy cream is essential for aeration. When folded into the cheese, it creates that “smooth texture” that holds its shape without the need for gelatin.
Pure Vanilla Extract: 1 tsp (5ml) adds a floral aromatic depth. It bridges the flavor gap between the earthy crust and the bright, acidic fruit topping.
Fresh Lemon Juice: 1 tbsp (15ml) serves a dual purpose: it helps the dairy proteins set firmly and prevents the peach slices from browning, keeping them “vibrant orange.”
Fresh Orange Peaches: 3 large, ripe peaches are sliced into crescents to crown the dessert. Their glistening appearance is achieved by tossing them in a tiny amount of sugar and lemon juice just before serving.
Fresh Mint Sprigs: A few small sprigs of bright green mint provide the essential color contrast. This tiny detail elevates the dish from a simple snack to a gourmet-level no-bake peach delight (coming soon).
Pro-Level Tools for Individual Jar Assembly
To replicate the authentic, handheld smartphone photo aesthetic, you will need a few specific tools. Small clear glass jars (roughly 8 oz or 240ml capacity) are mandatory to showcase the internal layering and the dense filling. A flat-bottomed tamper or a small spice jar is incredibly helpful for ensuring the graham cracker crumbs are tightly pressed into a uniform layer.
For the filling, a stand mixer or a high-powered hand mixer is required to beat the cream cheese until it is perfectly smooth and free of lumps. You will also need a sharp chef’s knife to create those precise, crescent-shaped peach slices that give the dish its “glistening” and professional look. Finally, a piping bag (or a simple Ziploc bag with the corner snipped) allows you to fill the jars neatly without smudging the sides of the glass.
Step-by-Step: Constructing Your Gourmet Cheesecake Jars
Creating the Compressed Graham Cracker Foundation
In a medium mixing bowl, combine the graham cracker crumbs and the melted butter. Stir until the mixture resembles wet sand and all crumbs are evenly coated with the fat.
Distribute the crumbs evenly among 6 glass jars. Use a small tool to press the crumbs down firmly until a “thick layer of pressed golden-brown graham cracker crumbs” is formed; look for a solid, compacted surface that doesn’t shift when the jar is tilted.
Whipped and Silky Cream Cheese Preparation
In your main mixing bowl, beat the softened cream cheese and sugar until the mixture is completely smooth and looks like glossy satin. Scrape down the sides of the bowl to ensure no lumps remain.
In a separate chilled bowl, whip the heavy cream until stiff peaks form. The cream should be thick enough to hold its shape on the whisk—this is what provides the “dense” yet “smooth” texture confirmed in the visual blueprint.
Gently fold the whipped cream, vanilla, and lemon juice into the cream cheese mixture. Work slowly to maintain the air, resulting in an off-white mixture that is rich and stable.
Layering and Setting the Individual Portions
Pipe or spoon the cheesecake mixture into the jars over the graham cracker base. Smooth the tops with a small spoon or spatula to achieve that “smooth texture” visible through the glass.
Wipe any stray drops from the inner rim of the glass to keep the presentation clean. Refrigerate the jars for at least 4 hours, though overnight is best to allow the flavors to meld and the structure to fully set.
The Final Flourish: Peach Crescents and Mint
Just before serving, pit and slice your fresh peaches into uniform crescent shapes. If the peaches are very ripe, they will naturally appear “juicy and glistening,” but a quick toss in a teaspoon of sugar can enhance this effect.
Arrange several peach slices in a fan pattern on top of each chilled cheesecake. Place a single small sprig of bright green mint in the center, ensuring it looks fresh and vibrant against the orange fruit and off-white filling.
Expert Guidance for Flawless No-Bake Success
- Temperature Control: Ensure your cream cheese is truly at room temperature. If it is even slightly cold, you will end up with tiny white lumps that ruin the “smooth texture” of the middle layer.
- Peach Selection: For the best “vibrant orange” color, look for Freestone peaches. They are easier to slice into clean crescents because the pit pulls away easily from the flesh.
- The “Glisten” Factor: If you are preparing these an hour before serving, brush the peach slices with a thin layer of apricot jam or a honey-lemon glaze to keep them from drying out under fridge lights.
- Crumb Compression: Do not be afraid to press hard on the crust. A loosely packed crust will fall apart the moment a spoon hits it, losing the distinct layering shown in the peach cobbler cheesecake cups style.
Preserving the Freshness of Your Peach Delights
These individual cheesecakes are best enjoyed within 24 hours of assembly, particularly once the fresh peaches are added. The moisture from the fruit will eventually start to soften the “dense, creamy” filling if left too long. If you need to make them further in advance, store the filled jars (without the fruit) covered in the refrigerator for up to 3 days.
Freezing is not recommended for this specific recipe. The high moisture content of the fresh peaches and the delicate emulsion of the cream cheese filling can break upon thawing, leading to a watery texture that lacks the “smooth” quality we worked so hard to achieve. For a sturdier frozen option, you might consider no-churn peach ice cream.
Perfect Pairings to Elevate Your Dessert Table
This No-Bake Peach Cheesecake is a star on its own, but it pairs beautifully with other seasonal treats. If you are hosting a summer brunch, consider serving these alongside light peach pancakes (coming soon) or a tray of peach muffins (coming soon) for a full-fruit experience.
For an evening gathering, the bright acidity of the peaches complements savory appetizers like peach bruschetta. If you want to offer a variety of textures, these creamy jars look wonderful next to a warm, bubbly peach crisp (coming soon) or even a batch of peach dumplings.
Frequently Asked Questions
While you can use frozen peaches, they will release more moisture upon thawing, which can make the cheesecake topping watery. For the glistening, vibrant orange look in the photos, fresh peaches are highly recommended.
No, this recipe relies on a high ratio of full-fat cream cheese and properly whipped heavy cream. The acidity from the lemon juice also helps the dairy proteins set into a dense, smooth texture.
The secret is to ensure every crumb is coated in butter and to use a flat-bottomed tool to press the crust firmly into the bottom of the jar until it is compacted and solid.
The cheesecake filling itself stays fresh for up to 3 days, but for the best visual appeal, add the fresh peach slices just before serving to ensure they remain glistening and juicy.
The Ultimate No-Bake Peach Cheesecake Card
No-Bake Peach Cheesecake in Individual Jars: The Ultimate Summer Dessert
Ingredients
Equipment
Instructions
- Combine 1.5 cups (150g) graham cracker crumbs and 6 tbsp (85g) melted butter in a bowl until it looks like wet sand.
- Divide the mixture into 6 jars and press down firmly to create a thick, golden-brown base.
- Beat 16 oz (450g) softened cream cheese and 1/2 cup (100g) sugar until smooth and glossy.
- In a separate bowl, whip 1 cup (240ml) heavy cream to stiff peaks.
- Gently fold the whipped cream, vanilla, and lemon juice into the cream cheese until a dense, off-white mixture forms.
- Pipe the filling into the jars over the crust and smooth the tops. Refrigerate for at least 4 hours.
- Top with crescent-shaped fresh peach slices and a sprig of mint just before serving.
Notes
Toss peach slices in a little lemon juice to keep them glistening and prevent browning.
Conclusion: The Ultimate Summer Indulgence
Creating this No-Bake Peach Cheesecake is more than just following a recipe; it is about capturing the essence of summer in a jar. The contrast between the crunchy graham cracker base, the dense cream cheese filling, and the glistening fresh fruit creates a sensory experience that is hard to beat. Whether you are a seasoned pro or an enthusiastic home cook, this dessert is guaranteed to impress.
We would love to see your creations! If you make these jars, please leave a comment below and let us know how they turned out. Don’t forget to share your photos and save this recipe to your favorite boards on Pinterest so you can find it every time peach season rolls around!