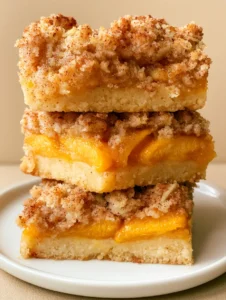
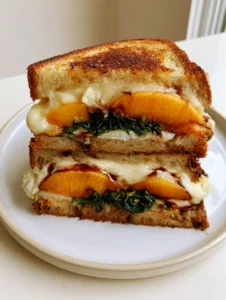
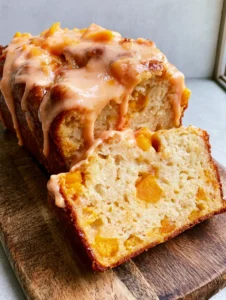
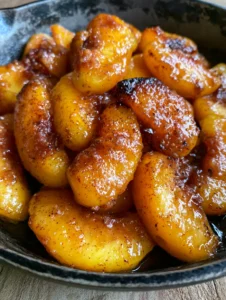
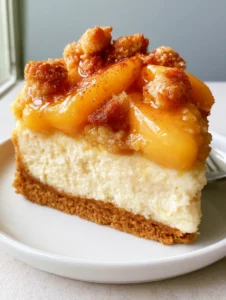
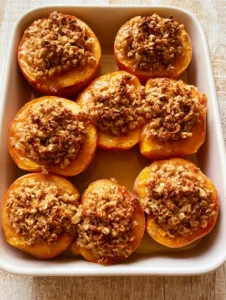
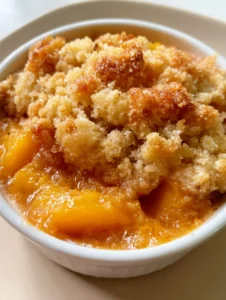
When the heat of summer peaks, there is no culinary experience more rewarding than mastering the art of Baked Peach Recipes. This particular preparation transforms a simple stone fruit into a sophisticated, multi-textured masterpiece that straddles the line between a healthy breakfast and a decadent dessert.
The magic happens in the oven, where the natural sugars in the fruit intensify, creating a deep orange, juicy flesh that contrasts beautifully with a creamy yogurt center. If you have been searching for ways to elevate your summer fruit game, this recipe delivers the perfect balance of warmth, crunch, and refreshment.
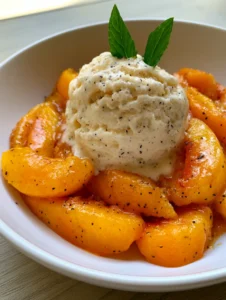
Our approach focuses on achieving that elusive forensic visual accuracy: soft, caramelized peach halves with slightly charred, wrinkled edges. By following this guide, you will recreate the exact look of a professional food shoot right in your own kitchen.
The Irresistible Allure of Caramelized Stone Fruit
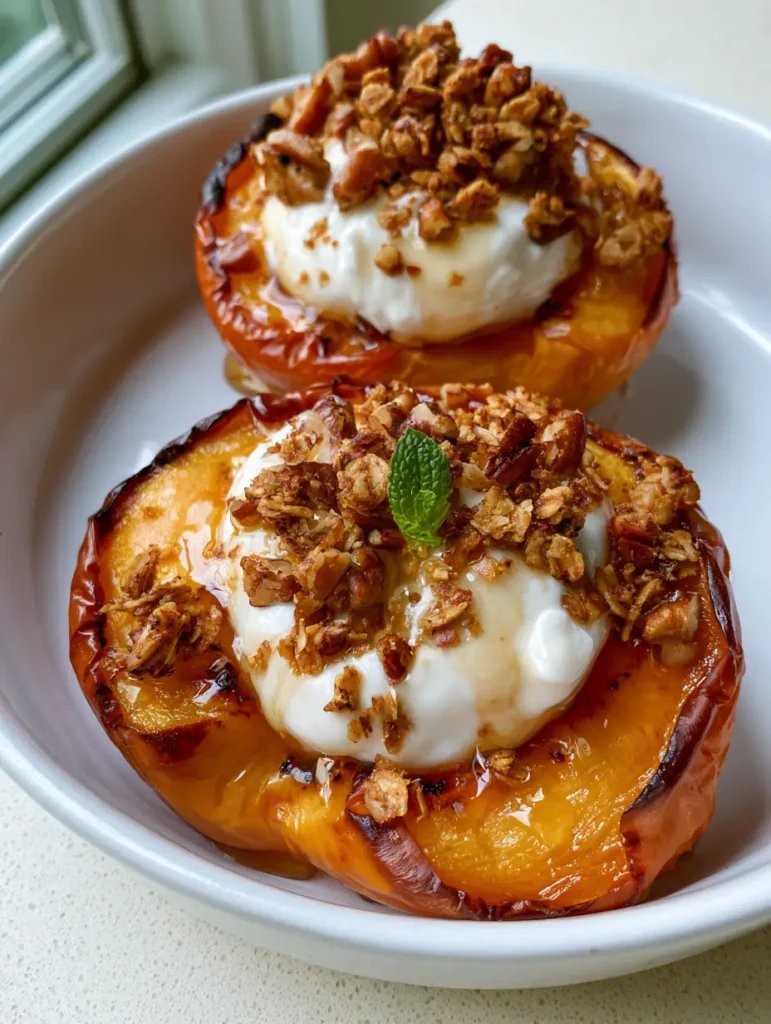
What makes these Baked Peach Recipes stand out is the interplay of temperatures and textures. You start with the heat of the roasted fruit and finish with a cold, thick dollop of Greek yogurt that begins to melt slightly into the warm peach cavity.
- Visual Contrast: The deep amber honey drizzle creates a glossy coating that makes the vibrant orange fruit pop against a white ceramic bowl.
- Textural Harmony: Every bite includes the softness of the fruit, the velvet creaminess of yogurt, and the shattering crunch of toasted oat granola and crushed pecans.
- Scent Profile: As the peaches roast, your kitchen will fill with the aroma of toasted cinnamon, warm sugar, and the bright, herbal note of fresh mint.
- Nutritional Balance: Unlike heavy pastries, this dish focuses on whole foods, providing fiber, protein, and healthy fats without sacrificing flavor.
Essential Components for Visual and Culinary Success
To achieve the result seen in high-end culinary photography, we must select our ingredients with precision. Every element in these Baked Peach Recipes serves both a structural and aesthetic purpose.
Fresh, Ripe Peaches: Look for fruit that gives slightly to pressure but remains firm enough to hold its shape during roasting. Overripe peaches will collapse into a mushy texture rather than maintaining those beautiful wrinkled edges.
Thick Greek Yogurt: You need a high-protein, strained yogurt (full-fat is best for flavor) to ensure the dollop stays perched perfectly in the center without running. This provides the “creamy white” visual anchor for the dish.
Old-Fashioned Rolled Oats & Pecans: These form the base of our granola. We use 1/2 cup (45g) of oats and 1/4 cup (30g) of pecans to create a substantial “golden-brown” topping that catches the light.
Glossy Amber Honey: A high-quality clover or wildflower honey is ideal. You will need approximately 2 tbsp (42g) to ensure a “thin, glossy” coat that binds the granola to the fruit flesh.
Invisible Essentials: Do not forget the 1 tbsp (14g) of unsalted butter used to grease the pan and dot the peaches. This fat is the scientific catalyst for the “slightly charred” edges we desire.
Choosing the Right Variety for Oven Roasting
While most people look for fresh peach recipes (coming soon) that use any available fruit, oven roasting requires a “Freestone” peach. This variety allows the pit to be removed easily without tearing the deep orange flesh.
Yellow peaches are typically superior to white peaches for this specific preparation. Yellow peaches have a higher acidity level, which balances the sweetness of the honey and granola, whereas white peaches can sometimes become one-dimensionally sweet when heated.
If you find yourself with an abundance of fruit, you might also enjoy exploring sweet peach recipes (coming soon) that use similar roasting techniques. The key is to avoid “Clingstone” varieties, which will leave the center of your peach looking ragged after pit removal.
Professional Equipment for the Perfect Roast
To ensure your fruit develops that professional “wrinkled” texture, you need a shallow baking dish or a cast-iron skillet. A shallow ceramic bowl is also excellent for serving, as it retains the warmth of the fruit while you add the cold toppings.
You will also need a sharp paring knife to halve the fruit cleanly. A small spoon is the best tool for scooping out the pit and creating a uniform cavity for the thick Greek yogurt filling.
For the granola component, a small parchment-lined baking sheet is necessary. Toasting the oats and pecans separately ensures they reach that “golden-brown” state without burning while the peaches are still softening.
Step-by-Step Guide to Blistered Peach Perfection
Phase 1: Preparing the Fruit Canvas
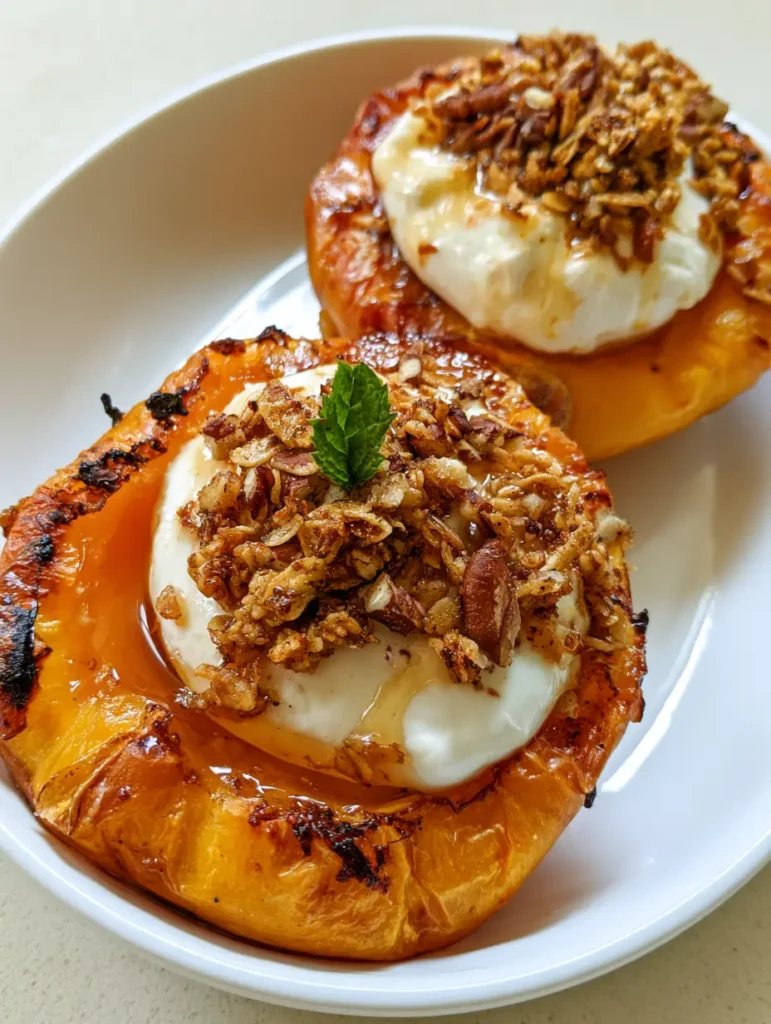
Preheat your oven to 400°F (200°C). This high heat is crucial for achieving the “slightly charred” edges mentioned in the visual prompt. Lower temperatures will bake the fruit but won’t provide the necessary caramelization.
Slice 2 large peaches in half along the seam. Twist gently to separate the halves and pop out the pit. If the pit is stubborn, use your spoon to carefully carve it out, keeping the cavity smooth and round.
Place the halves cut-side up in your baking dish. Brush the deep orange flesh with a mixture of melted butter and a pinch of cinnamon. This adds a layer of flavor and helps the honey “stick” later in the process.
Phase 2: The Roasting Process
Slide the peaches into the center rack of the oven. Bake for 15-20 minutes. You are looking for the “visual cues” of the flesh turning a darker orange and the skin edges beginning to wrinkle and darken.
Halfway through, drizzle 1 tsp (7g) of honey over each peach half. This sugar will bubble and create that “caramelized fruit flesh” look that defines the best Baked Peach Recipes.
While the peaches roast, spread your oats and crushed pecans on a separate tray. Toast them for 5-7 minutes until they are fragrant and golden-brown. Remove them and let them cool slightly so they remain crunchy.
Phase 3: Assembly and Garnish
Once the peaches are soft and the edges are blistered, remove them from the oven. Allow them to rest for 2-3 minutes; if they are too hot, the yogurt will melt instantly into a liquid.
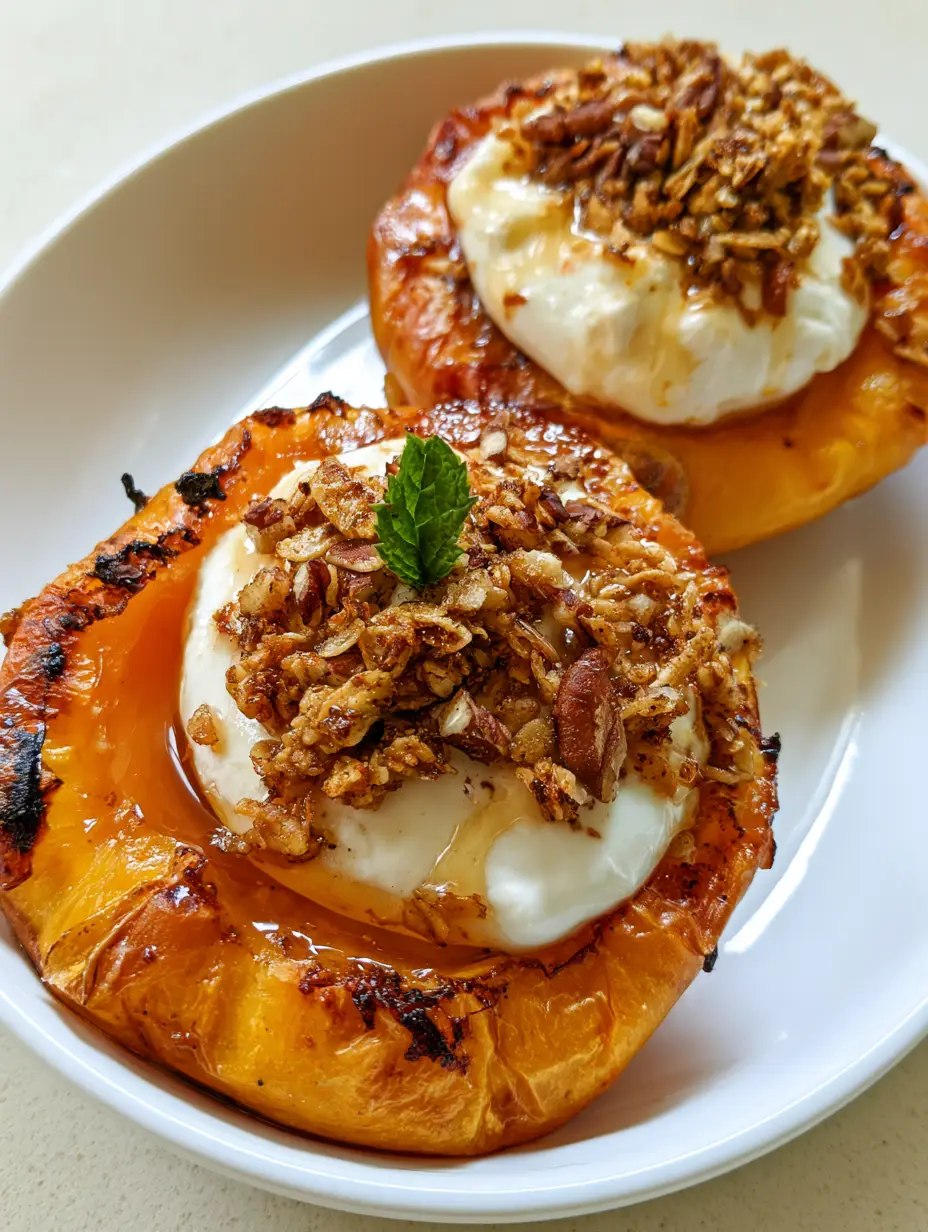
Place two roasted peach halves in a shallow white ceramic bowl. Using a small scoop, place a “thick dollop” of Greek yogurt into the center of each cavity. The white of the yogurt should contrast sharply with the orange fruit.
Scatter the toasted oat granola and crushed pecans generously over the top. Finally, apply a “thin, glossy amber-colored honey drizzle” in a zig-zag pattern across the entire dish. Finish with a “single small sprig of fresh green mint” for that final pop of color.
Expert Tips for the Ultimate Flavor Profile
- Salt is Secret: Add a tiny pinch of sea salt to your oat and pecan mixture. It heightens the nuttiness and makes the peach flavor more vibrant.
- The Resting Rule: Never skip the 3-minute rest. This allows the juices to settle back into the fruit, ensuring your peach is “juicy” rather than just wet.
- Yogurt Temperature: Keep your Greek yogurt in the coldest part of the fridge until the very second you are ready to serve. The temperature shock is part of the sensory experience.
- Mint Freshness: Slap the mint sprig against your palm before garnishing. This releases the essential oils, making the aroma more intense as you bring the bowl to your face.
Serving Suggestions and Pairings
These roasted delights are versatile. For a complete brunch spread, pair them with peach pancakes (coming soon) or a side of peach bread (coming soon). The acidity of the fruit also pairs beautifully with a glass of peach lemonade on a hot afternoon.
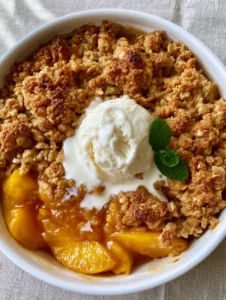
If you are looking for more complex peach dessert recipes (coming soon), you might consider serving these halves alongside a small scoop of vanilla bean ice cream instead of yogurt for a more indulgent treat. For those who enjoy a variety of textures, check out our guide to peach crisp (coming soon) for more inspiration.
Frequently Asked Questions
Yes, this version uses whole fruit, Greek yogurt for protein, and oats/nuts for fiber. By using a light honey drizzle instead of heavy syrup, it remains a nutrient-dense option.
Yes! You can toast the oats and pecans up to 3 days in advance. Store them in an airtight container at room temperature to keep them crunchy.
While fresh peaches are preferred for the best texture and ‘wrinkled’ edges, you can use frozen peach halves. Ensure they are fully thawed and patted extremely dry before roasting to prevent them from becoming mushy.
The key is to let the roasted peaches rest for 3-5 minutes after they come out of the oven. This allows the internal temperature to drop just enough so the yogurt maintains its ‘thick dollop’ shape.
Freestone yellow peaches are best. They allow for easy pit removal and have the necessary acidity to balance the sweet honey and granola toppings.
The Ultimate Baked Peach Recipe Card
[Image-Pin]
Baked Peach Recipes: Roasted Honey Peaches with Greek Yogurt and Toasted Pecan Granola
Ingredients
Equipment
Instructions
- Preheat your oven to 400°F (200°C). Halve the peaches and remove the pits carefully to maintain a smooth cavity.
- Place peaches cut-side up in a baking dish. Brush with melted butter and sprinkle with cinnamon.
- Roast for 15-20 minutes until the flesh is deep orange and the edges are slightly charred and wrinkled.
- On a separate tray, toast the oats and pecans for 5-7 minutes until golden-brown and fragrant.
- Rest peaches for 3 minutes. Dollop Greek yogurt into each cavity. Top with the toasted oat and pecan mixture.
- Drizzle with remaining honey and garnish with a fresh mint sprig before serving in a shallow bowl.
Notes
Ensure the yogurt is very cold for a refreshing temperature contrast.
[Image-Pin-2]
Bring the Taste of Summer to Your Table
Mastering Baked Peach Recipes is a fundamental skill for any home cook who loves seasonal produce. The combination of heat, caramelization, and cool creaminess makes this dish a perennial favorite. Whether you serve it as a light breakfast or a sophisticated dinner party finale, the visual appeal is unmatched.
We would love to see your results! If you recreate this dish, please leave a comment below and let us know how your peaches turned out. Don’t forget to share your photos and save this recipe to your boards on Pinterest for later!
[Image-Pin-3]